In this blog, we explore the powerful Sales Funnel Plugin for WordPress, CartFlows. This tool is designed to enhance conversions and maximize profits for those selling info products like online courses and eBooks. Join us as we dive into its features, compare pricing plans, and provide insights on its usability.
Introduction to CartFlows
CartFlows is a robust Sales Funnel Plugin for WordPress that enables users to create optimized sales funnels effortlessly. It is especially beneficial for those selling digital products such as online courses, eBooks, and memberships. With its intuitive interface, CartFlows empowers entrepreneurs to enhance their conversion rates and maximize profits through various strategies.
This plugin offers a range of features, including one-click upsells, order bumps, and A/B split testing, all designed to help users refine their sales processes. Whether you’re a seasoned marketer or just starting, CartFlows makes it easy to set up effective sales funnels that drive results.
Installation Process
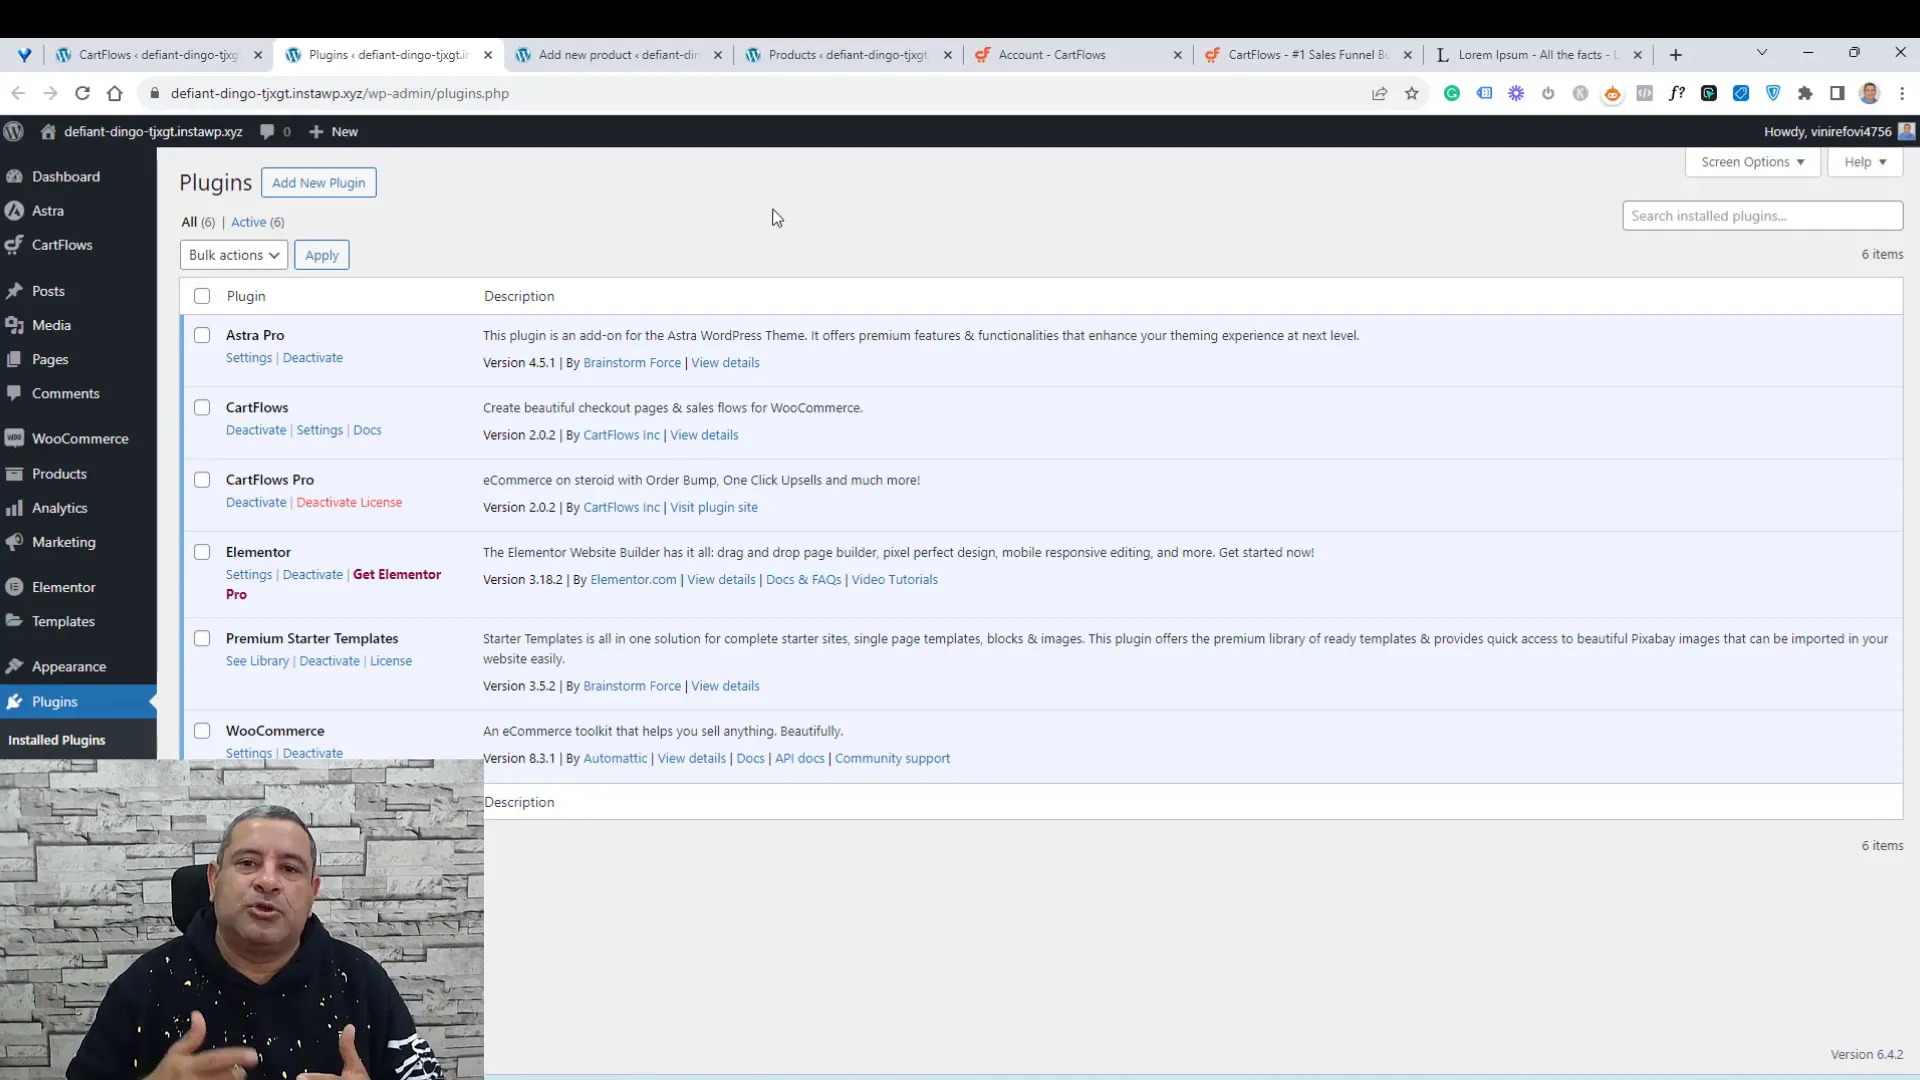
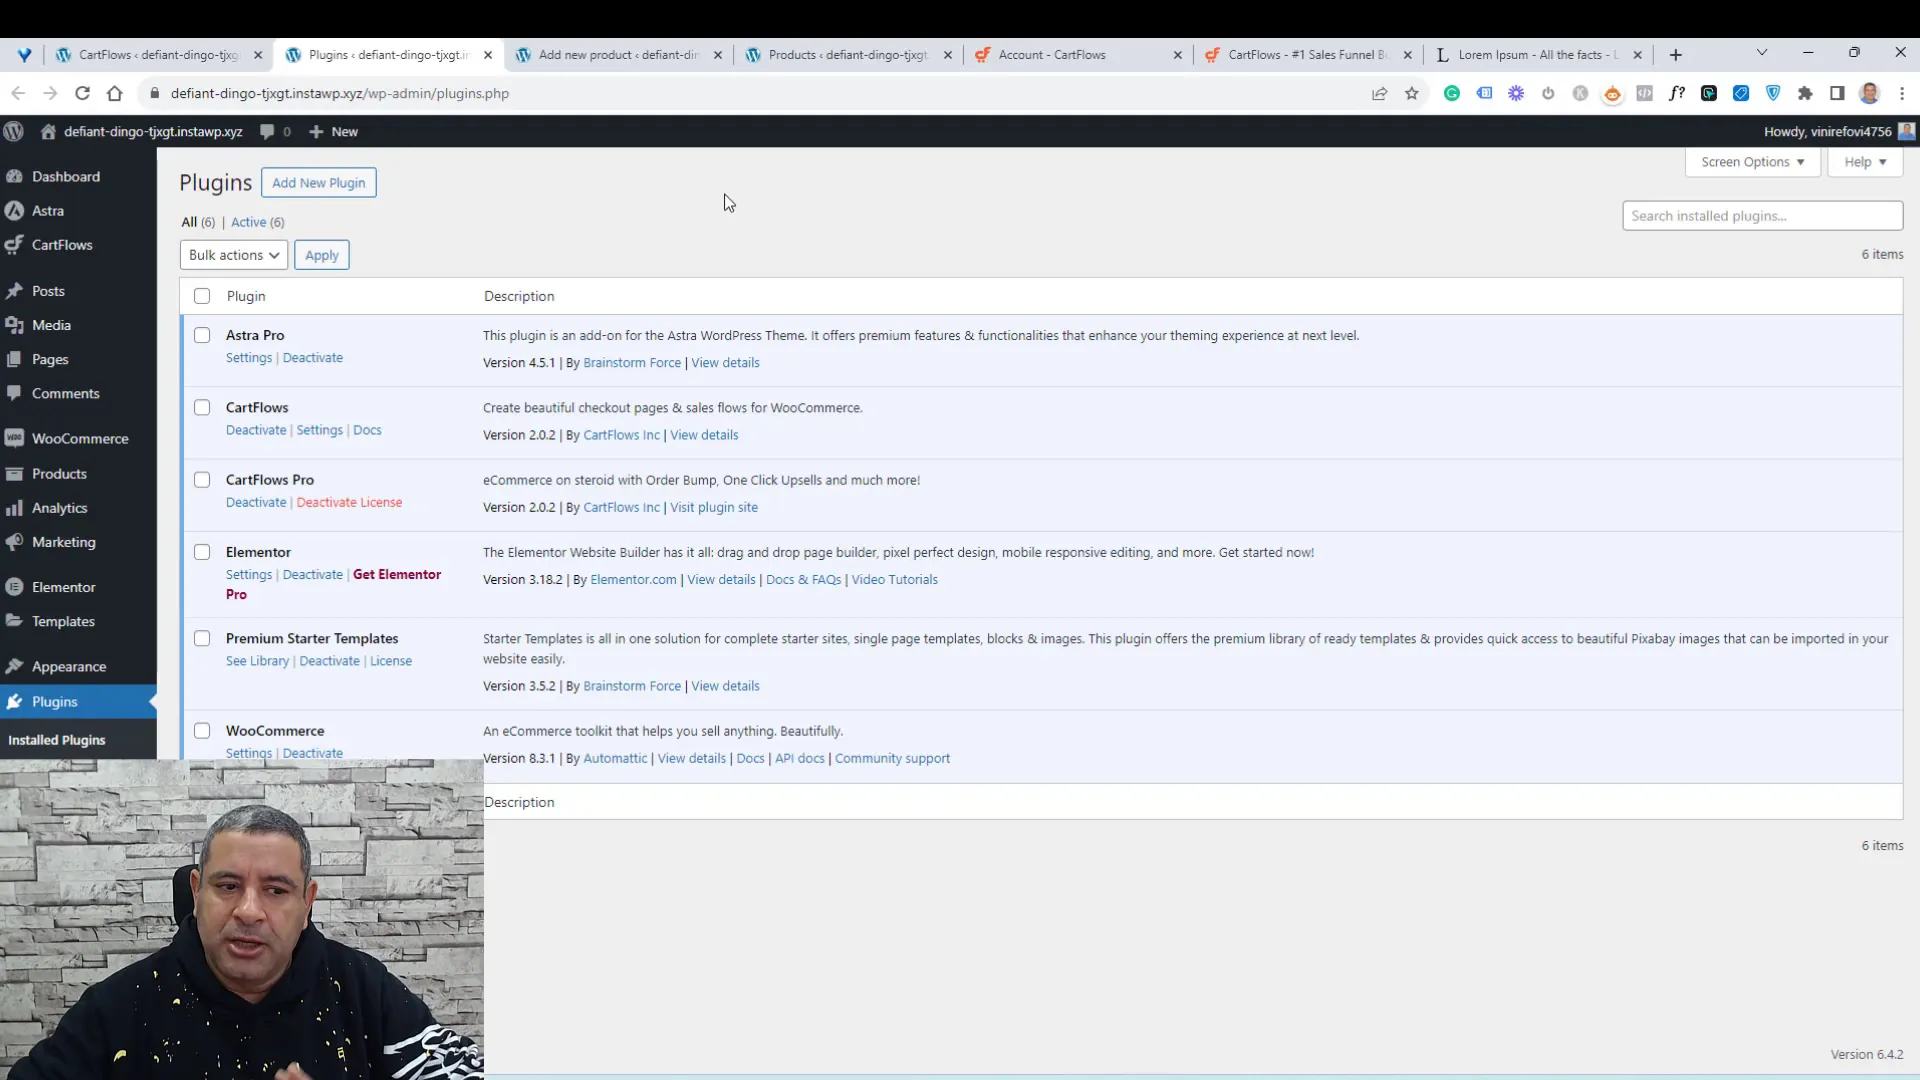
Installing CartFlows is a straightforward process. You can opt for the free version by navigating to your WordPress dashboard, clicking on “Plugins,” selecting “Add New,” and searching for “CartFlows.” Once you find it, simply install and activate the plugin.
While the free version allows you to create basic sales funnels with three essential steps—lead generation, checkout, and thank-you pages—upgrading to CartFlows Pro unlocks additional features. With the Pro version, you can create sophisticated funnels that include upsells, downsells, and order bumps, significantly enhancing your sales capabilities.
Free vs Pro Versions
Understanding the differences between the free and Pro versions of CartFlows is crucial for maximizing your sales funnel’s potential. The free version provides basic functionalities that are sufficient for many users just starting. It includes:
- Three-step funnels: lead generation page, checkout page, and thank-you page.
- Basic customization options for your funnels.
However, the Pro version is where CartFlows truly shines. It offers advanced features that allow for greater customization and more effective sales strategies, including:
- Unlimited upsells and downsells to increase order value.
- One-click order bumps to enhance checkout conversions.
- A/B split testing capabilities to identify the most effective offers.
- Access to premium templates designed for various page builders.
If you’re serious about leveraging sales funnels for your business, investing in the Pro version of CartFlows is highly recommended. You can explore the options further and purchase through my affiliate link.
Requirements: WooCommerce
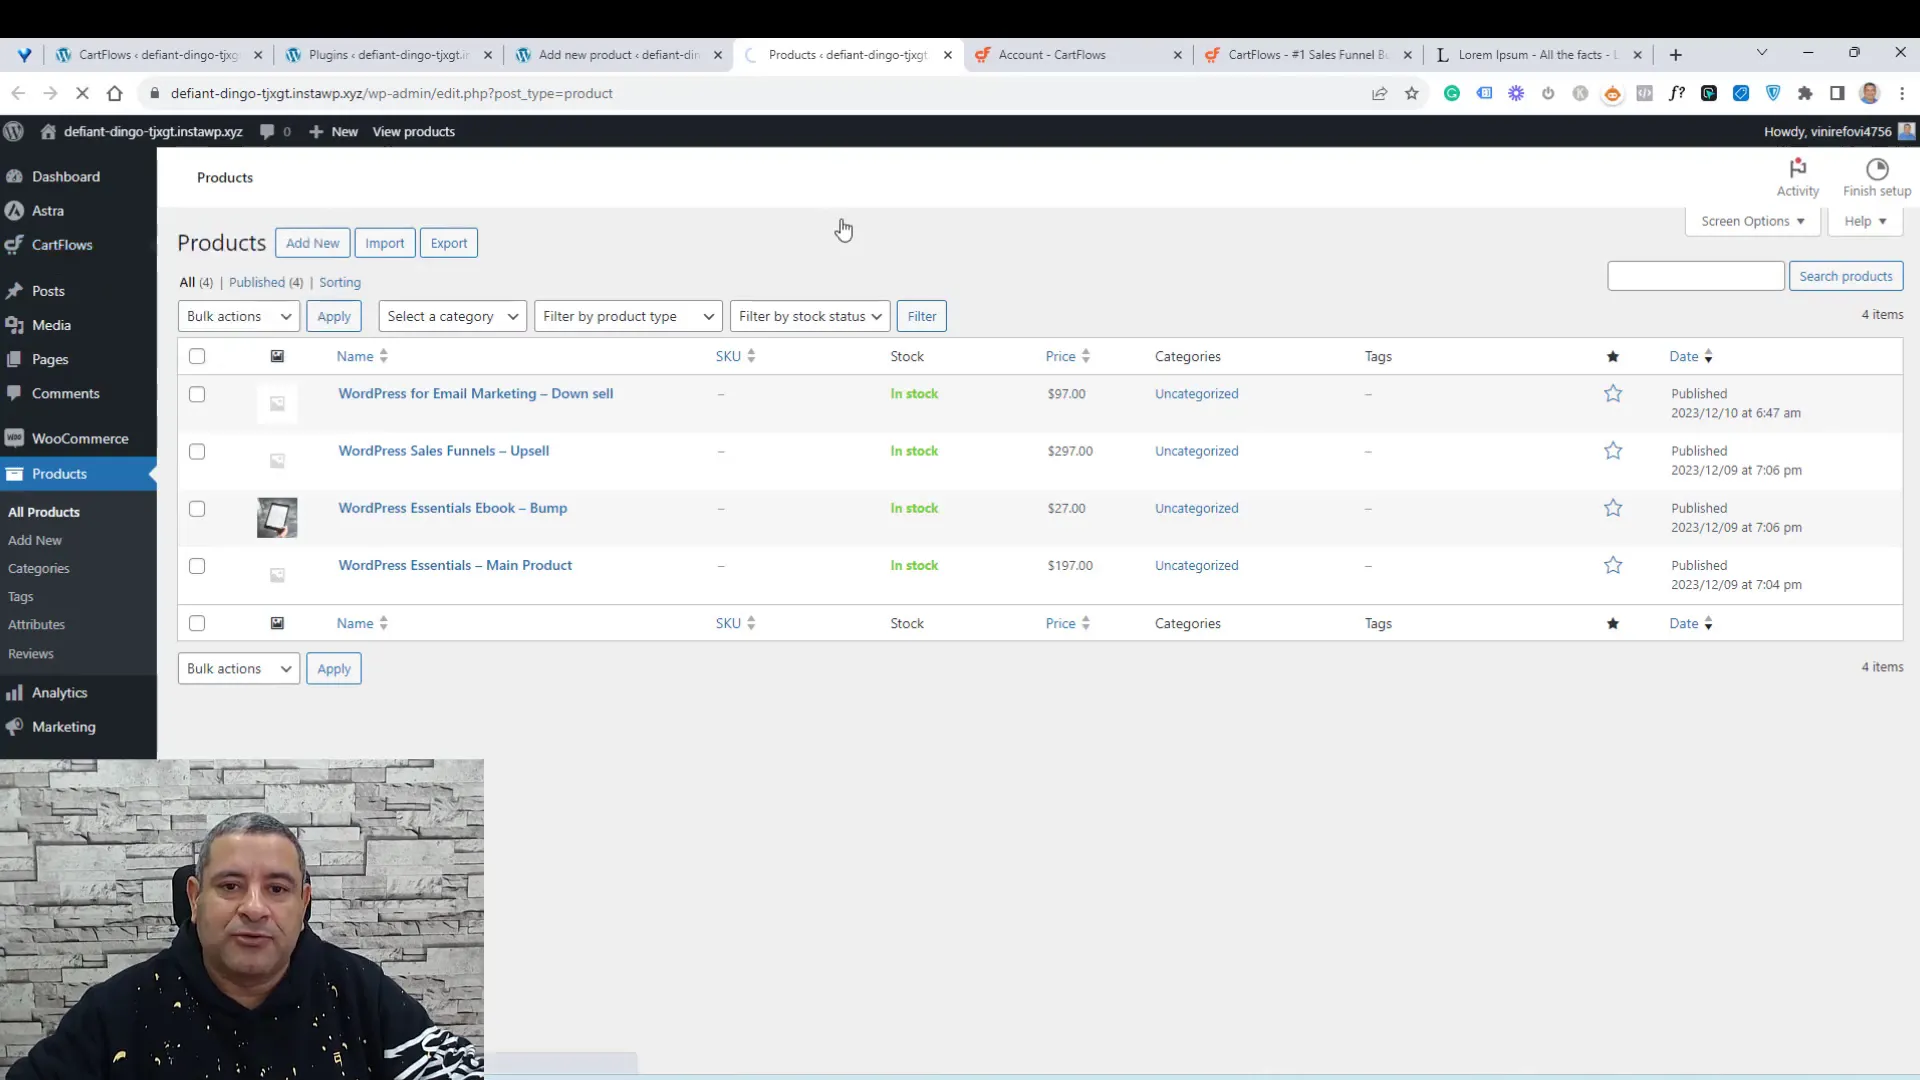
Before diving into CartFlows, it is essential to have the WooCommerce plugin installed on your WordPress site. WooCommerce is the leading eCommerce solution for WordPress, providing the necessary infrastructure to manage products, payments, and orders.
To get started, install WooCommerce from the WordPress plugin repository, and set up your products. You will need to create at least one product that you plan to sell through your funnel. This involves adding a product name, price, and image. Once your products are set up, you can seamlessly integrate them into your CartFlows funnels.
Exploring the Dashboard
Once CartFlows is installed and activated, you’ll find a new tab labeled “CartFlows” in your WordPress dashboard. The dashboard provides a comprehensive overview of your funnel performance, including total revenue, number of orders, and other vital statistics.
At the top of the dashboard, you can access quick links to documentation and support, ensuring you have the resources needed to make the most of the plugin. It’s essential to familiarize yourself with the dashboard to track your funnels’ performance effectively.
Global Settings Overview
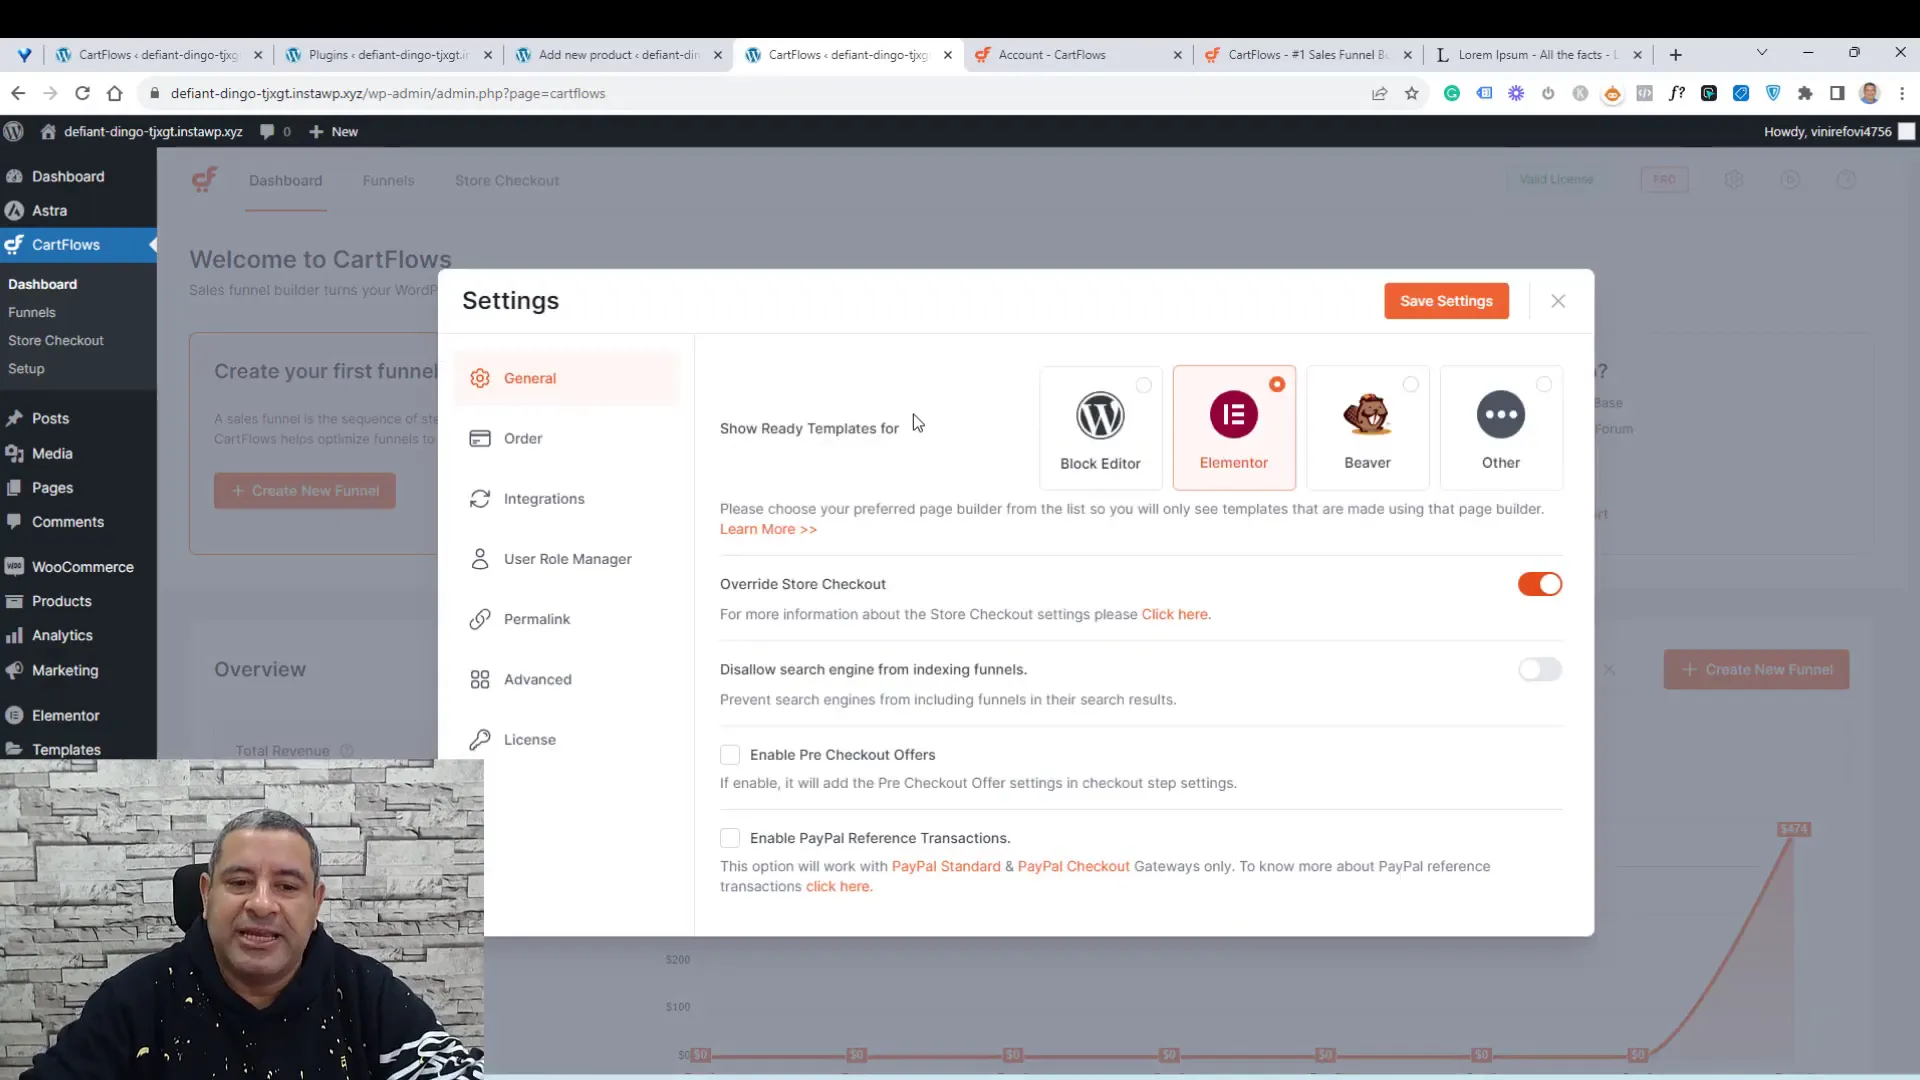
Before creating your first funnel, it’s crucial to configure the global settings within CartFlows. Access the global settings by clicking on the settings icon in the dashboard. Here, you can select which page builder you prefer to use for designing your funnels, such as Elementor or the default WordPress block editor.
Additionally, you can integrate CartFlows with other tools, such as Facebook Pixel, to track conversions and optimize your marketing efforts. If you’re using the Pro version, ensure that you enter your license key to unlock premium features. These settings lay the groundwork for creating effective sales funnels tailored to your needs.
Creating Your First Funnel
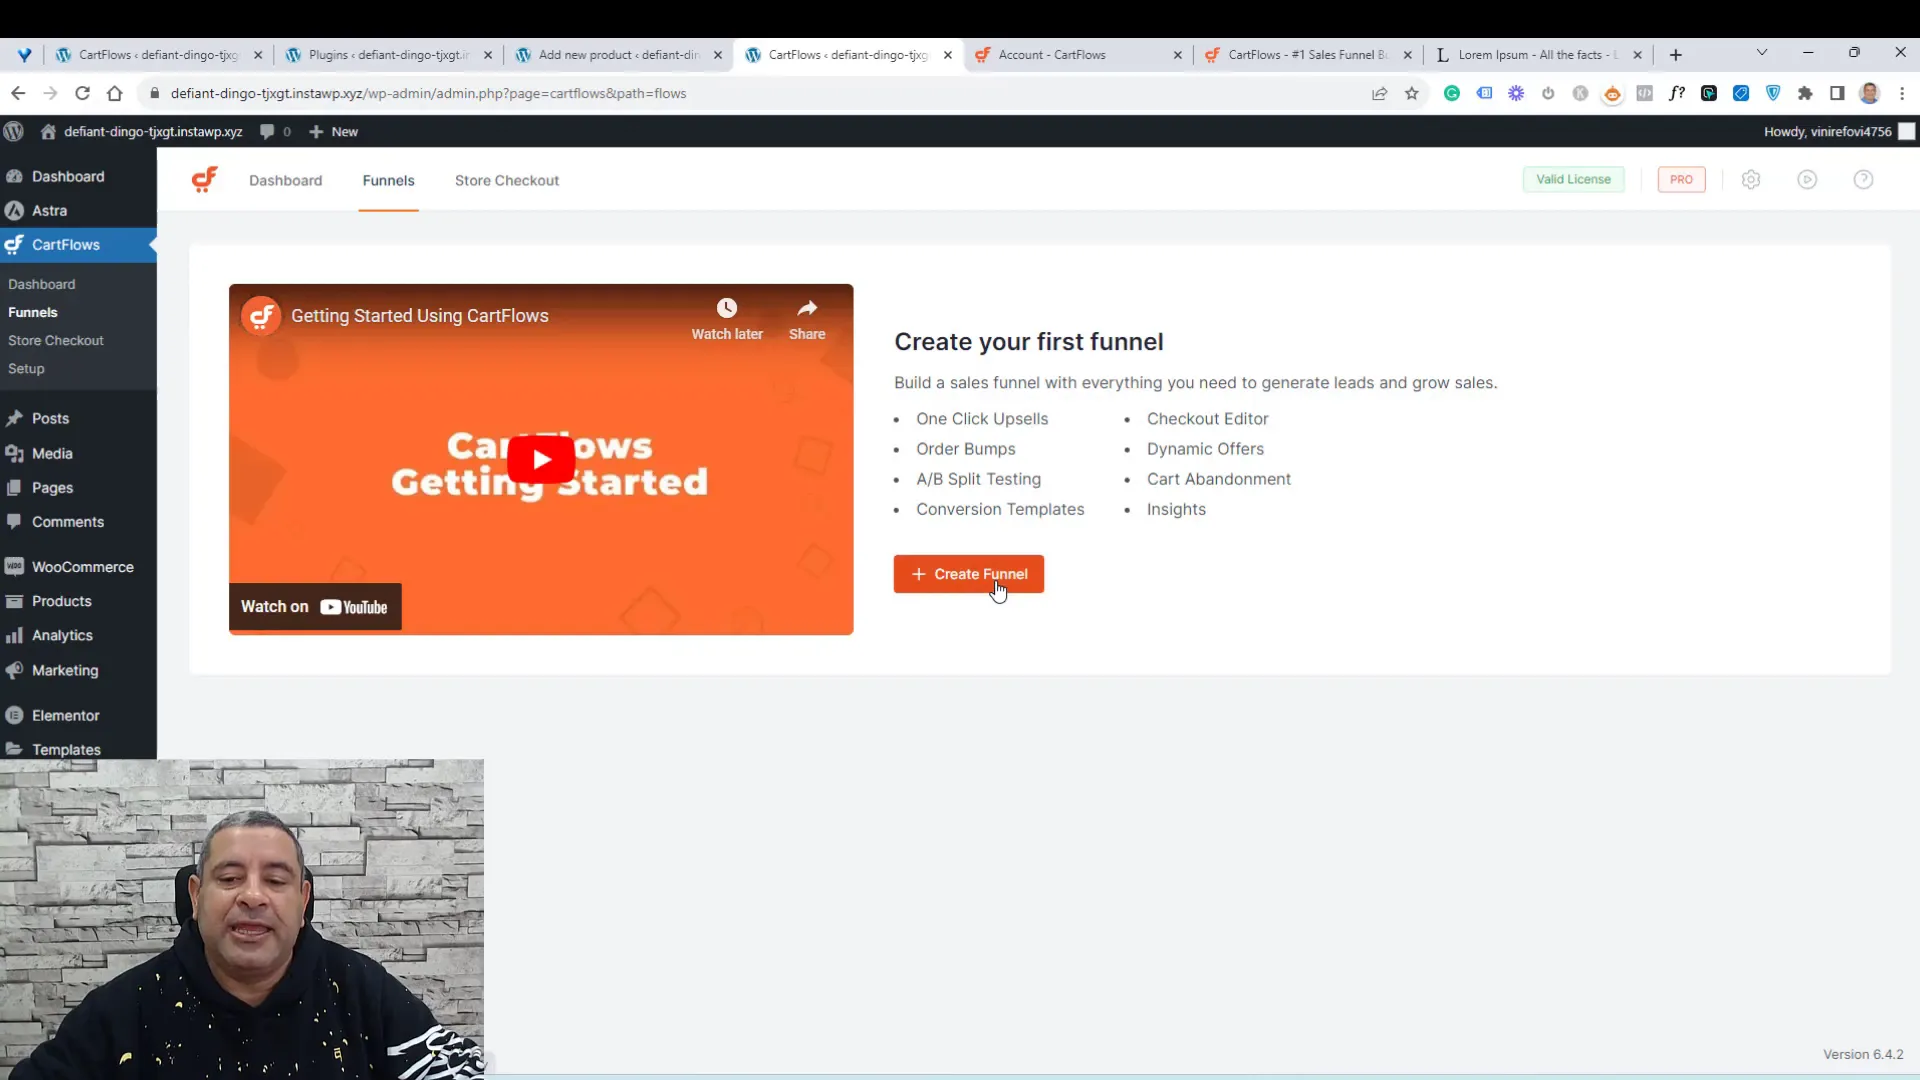
To create your first funnel using CartFlows, navigate to the CartFlows tab in your WordPress dashboard. Click on the “Create Funnel” button. You will be prompted to select a template for your funnel. CartFlows offers a variety of templates designed for different purposes, whether you’re selling courses, eBooks, or physical products.
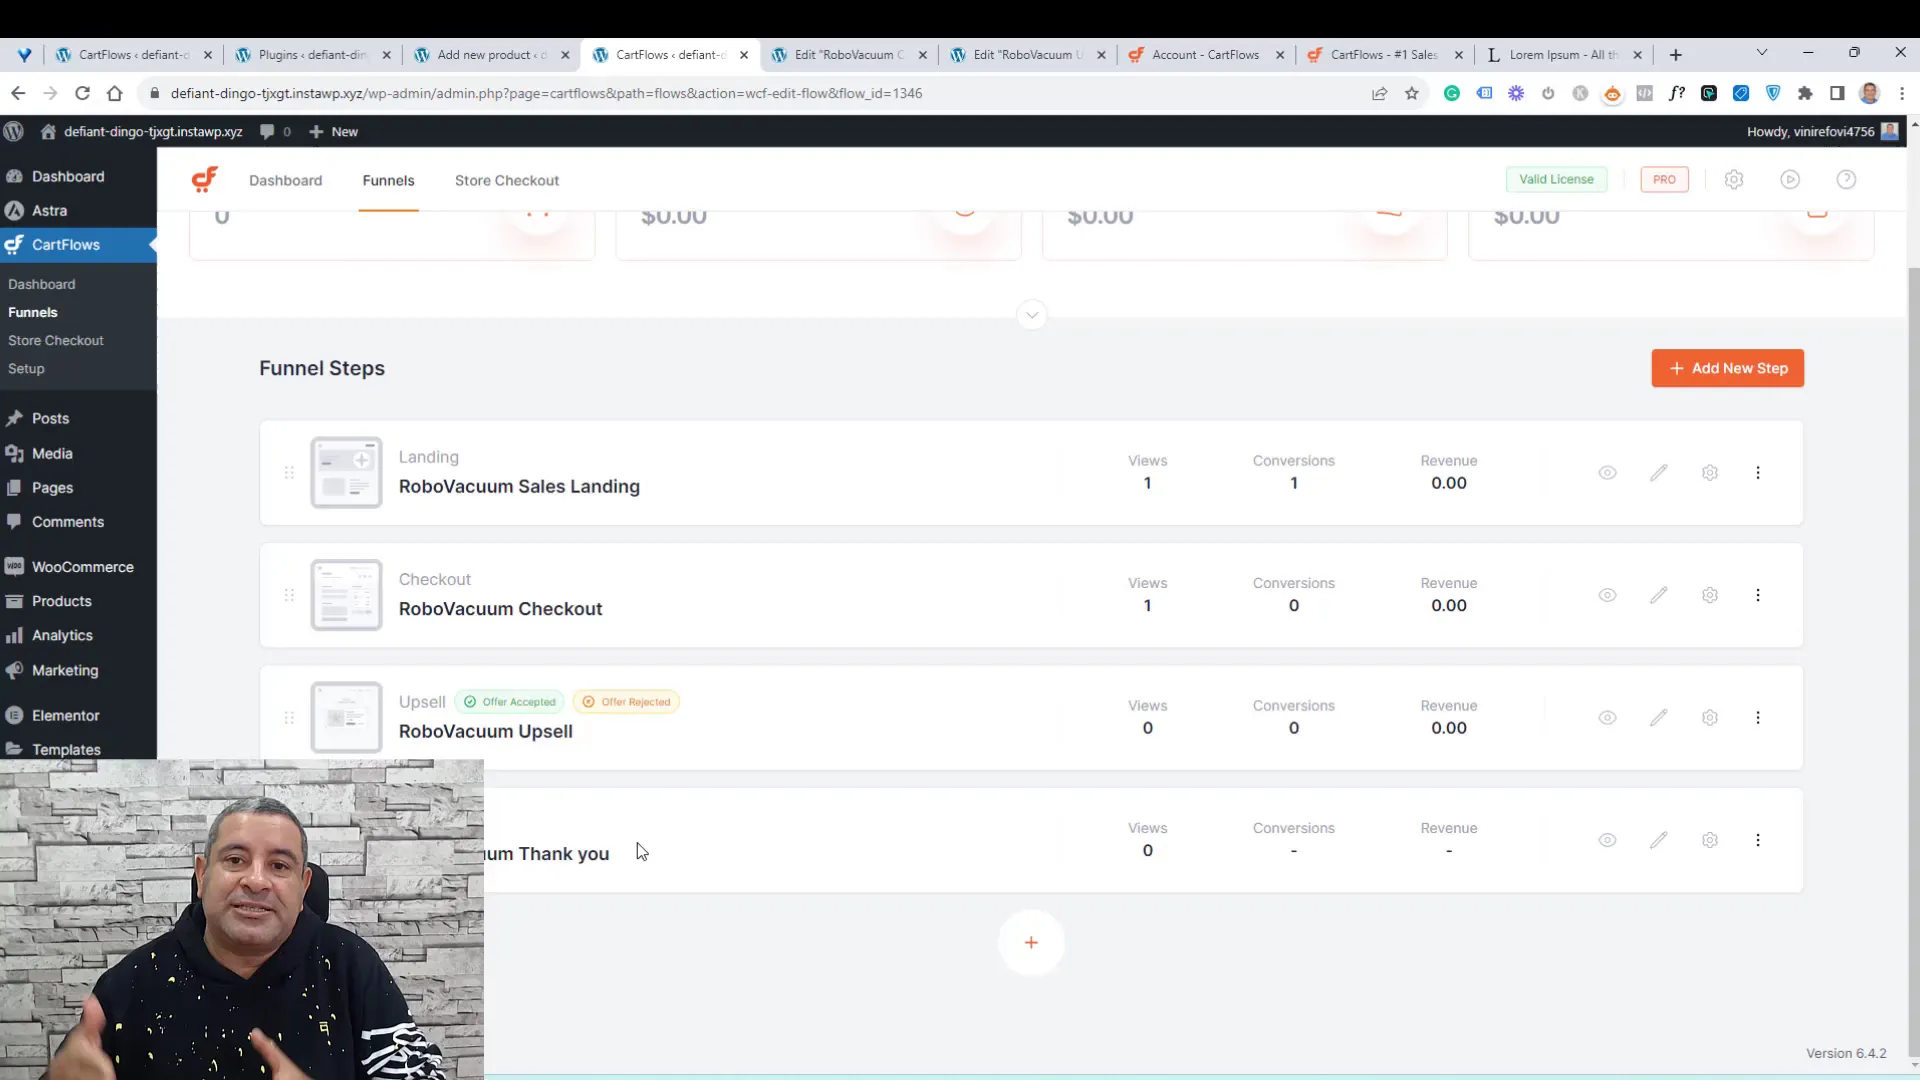
Once you choose a template, you can import it with a single click. This saves you the hassle of building from scratch. For instance, if you select a template that includes a landing page, checkout page, upsell, and thank you page, you can easily customize each step according to your needs.
Choosing Templates
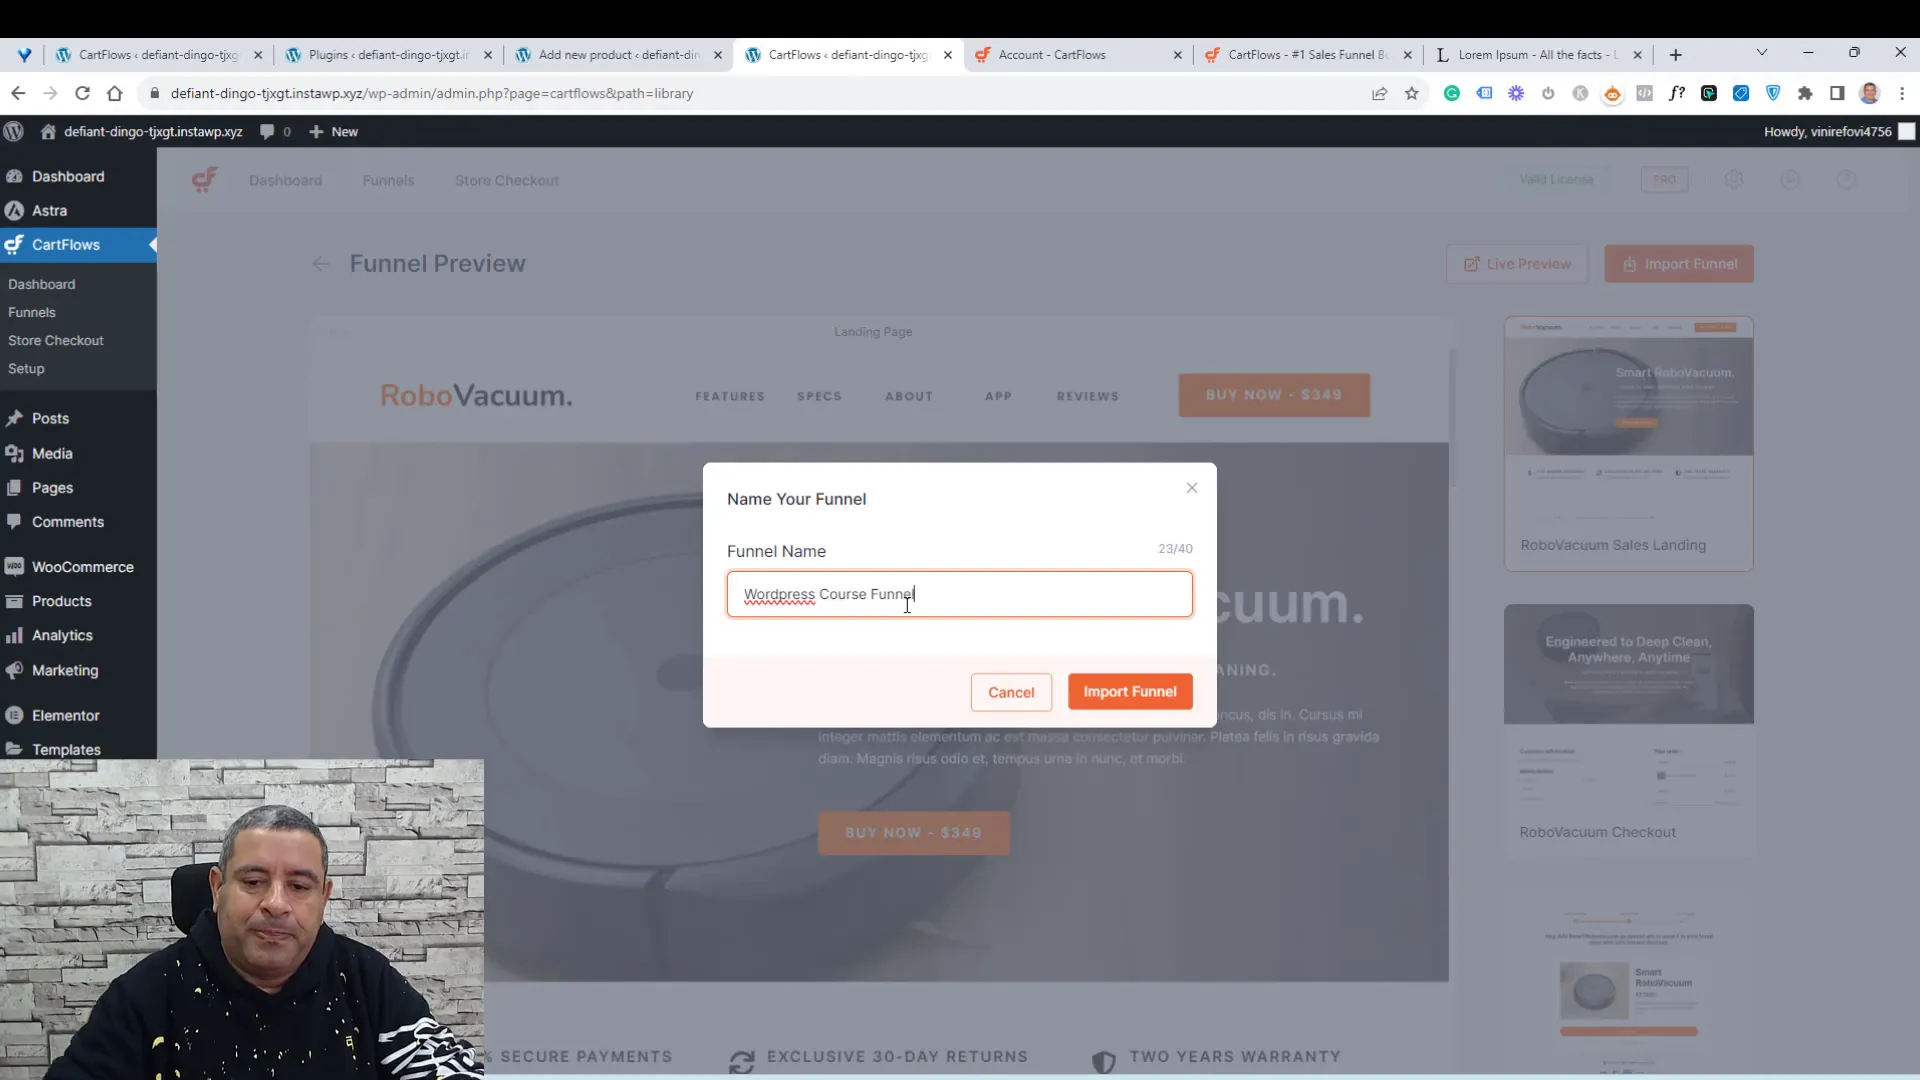
CartFlows provides a rich library of templates that are tailored to boost conversions. When you select a template, you can view all the steps it includes. This allows you to choose a funnel that best suits your product and sales strategy. Make sure to check if the template is marked as Pro, as some advanced features require the Pro version of the plugin.
Once you’ve chosen a template, you can import it into your site. Give it a meaningful name, like “WordPress Course Funnel,” to keep your dashboard organized.
Editing Funnel Steps
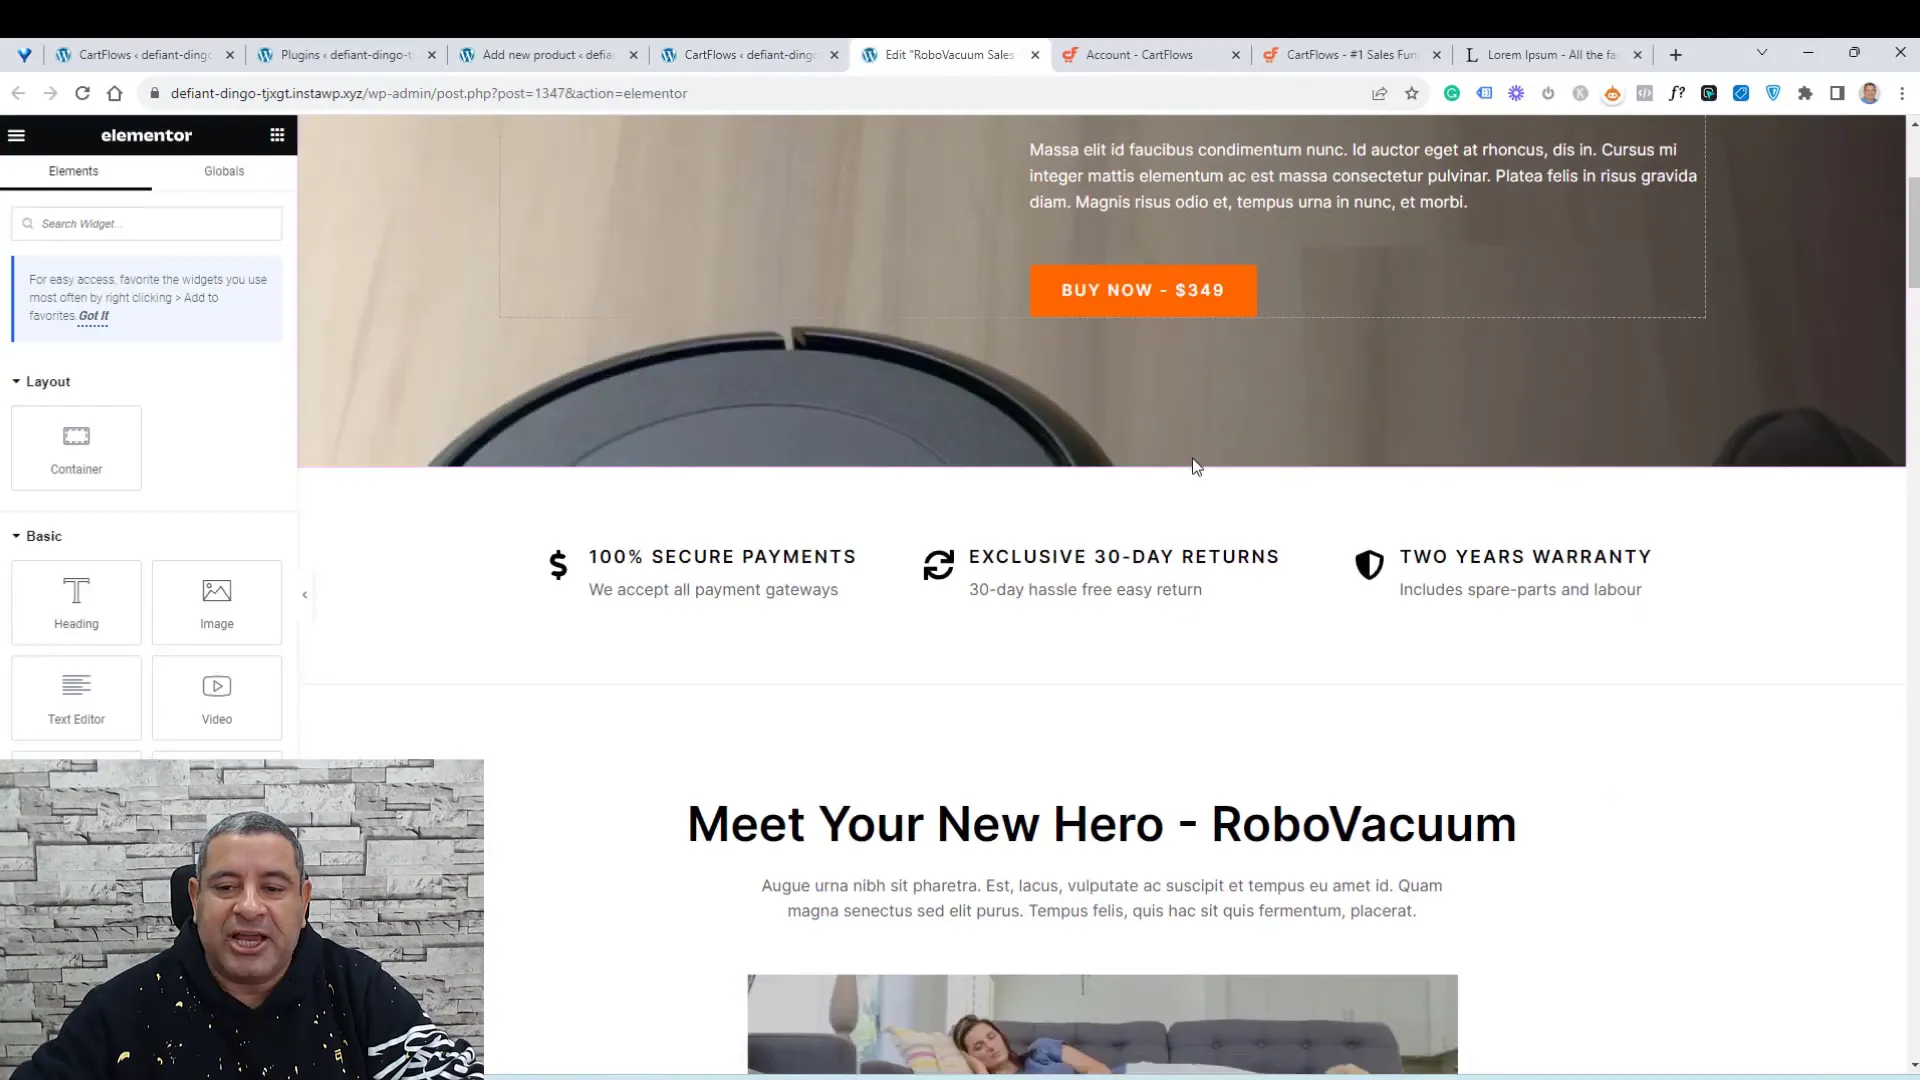
After importing your funnel, you will be taken to the funnel editor, where you can edit each step. For example, you can modify the landing page to reflect your branding and messaging. Change the text, images, and buttons to ensure they resonate with your target audience.
Each step provides options to view analytics, such as the number of views and conversions. This data is crucial for optimizing your funnel for better performance.
Setting Up the Checkout Page
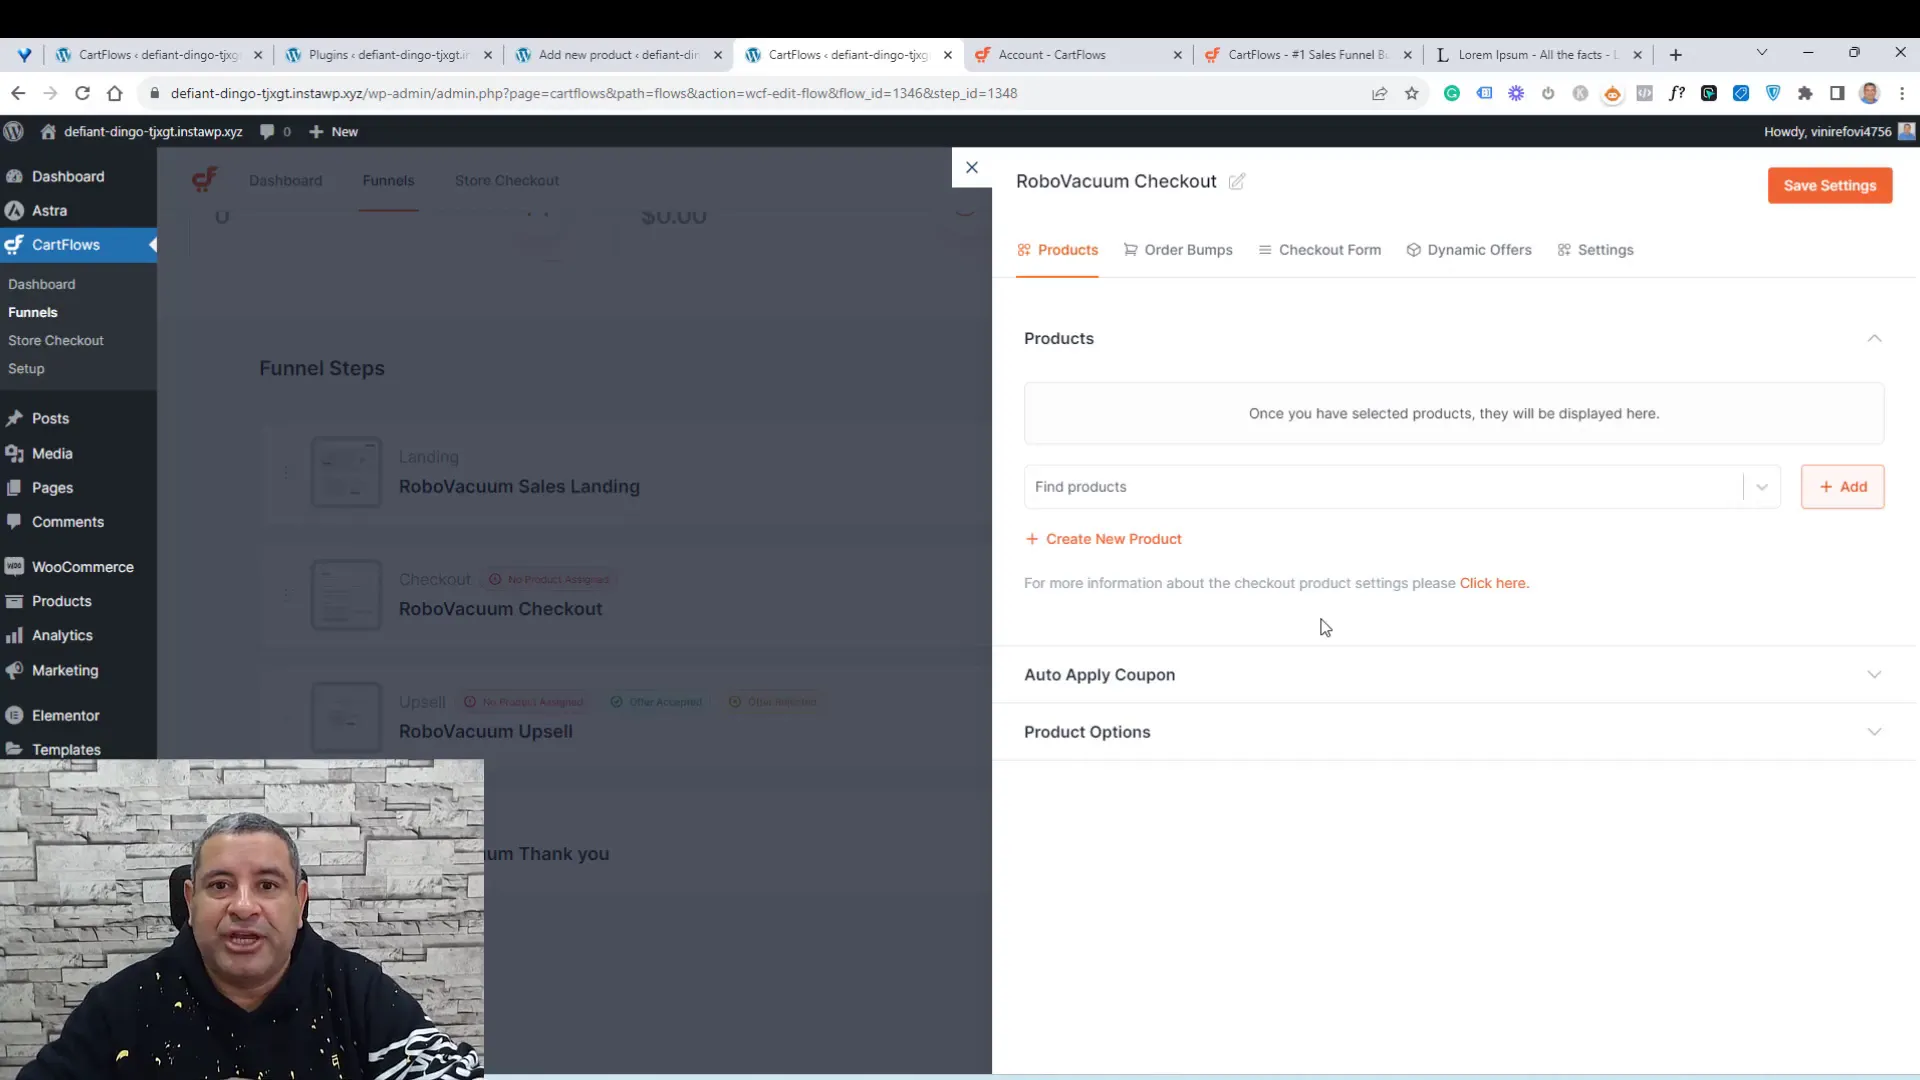
The checkout page is one of the most critical steps in your funnel. To configure it, click on the settings tab within the checkout step. Here, you will need to assign a product from your WooCommerce store to the checkout page. This is where you specify which product your customers will be purchasing.
You can also set pricing options, such as discounts. If you want to create a sense of urgency, consider applying a percentage discount to entice customers. For instance, reducing a $197 course to $157 can significantly increase conversions.
Adding Order Bumps
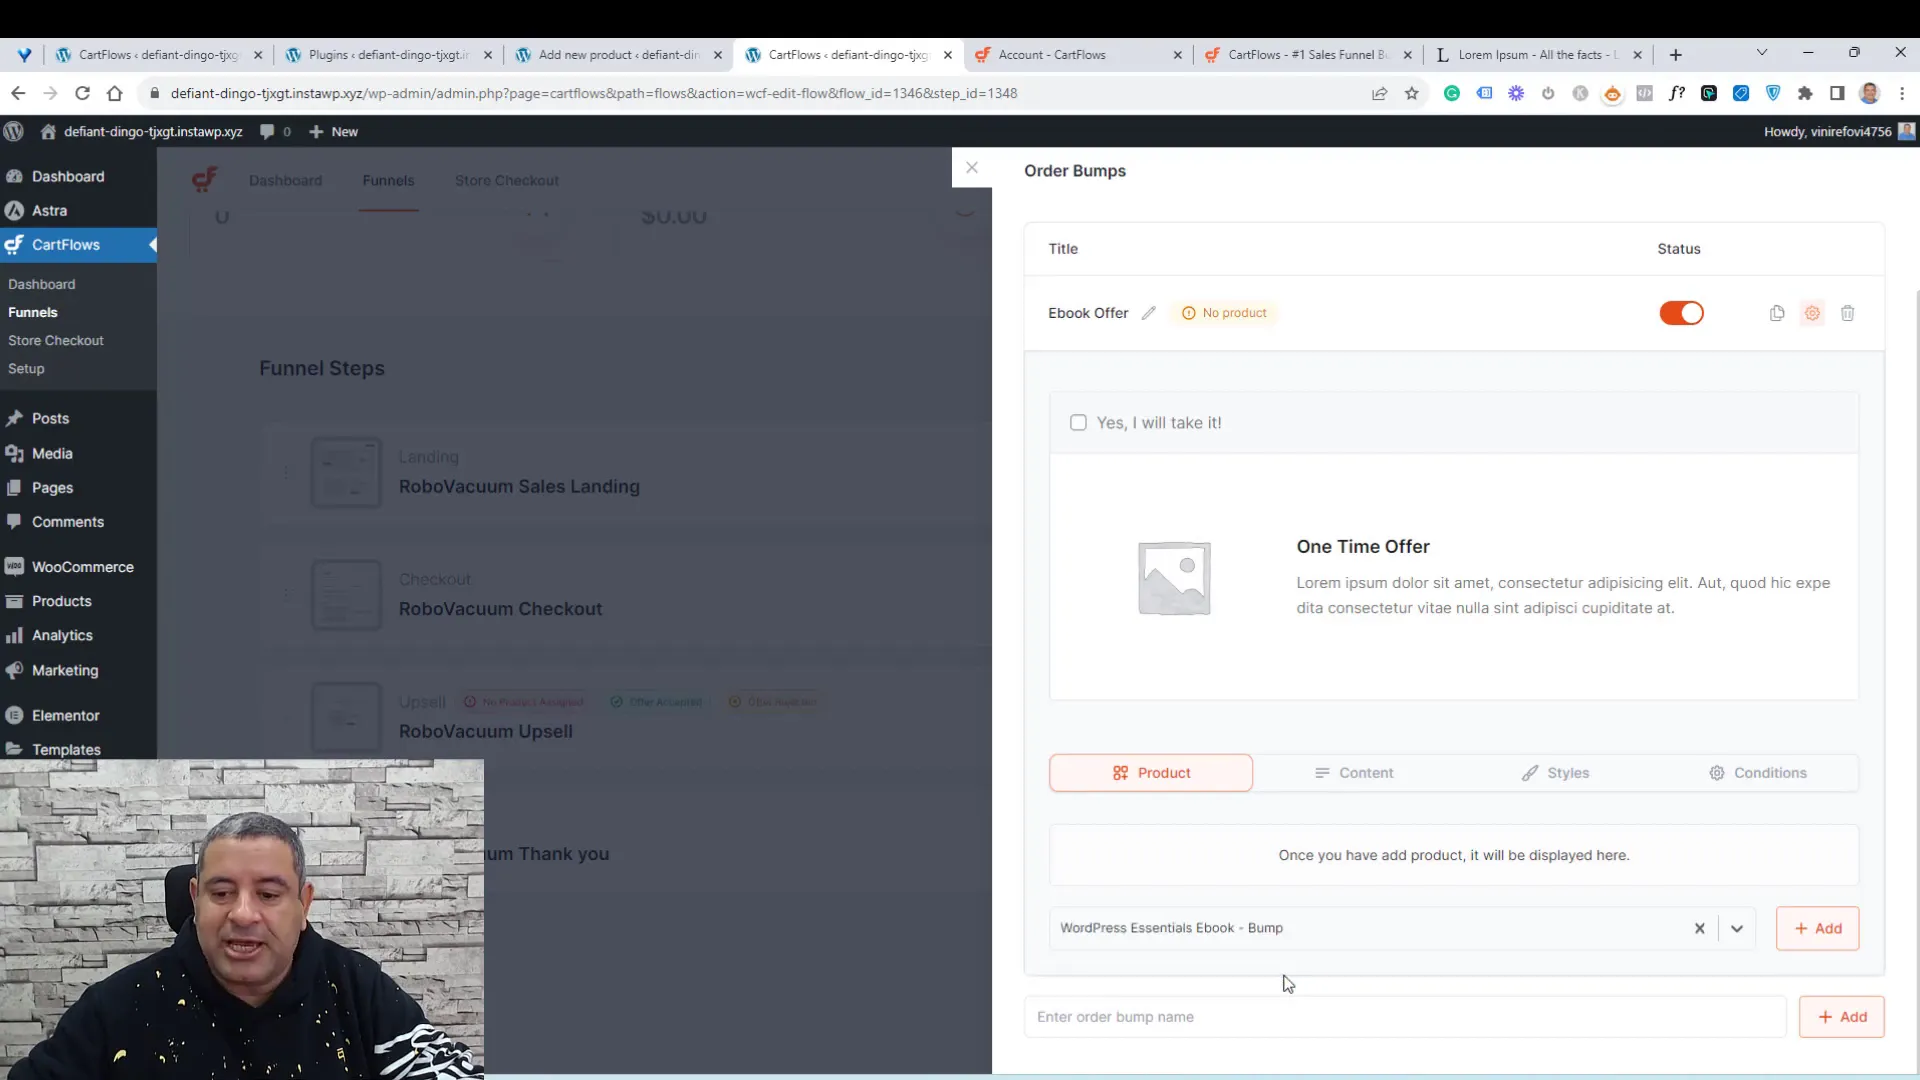
Order bumps are an excellent way to increase your average order value. To add an order bump, ensure you have the Pro version of CartFlows. In the checkout settings, you can add multiple order bumps to offer additional products to your customers.
For example, if you’re selling a course, you might add an order bump for an accompanying eBook at a reduced price. This not only increases your revenue but also provides additional value to your customers.
Designing Your Checkout Form
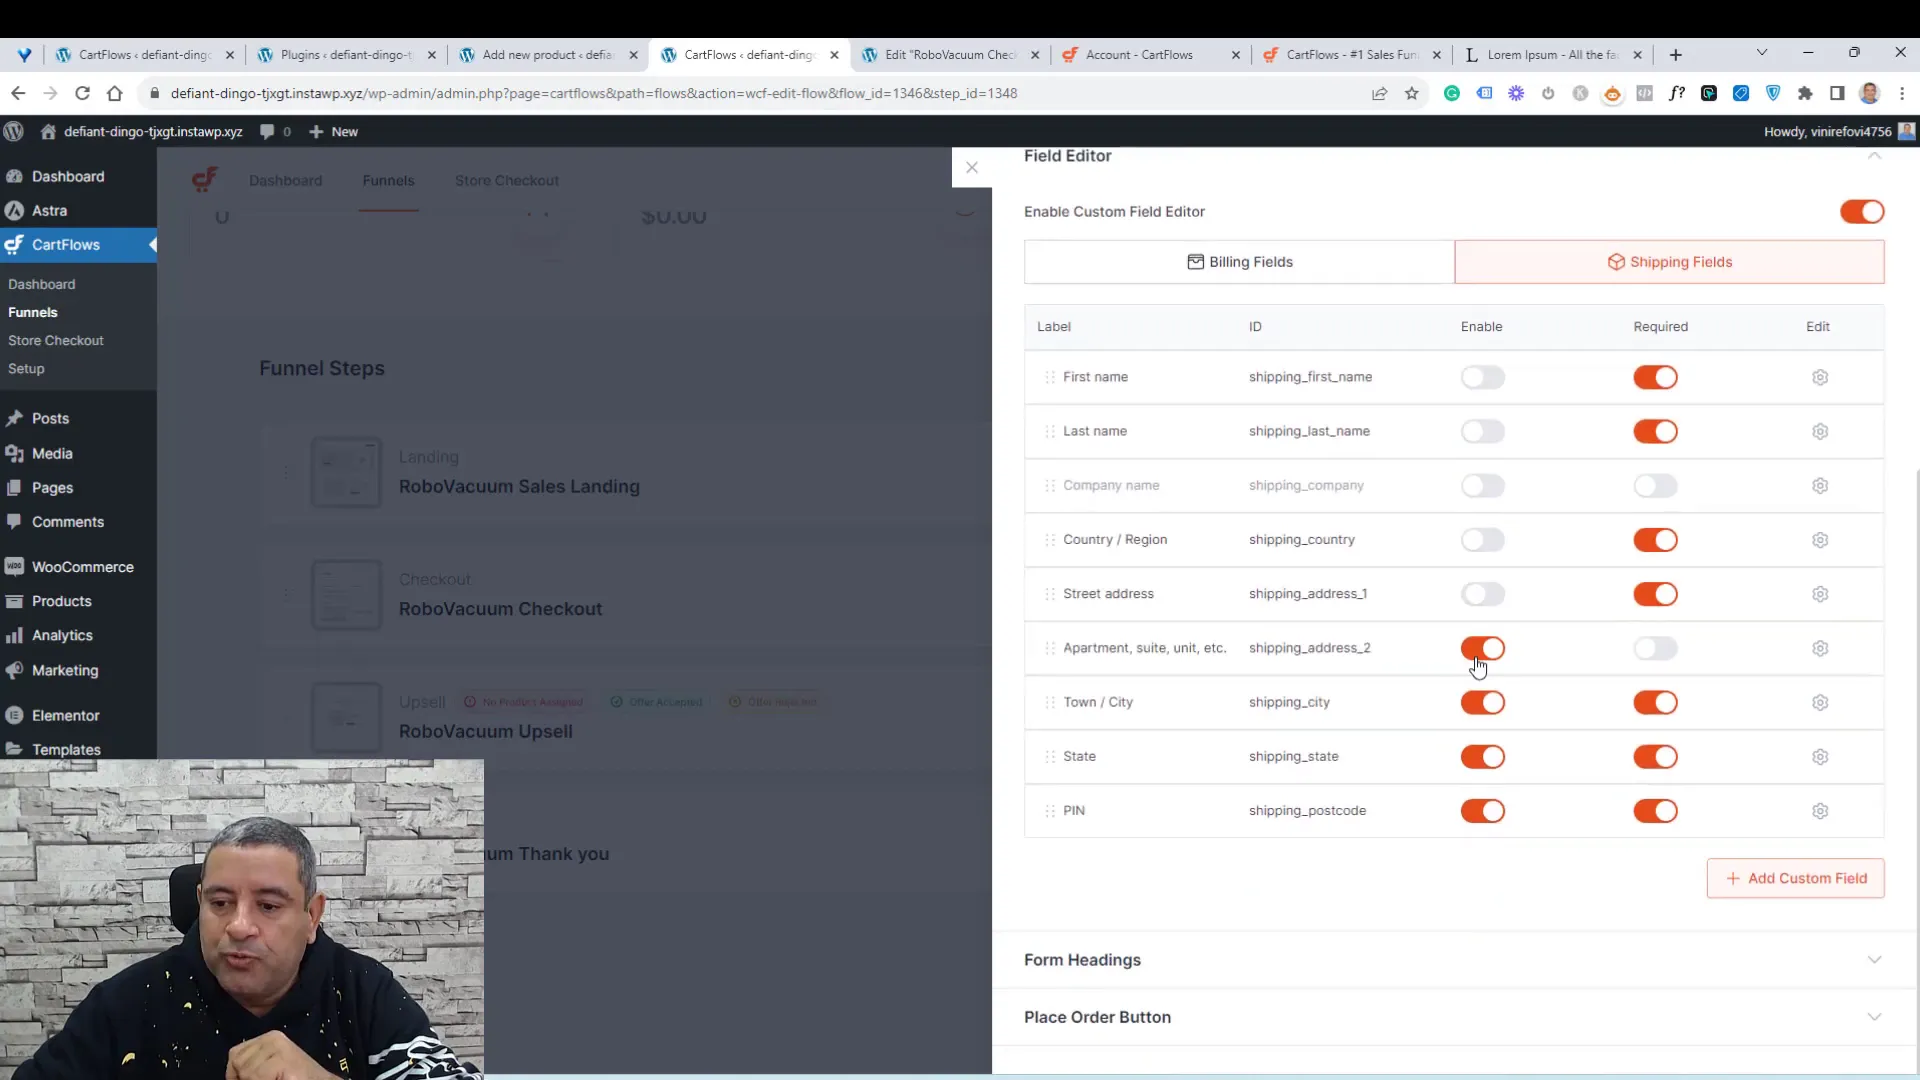
To enhance the user experience, you can customize your checkout form. Use the field editor to remove unnecessary fields and streamline the checkout process. The fewer fields you have, the more likely customers are to complete their purchase.
For optimal conversions, consider using a two-step checkout process. This separates the shipping information from payment details, making it less daunting for customers. Ensure that your checkout button is prominent and engaging to encourage action.
Implementing Upsells and Downsells
One of the standout features of the CartFlows Sales Funnel Plugin for WordPress is its ability to implement upsells and downsells. This functionality allows you to maximize the value of each customer transaction. By offering additional products at key moments during the purchasing journey, you can significantly boost your average order value.
To set up upsells, navigate to your funnel editor and select the upsell step. Here, you can easily assign a product from your WooCommerce store to be offered as an upsell. For instance, if a customer is purchasing a course, you might offer them a related course at a discounted rate. This not only enhances the customer’s experience but also increases your potential revenue.
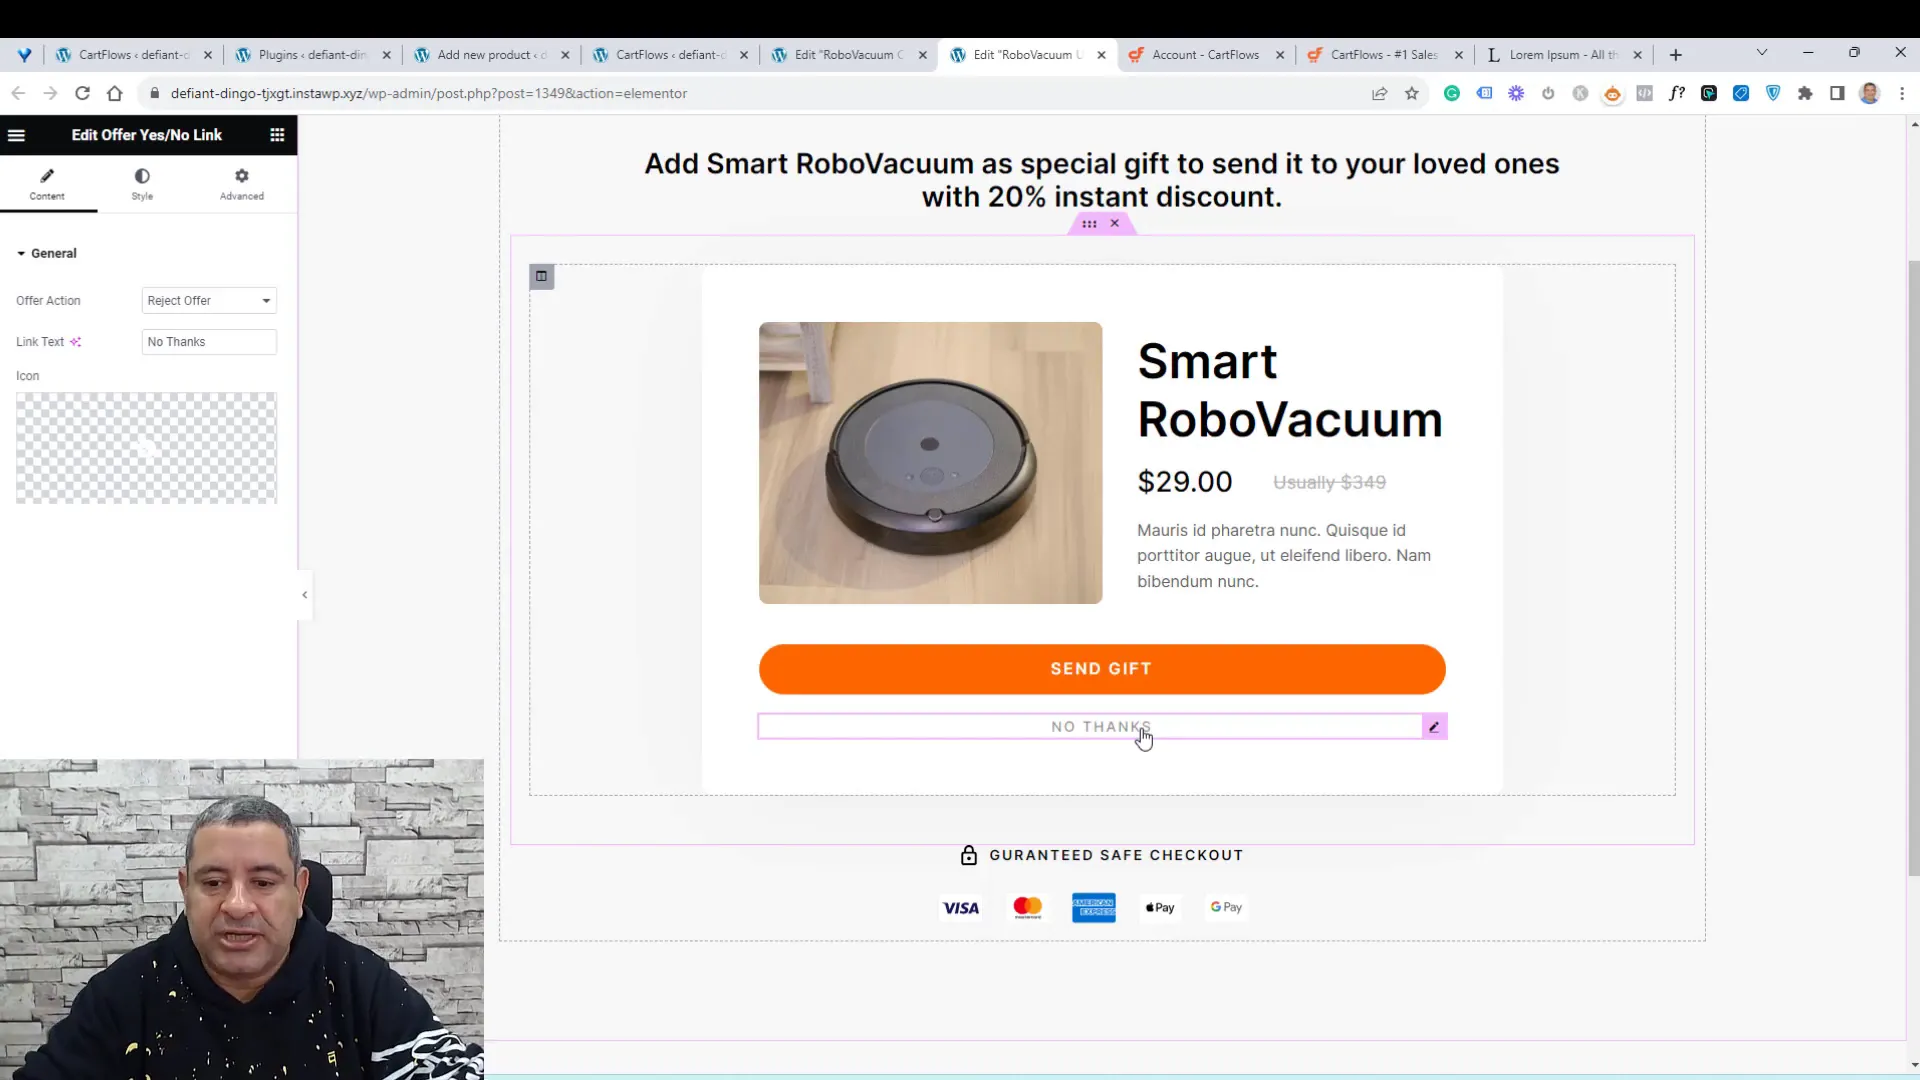
Downsells can be particularly effective for customers who decline your upsell offer. By implementing a downsell, you can present a lower-priced alternative that still appeals to their interests. This strategy helps recover potential lost sales and keeps customers engaged without overwhelming them with high-priced offers.
To add a downsell, simply click on the ‘Add New Step’ button in your funnel editor and select the downsell option. Assign the appropriate product and customize the messaging to resonate with customers who may be hesitant to spend more.
Configuring the Thank You Page
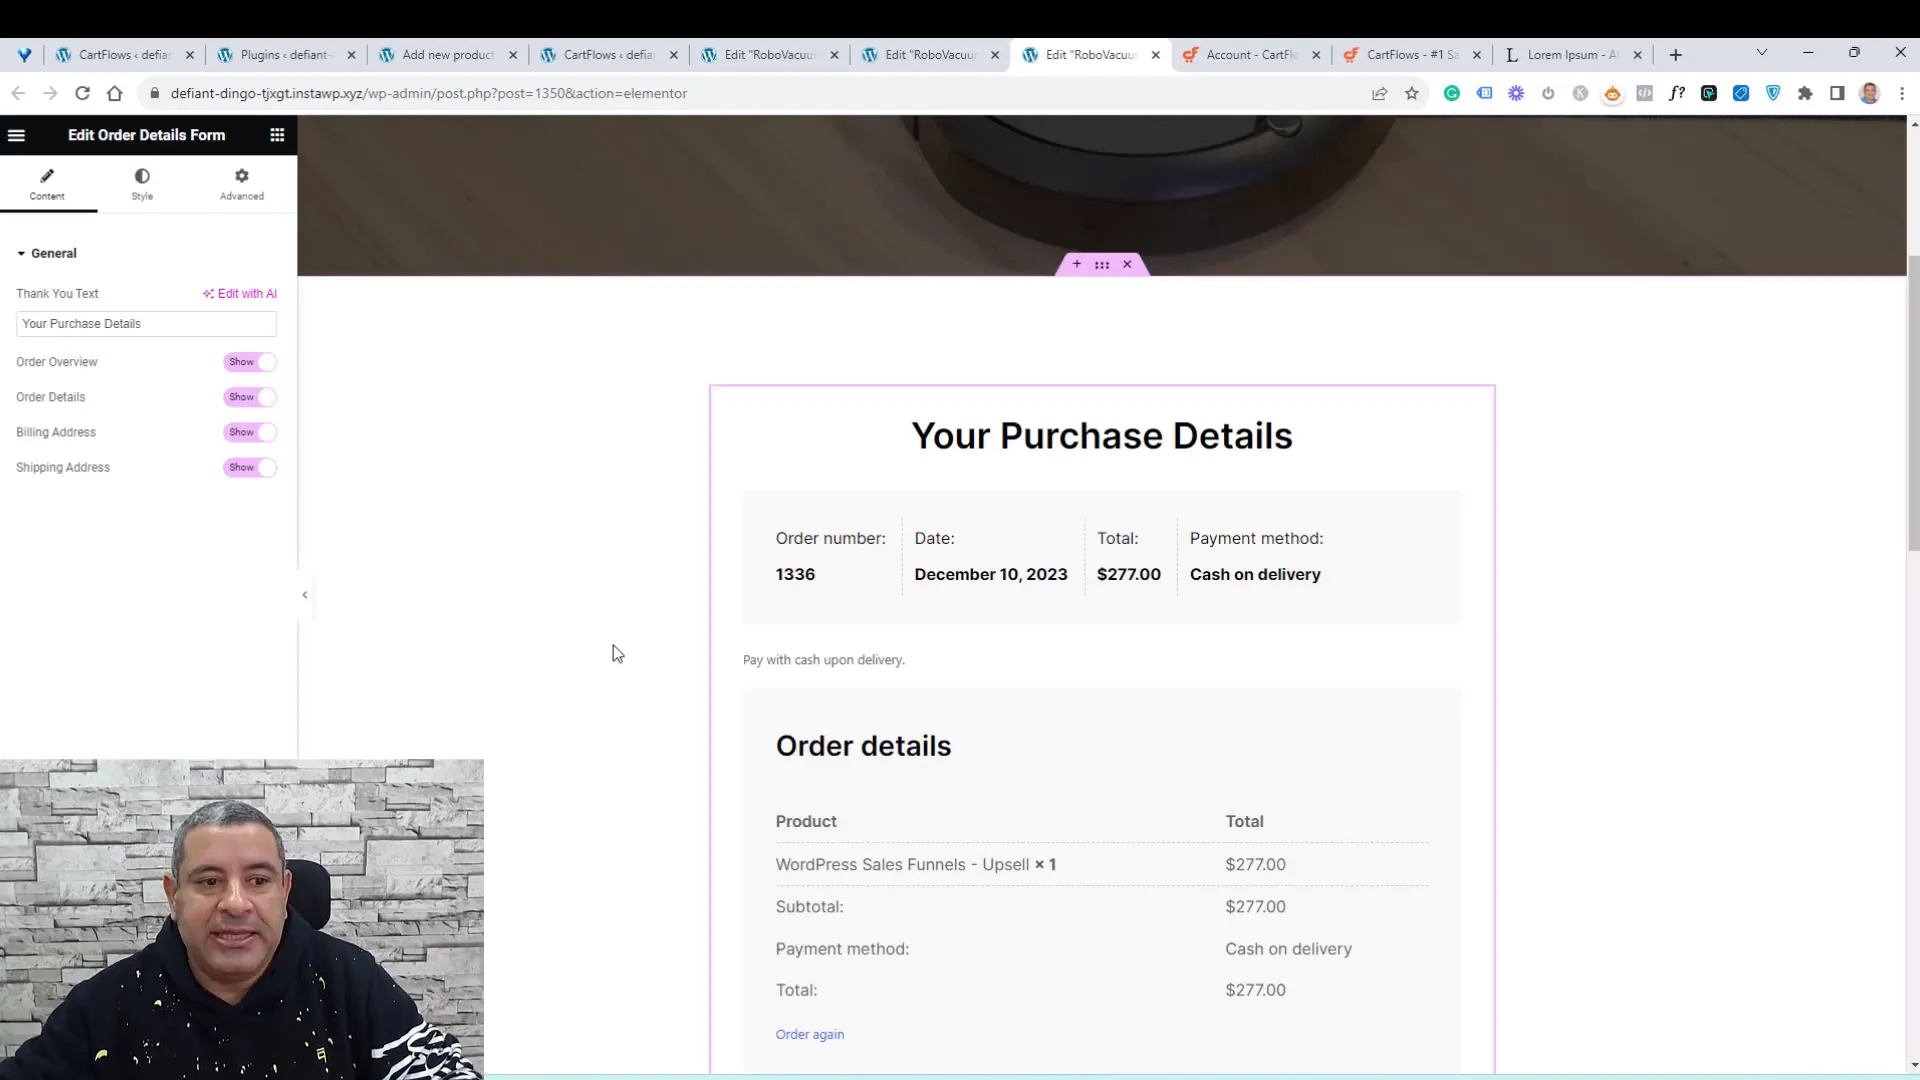
The Thank You page is a crucial step in the sales funnel as it provides customers with confirmation of their purchase and an opportunity for further engagement. With CartFlows, you can customize this page to include personalized messages, order summaries, and recommendations for other products.
To configure your Thank You page, navigate to the Thank You step in your funnel editor. Here, you can add dynamic content that thanks the customer for their purchase and outlines what they can expect next. You can also include links to related products or services, encouraging further exploration.
Testing Your Sales Funnel
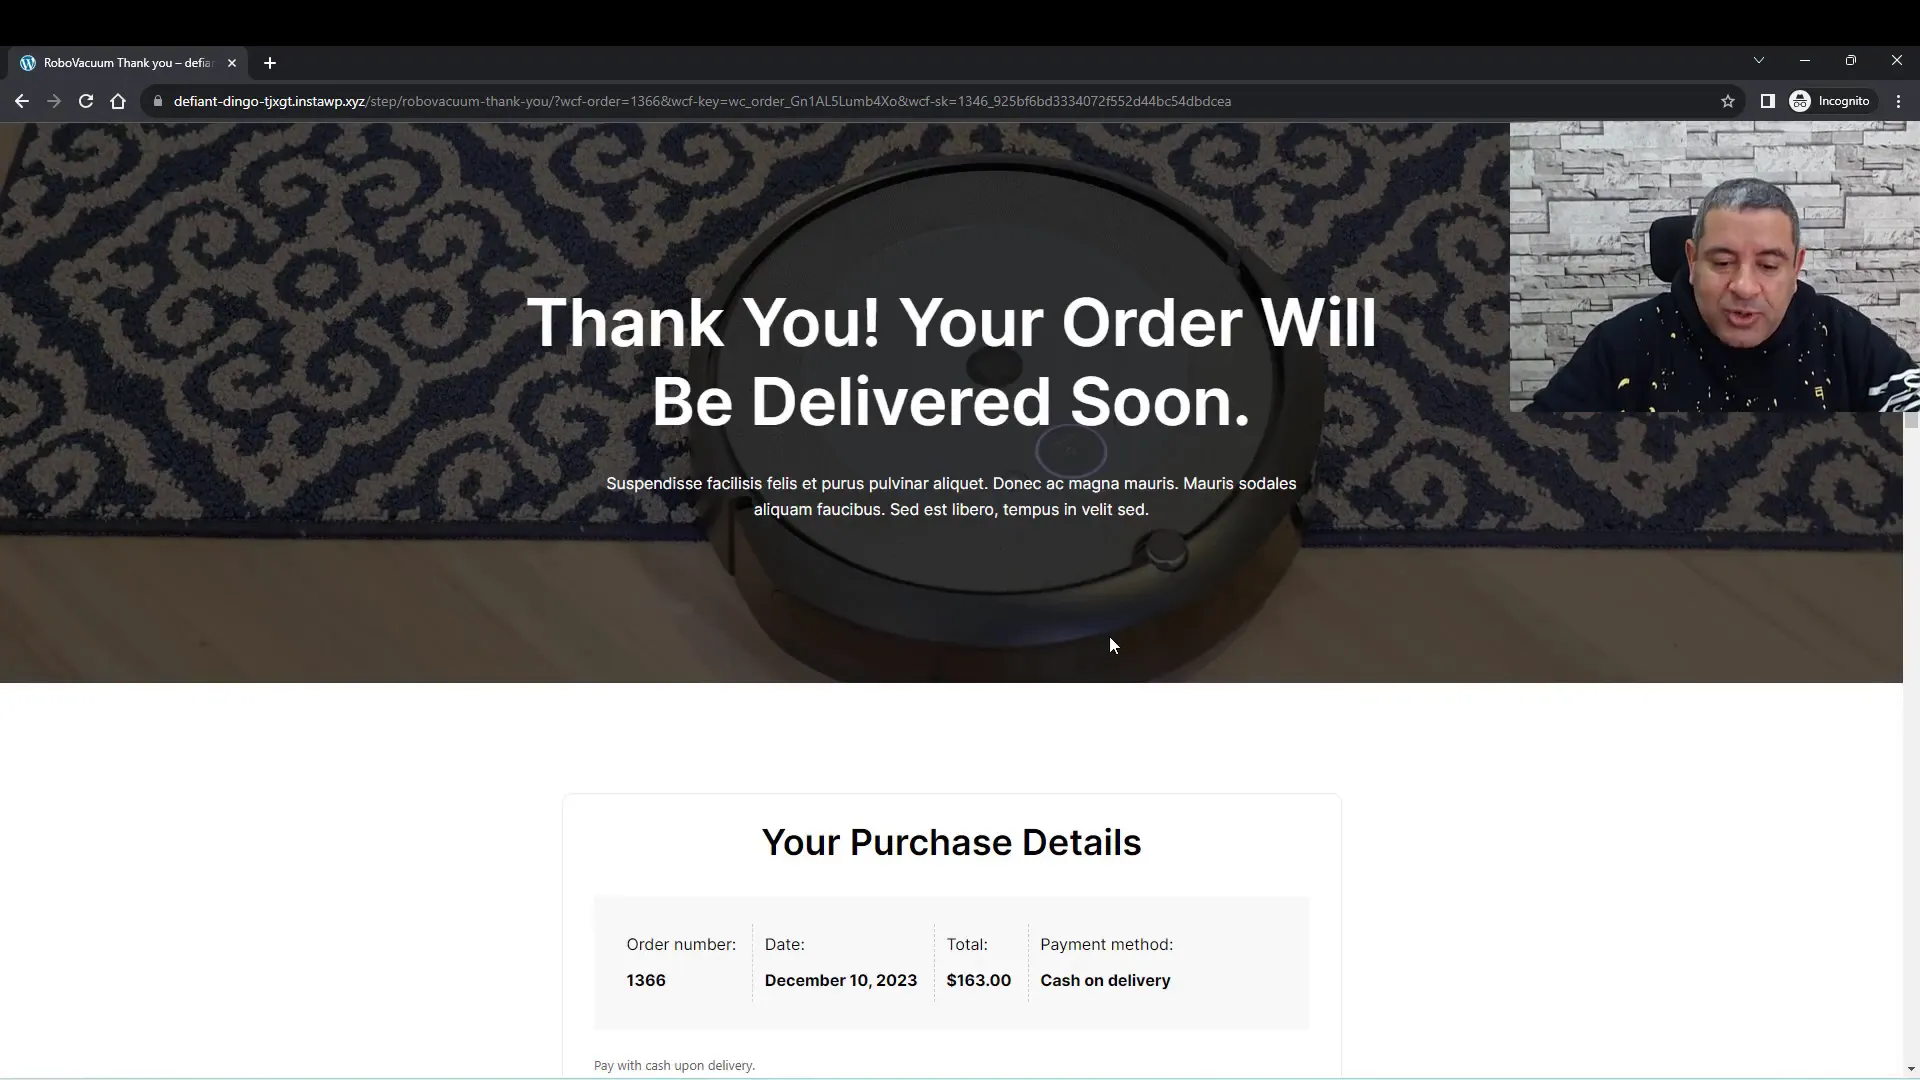
Before launching your sales funnel, it’s essential to test it thoroughly. CartFlows offers a seamless way to preview each step of your funnel. This allows you to ensure that all links work correctly, products are displayed as intended, and the overall user experience is smooth.
To test your funnel, use the preview feature in the funnel editor. Navigate through the entire process—from the landing page to the checkout and thank you page. This step is crucial for identifying any potential issues that could hinder conversions.
Key Features of CartFlows
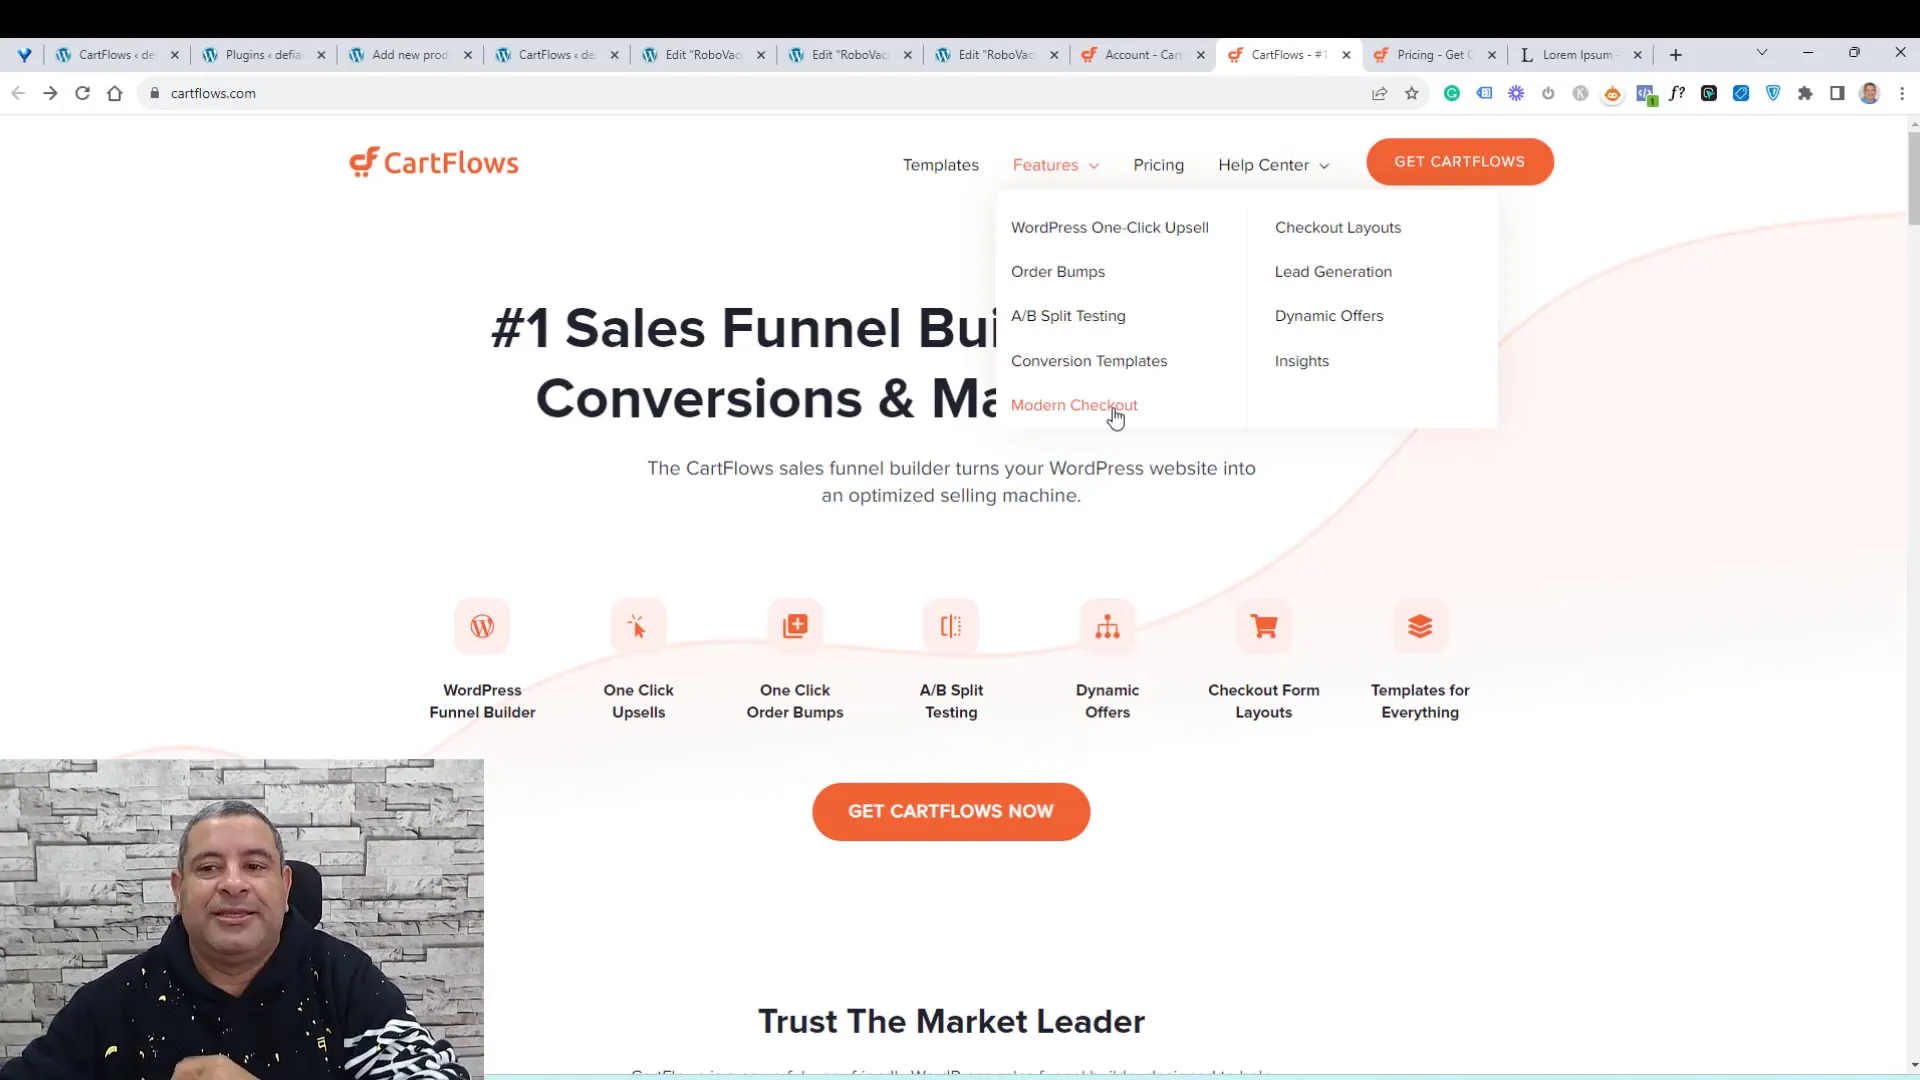
CartFlows is packed with features designed to enhance your sales funnel experience. Here are some of the key features that make it stand out:
- One-Click Upsells and Downsells: Easily add upsell and downsell offers to maximize revenue.
- Order Bumps: Increase average order values with compelling offers during checkout.
- A/B Split Testing: Test different offers and layouts to determine what converts best.
- Dynamic Checkout Forms: Customize checkout fields to streamline the purchasing process.
- High-Conversion Templates: Access a library of templates optimized for conversions.
Pricing Plans Overview
CartFlows offers different pricing plans to cater to various business needs. The key plans include:
- Starter Plan: Ideal for beginners, offering basic funnel functionalities.
- Plus Plan: Recommended for most users, including upsells, downsells, and smart funnel routing.
- Pro Plan: Best for advanced users needing extensive features and support.
For a detailed look at the pricing and to choose the plan that suits your business, consider checking out the options through my affiliate link.
