In this detailed review, we explore the Fluent Forms plugin, a powerful tool for creating payment forms in WordPress. Whether you’re a yoga instructor or running any service-based business, this guide will walk you through the features, benefits, and setup process of Fluent Forms.
Introduction to Fluent Forms
Fluent Forms is a versatile WordPress plugin designed to simplify the process of creating forms for various purposes. From contact forms to payment forms, it provides a user-friendly interface that caters to both beginners and experienced developers. With its drag-and-drop functionality, creating custom forms is quick and efficient.
The plugin is particularly beneficial for service-based businesses, as it allows users to collect payments seamlessly. Whether you are a yoga instructor, a consultant, or running an online store, Fluent Forms can enhance your customer interaction by providing a streamlined way to gather information and facilitate transactions.
Types of Services Offered
Fluent Forms offers a range of services that can be tailored to meet the needs of different businesses. Some of the key services include:
- Contact Forms: Easily collect inquiries from potential clients.
- Payment Forms: Accept payments securely through various payment gateways.
- Survey and Poll Forms: Gather feedback and insights from your audience.
- Registration Forms: Manage event sign-ups and registrations effectively.
These services can be customized to fit the unique requirements of your business, ensuring you have the right tools to engage with your customers effectively.
Key Features of Fluent Forms
Fluent Forms stands out due to its robust features that enhance functionality and usability:
- Drag-and-Drop Builder: Create forms effortlessly without any coding knowledge.
- Multiple Payment Gateways: Integrate with popular payment processors like PayPal and Stripe.
- Conditional Logic: Display or hide fields based on user responses.
- Email Notifications: Automatically send notifications to users and admins upon form submission.
- Integration Capabilities: Connect with various email marketing platforms and CRM systems.
These features empower users to create highly functional forms tailored to their specific needs, enhancing user experience and operational efficiency.
Installing Fluent Forms Plugin
To get started with Fluent Forms, you first need to install the plugin on your WordPress site. Here’s how to do it:
- Log in to your WordPress admin dashboard.
- Navigate to Plugins > Add New.
- Search for Fluent Forms in the search bar.
- Click Install Now next to the plugin.
- After installation, click Activate to enable the plugin.
- If you have purchased the premium version, upload it by clicking Upload Plugin and selecting the premium file.
Once activated, you will find a new Fluent Forms menu in your dashboard, ready for configuration and form creation.
Configuring Global Settings
After installation, it’s essential to configure the global settings to ensure the plugin operates according to your business needs. Follow these steps:
- Go to the Fluent Forms section in your dashboard.
- Select Global Settings.
- Fill in your business name, address, and upload your logo.
- Under the Payment tab, choose your preferred payment methods such as Stripe or PayPal.
- Don’t forget to enter your license key under the License tab.
These settings will ensure that your forms are set up correctly for payments and branding.
Creating a New Payment Form
Creating a new payment form with Fluent Forms is straightforward. Here’s a step-by-step guide:
- In the Fluent Forms dashboard, click on New Form.
- Select Create a Blank Form or choose a template.
- Rename your form by clicking the pencil icon and entering a new title.
- Drag and drop the necessary fields onto your form, such as name, email, and payment fields.
Make sure to customize each field to gather the information you need from your customers.
Adding Payment Options
Once your form is ready, you can add payment options to facilitate transactions. Here’s how:
- In the form editor, find the Payment Fields section.
- Choose the payment method display type you prefer, such as radio buttons for service selection.
- Set the pricing for each service option you provide.
- Optionally, include a quantity field to allow customers to select how many sessions they wish to book.
This setup will enable you to collect payments directly through your forms, streamlining the purchasing process for your customers.
Finalizing the Payment Form
Once you’ve added all necessary fields to your payment form, it’s time to finalize it. Make sure to review each component carefully. Check the alignment of fields, ensure that all labels are clear, and verify that the payment options are accurately represented. The user experience hinges on clarity and ease of use.
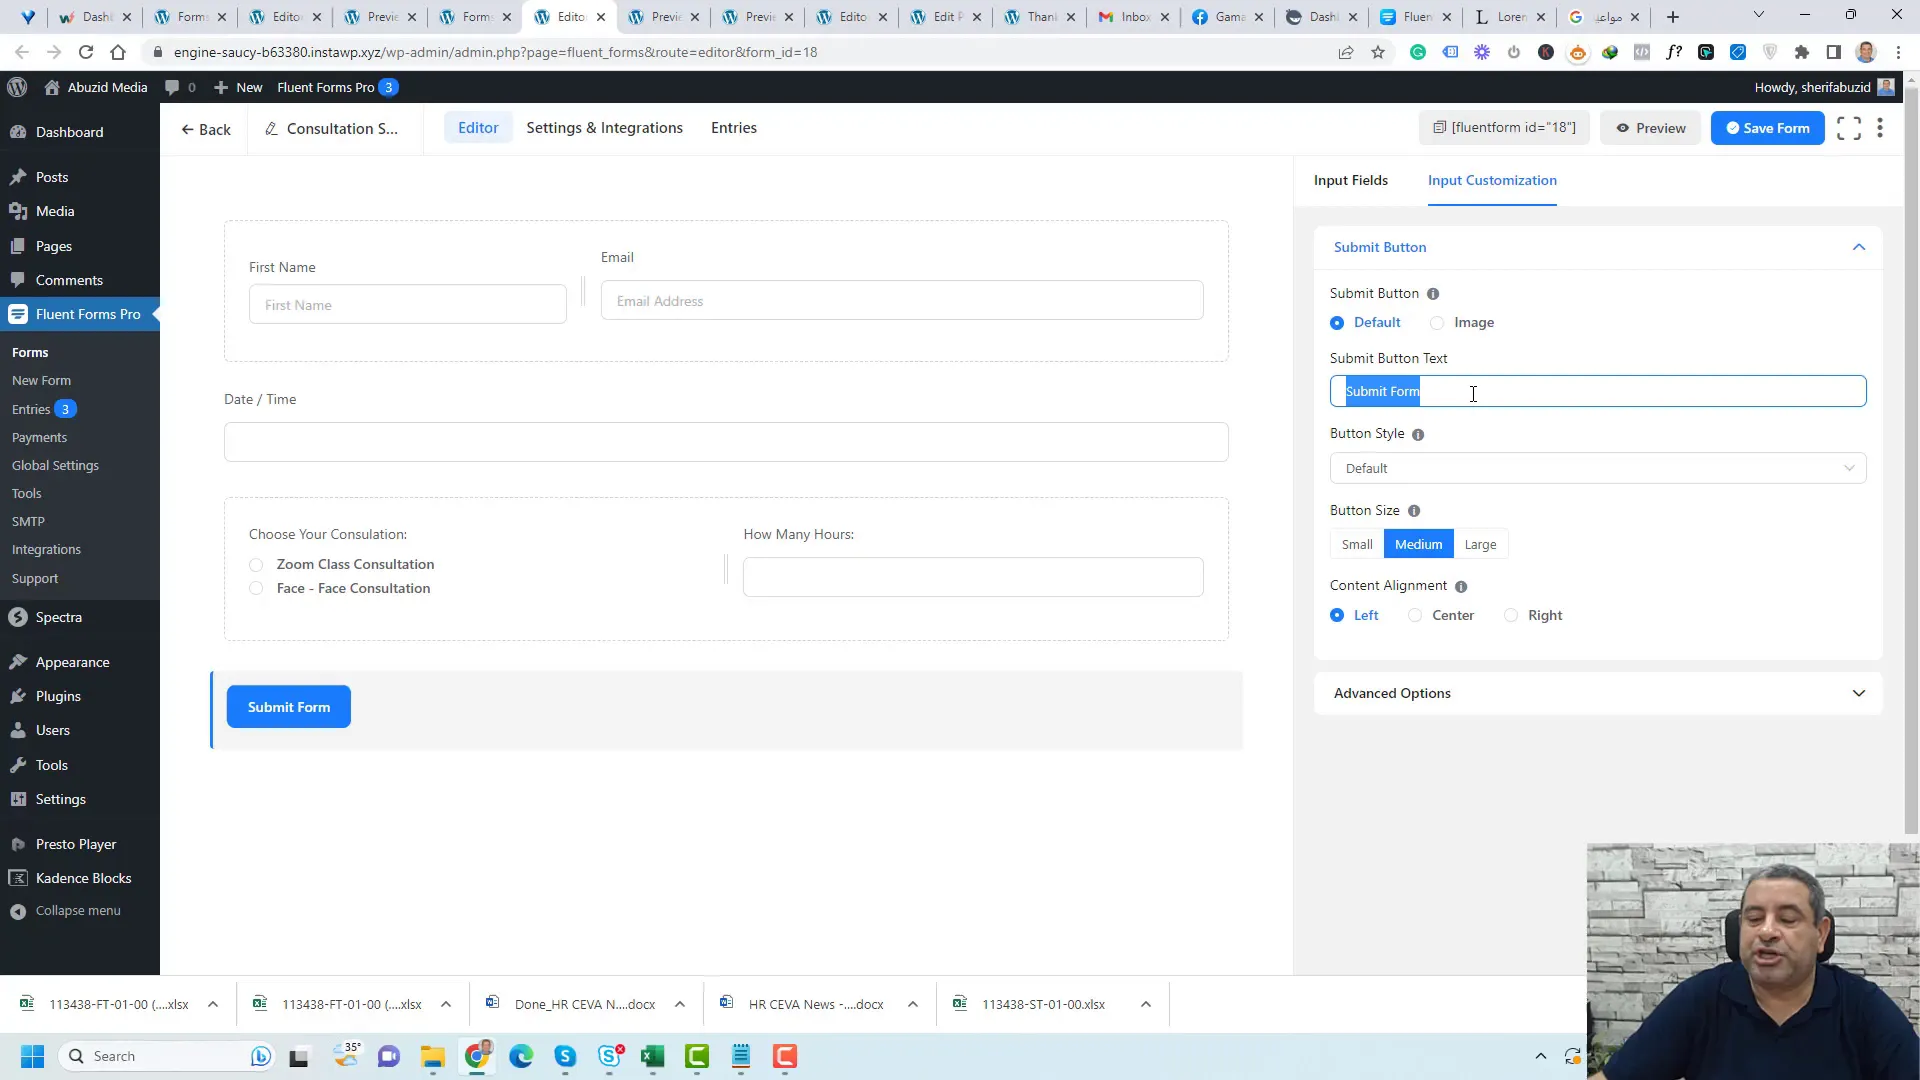
In the Fluent Forms editor, you can also customize the submit button text. Change it from the default “Submit” to something more descriptive like “Pay Now” or “Complete Booking” to inform users about the action they are taking.
Integrating with Email Marketing Platforms
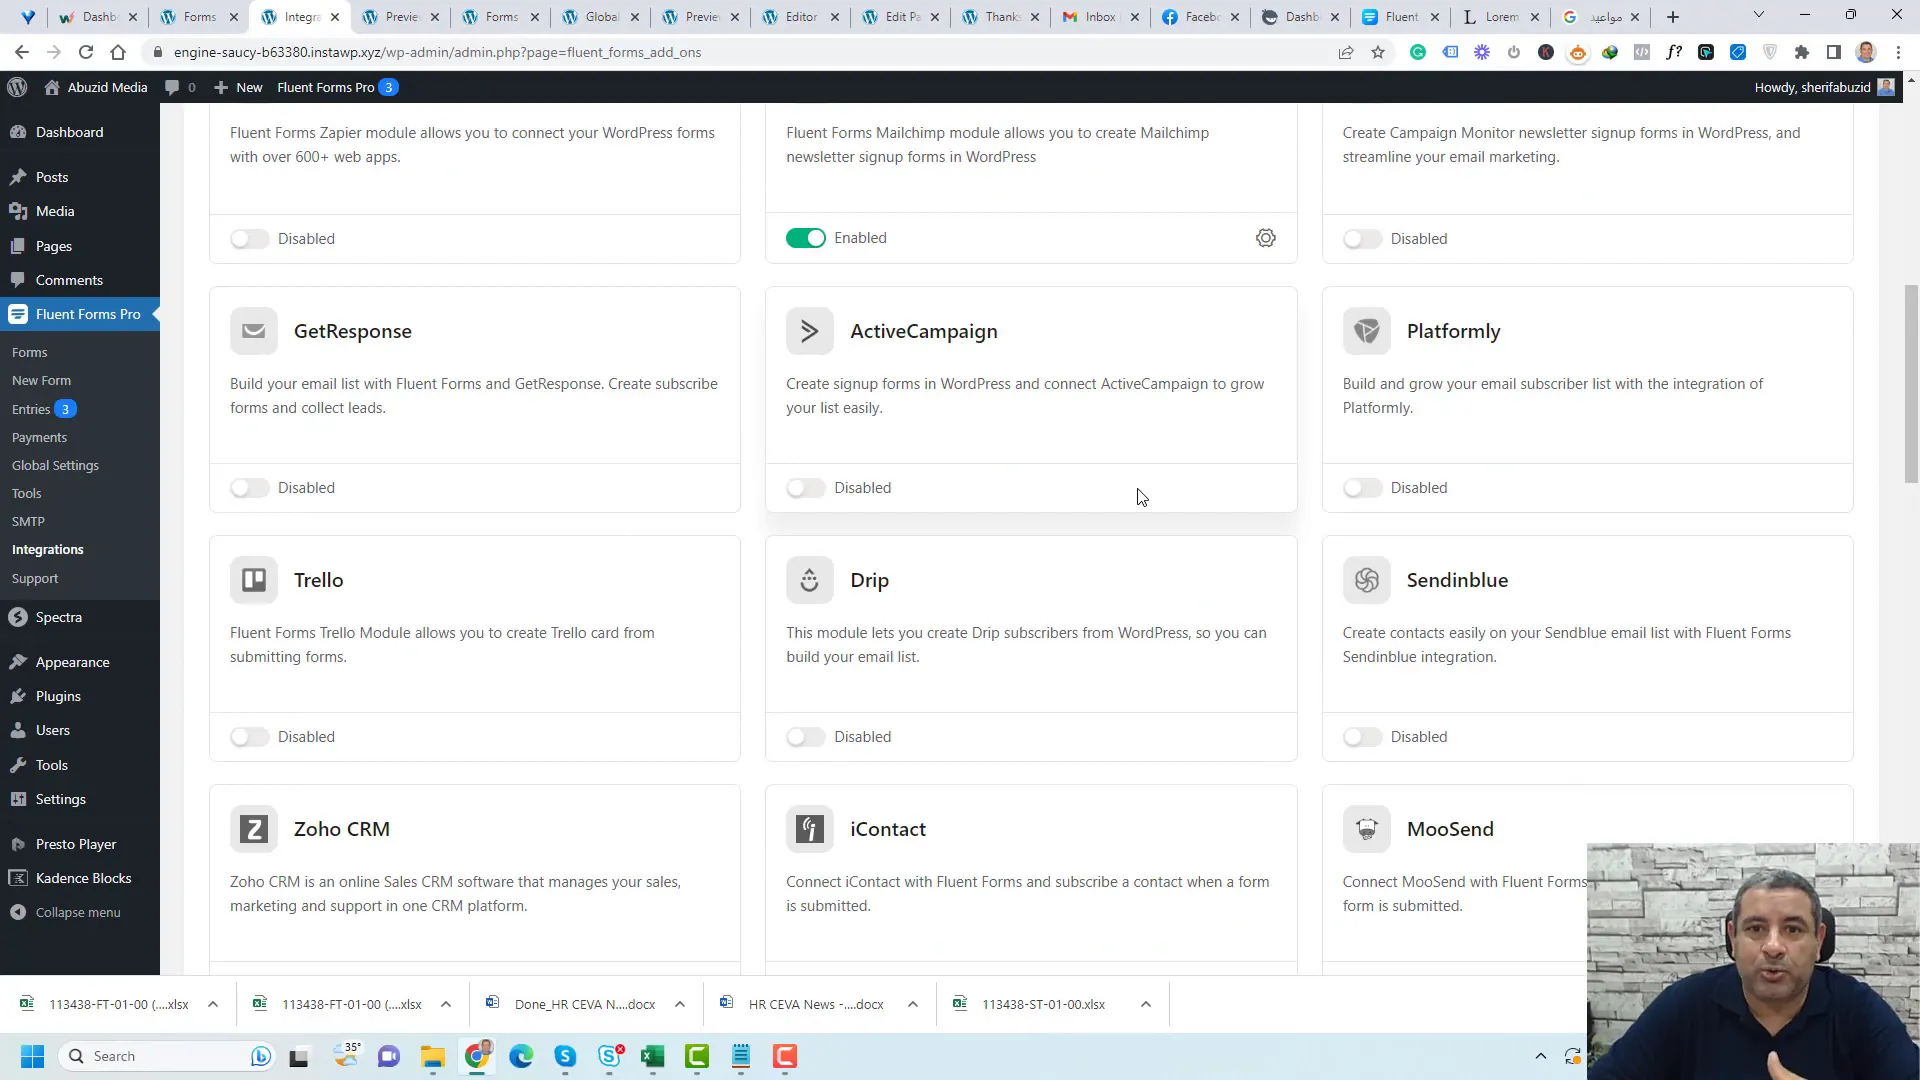
Integrating your payment form with email marketing platforms is crucial for maintaining communication with your customers. Fluent Forms supports various platforms such as Mailchimp, ActiveCampaign, and Sendinblue.
To set up the integration, navigate to the Fluent Forms settings in your WordPress dashboard. Under the Integrations tab, select the desired email marketing service and follow the prompts to connect your account. You will typically need to enter your API key, which can be found in your email marketing platform’s settings.
Styling Your Payment Form
Styling your payment form enhances its visual appeal and can significantly impact conversion rates. Use custom CSS or a page builder to adjust colors, fonts, and layouts to match your brand identity.
In Fluent Forms, you can employ the built-in styling options to adjust the appearance of fields and buttons. Consider adding padding, margins, and borders to create a cohesive look. Adding a background color or image can also make the form stand out.
Redirecting to a Thank You Page
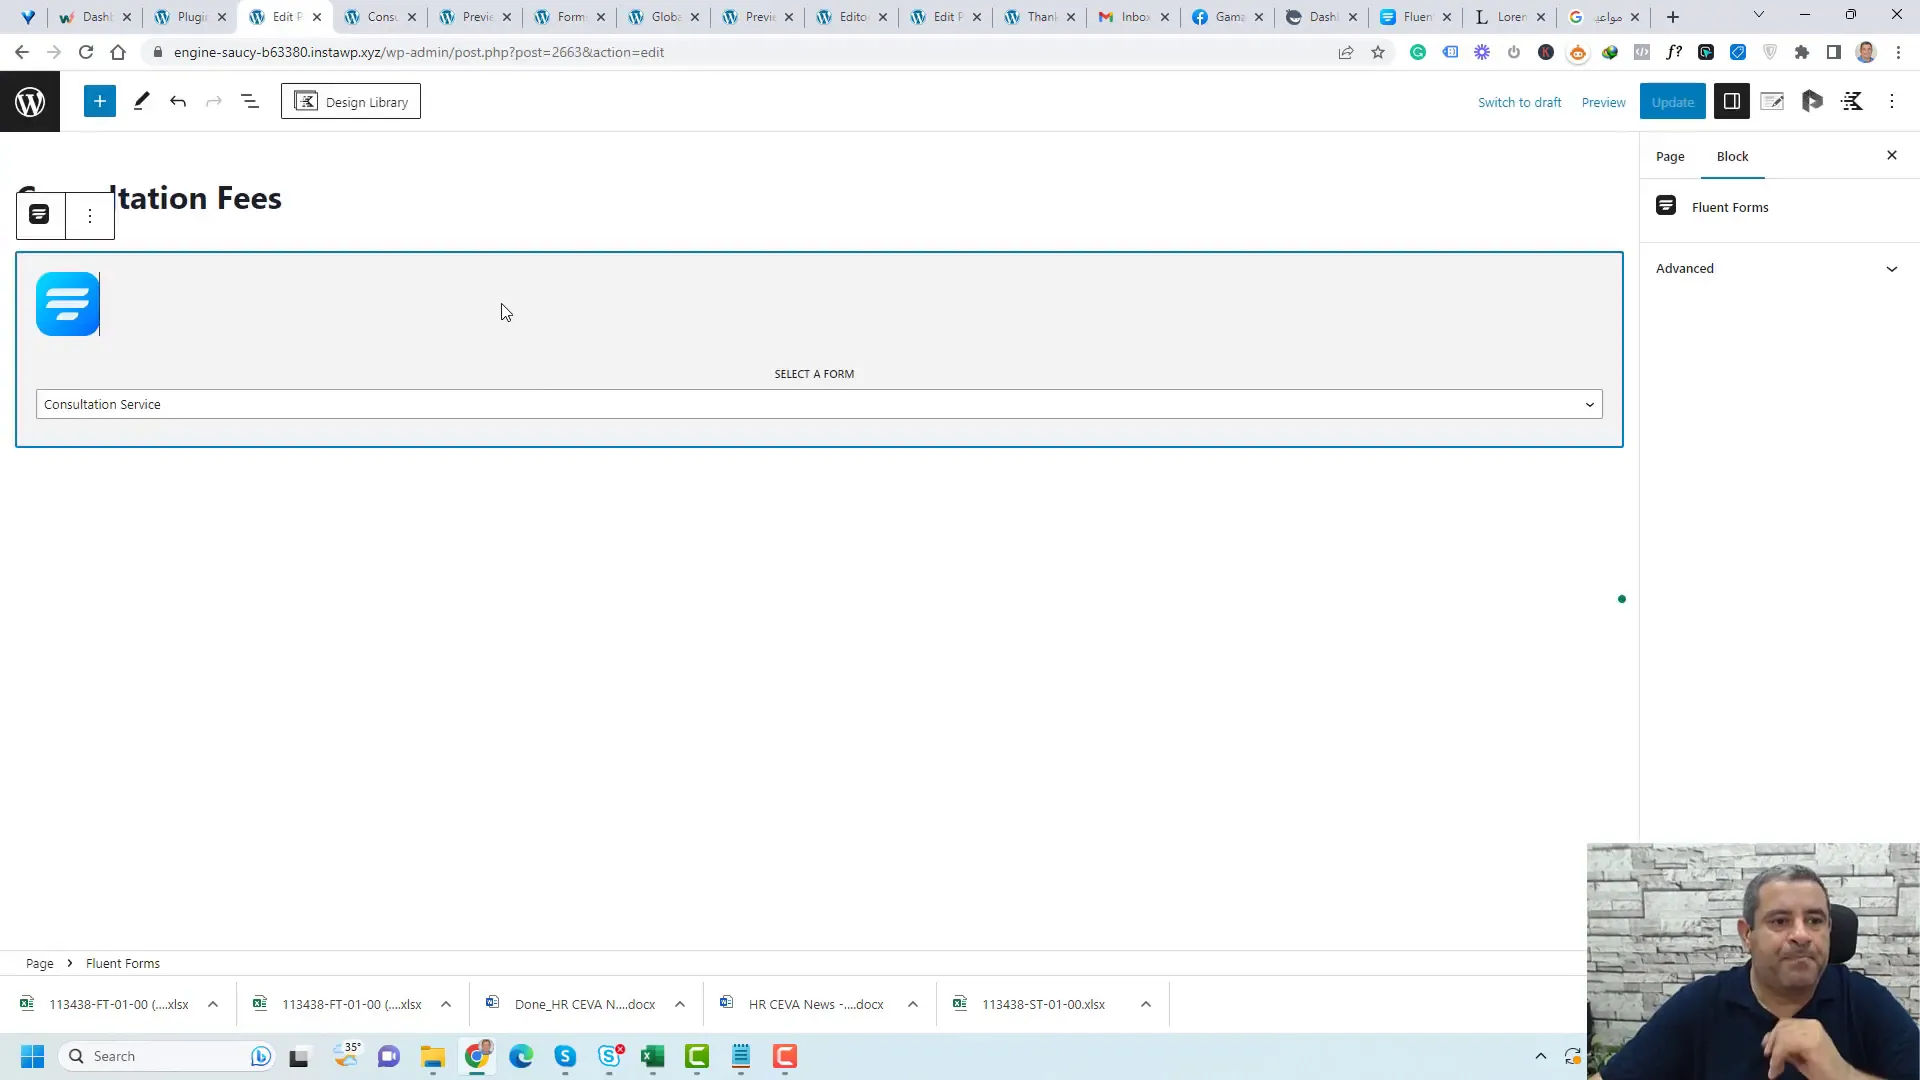
After a successful payment, redirecting users to a thank you page is a best practice. This page can confirm their transaction, provide additional information, or promote other services.
To set up redirection, go to the form settings in Fluent Forms and locate the Confirmation Settings. Choose the option to redirect users to another page and specify the URL of your thank you page. This ensures a seamless experience for your customers.
Managing Payments and Entries
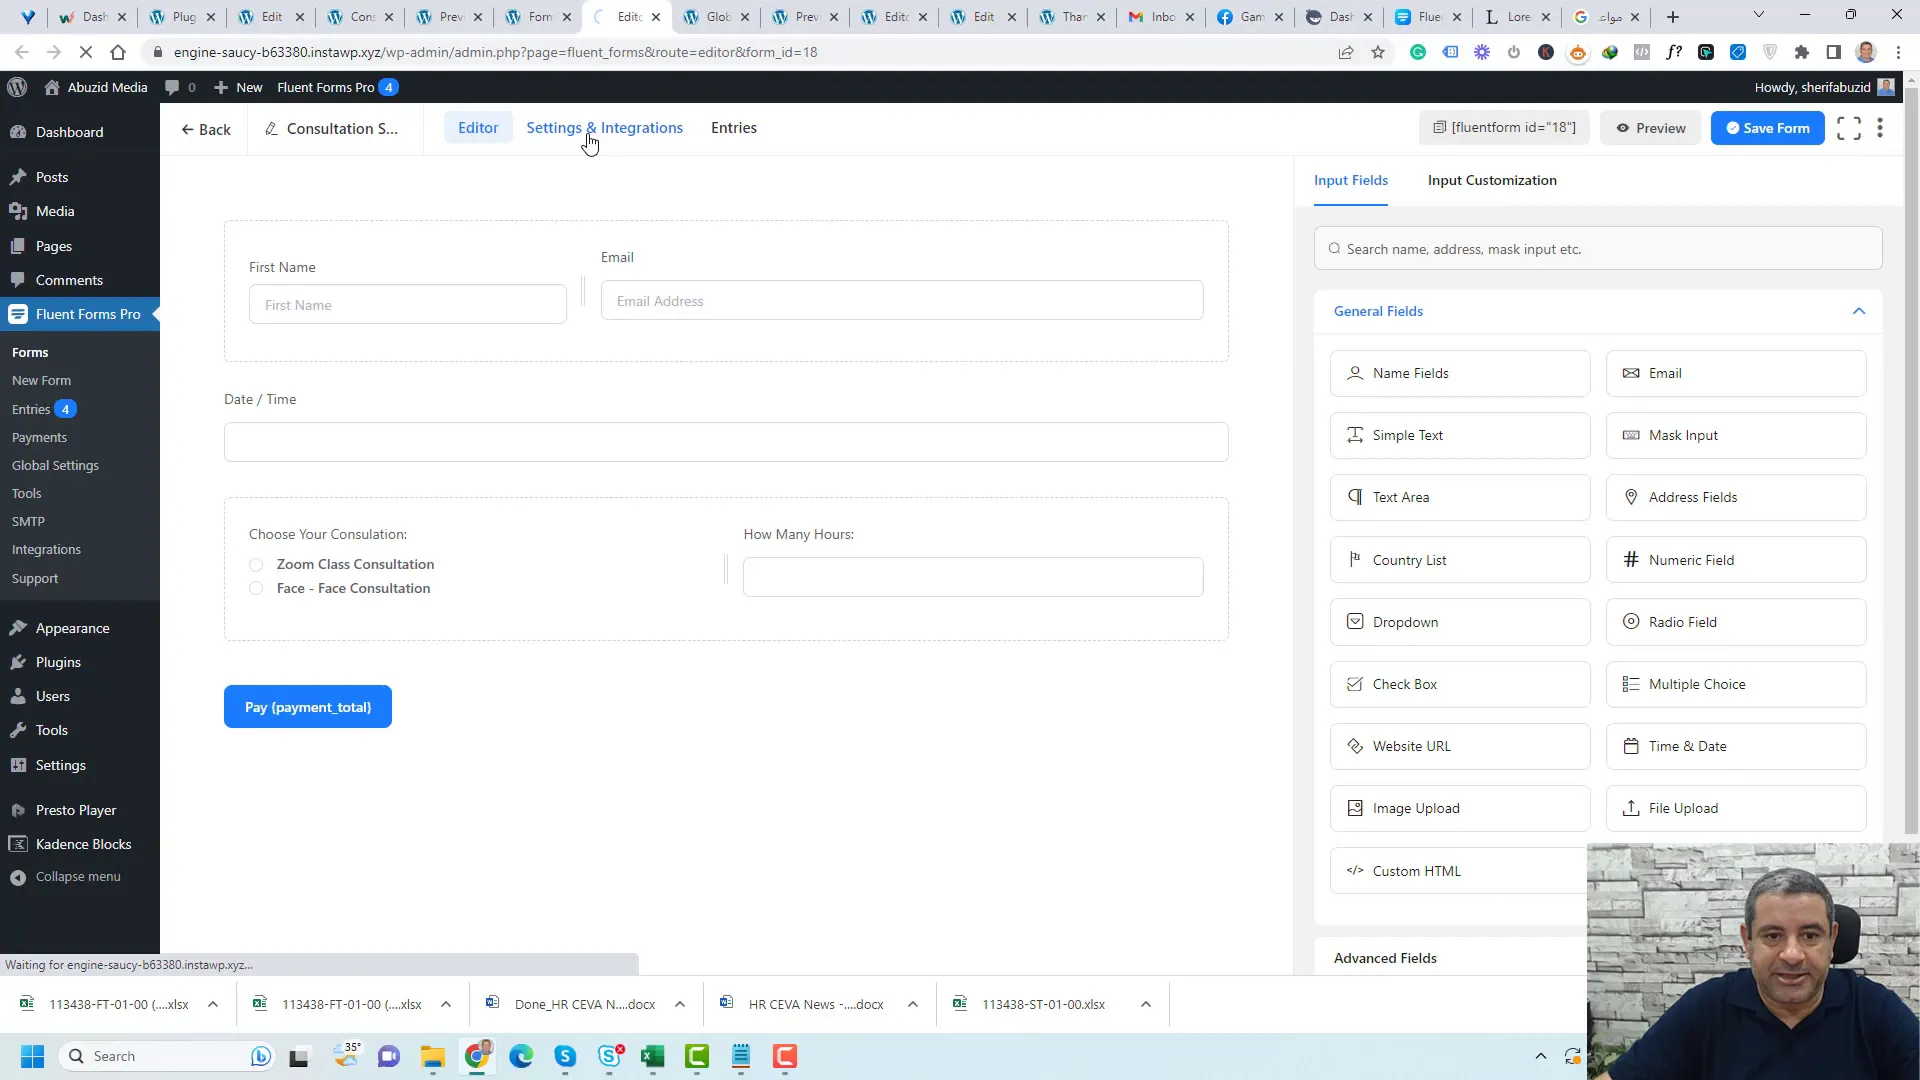
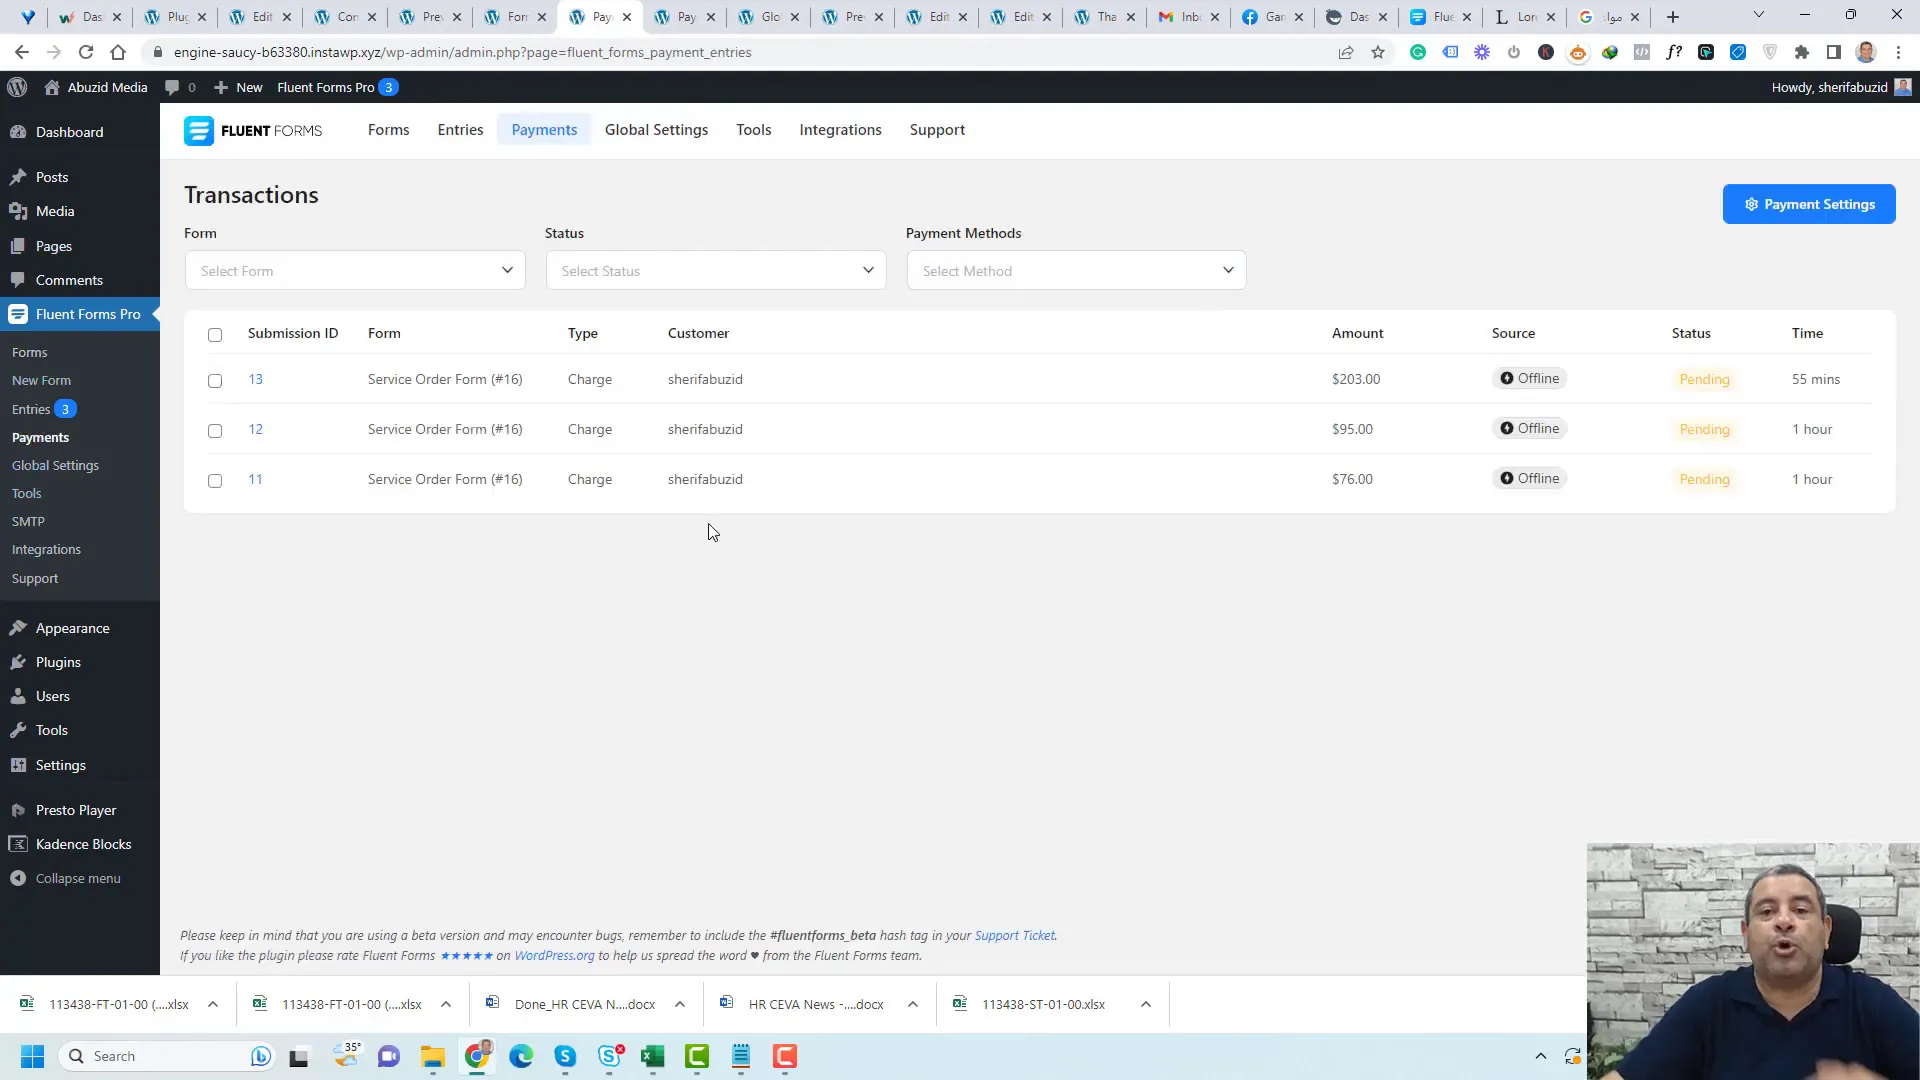
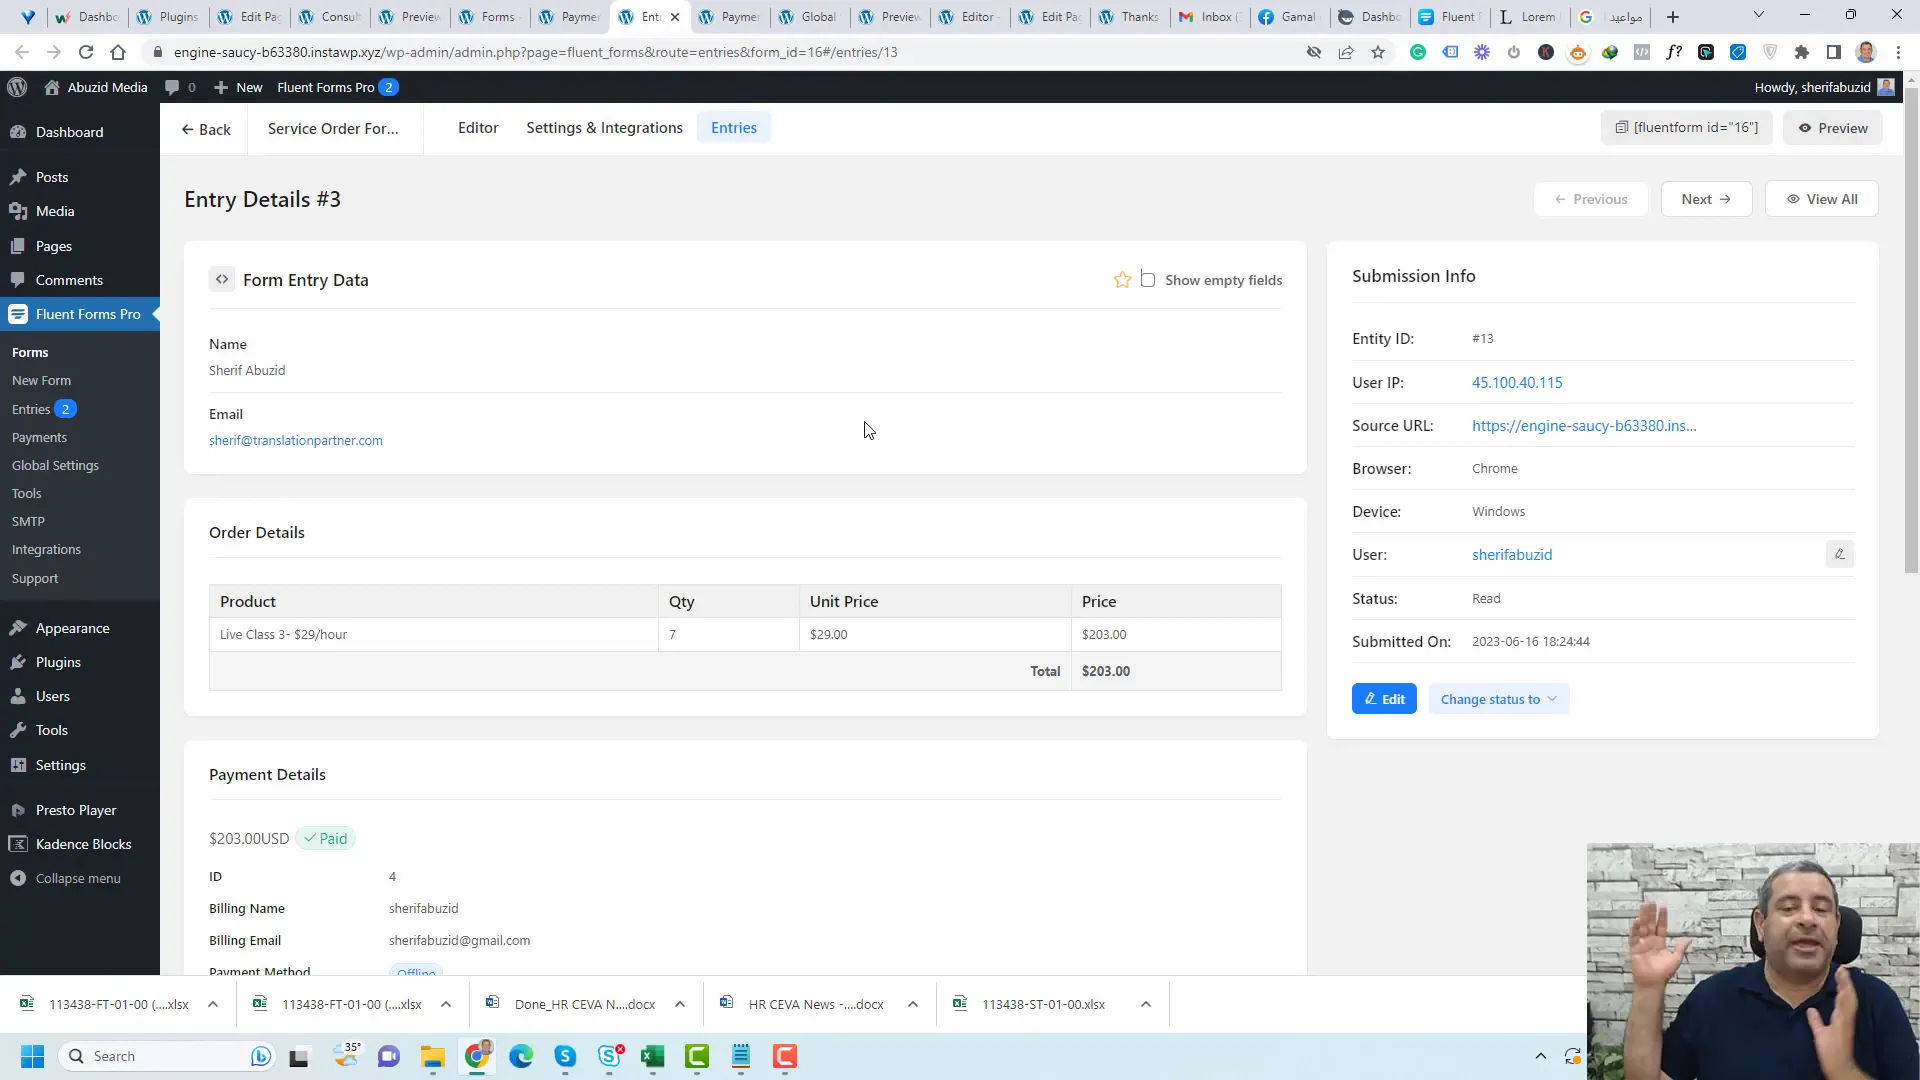
Fluent Forms provides a comprehensive dashboard for managing payments and form entries. You can view all submissions, filter them by date, and check payment statuses. This feature is essential for keeping track of your business transactions.
To access this feature, navigate to the Payments tab within the Fluent Forms menu. Here, you can mark payments as completed, manage refunds, and view detailed transaction histories.
Conclusion and Recommendations
Creating a payment form using Fluent Forms is a straightforward process that can significantly enhance your business operations. By integrating payment options, styling your forms, and connecting with email marketing platforms, you can create a seamless user experience.
We recommend regularly reviewing your forms and payment processes to ensure they meet evolving customer needs. Keep up with updates from Fluent Forms to take advantage of new features and integrations.
FAQ


