In this blog, we’ll explore how to use the MailPoet Plugin in WordPress for efficient email marketing automation. This powerful tool enables you to create, send, and manage newsletters effortlessly, making it ideal for both beginners and seasoned marketers alike.
Introduction to MailPoet
MailPoet is a powerful email marketing plugin designed specifically for WordPress. It simplifies the process of creating, sending, and managing newsletters directly from your WordPress dashboard. Ideal for both beginners and experienced marketers, MailPoet offers a user-friendly interface that integrates seamlessly with your existing WordPress site.
With MailPoet, you can easily add subscription forms, manage your subscriber lists, and send newsletters to keep your audience engaged. Its features cater to various needs, making it a versatile tool for any website owner looking to enhance their email marketing efforts.
Key Features of MailPoet
- Drag-and-Drop Email Builder: Create beautiful newsletters using a simple drag-and-drop interface.
- Automated Emails: Set up welcome emails and other automated responses to engage your subscribers from the get-go.
- Subscriber Management: Easily manage and segment your subscribers based on their preferences or behaviors.
- Analytics and Reporting: Track the performance of your emails with detailed analytics to optimize your campaigns.
MailPoet’s Sending Service
One of the standout features of MailPoet is its built-in sending service. Unlike traditional email methods that may result in your messages landing in spam folders, MailPoet ensures higher deliverability rates. This is achieved by using dedicated servers optimized for email delivery.
When you use MailPoet’s sending service, even free plan users can enjoy increased open rates, as emails are sent from a reputable source. This feature is essential for maintaining a professional image and ensuring that your communications reach your audience effectively.
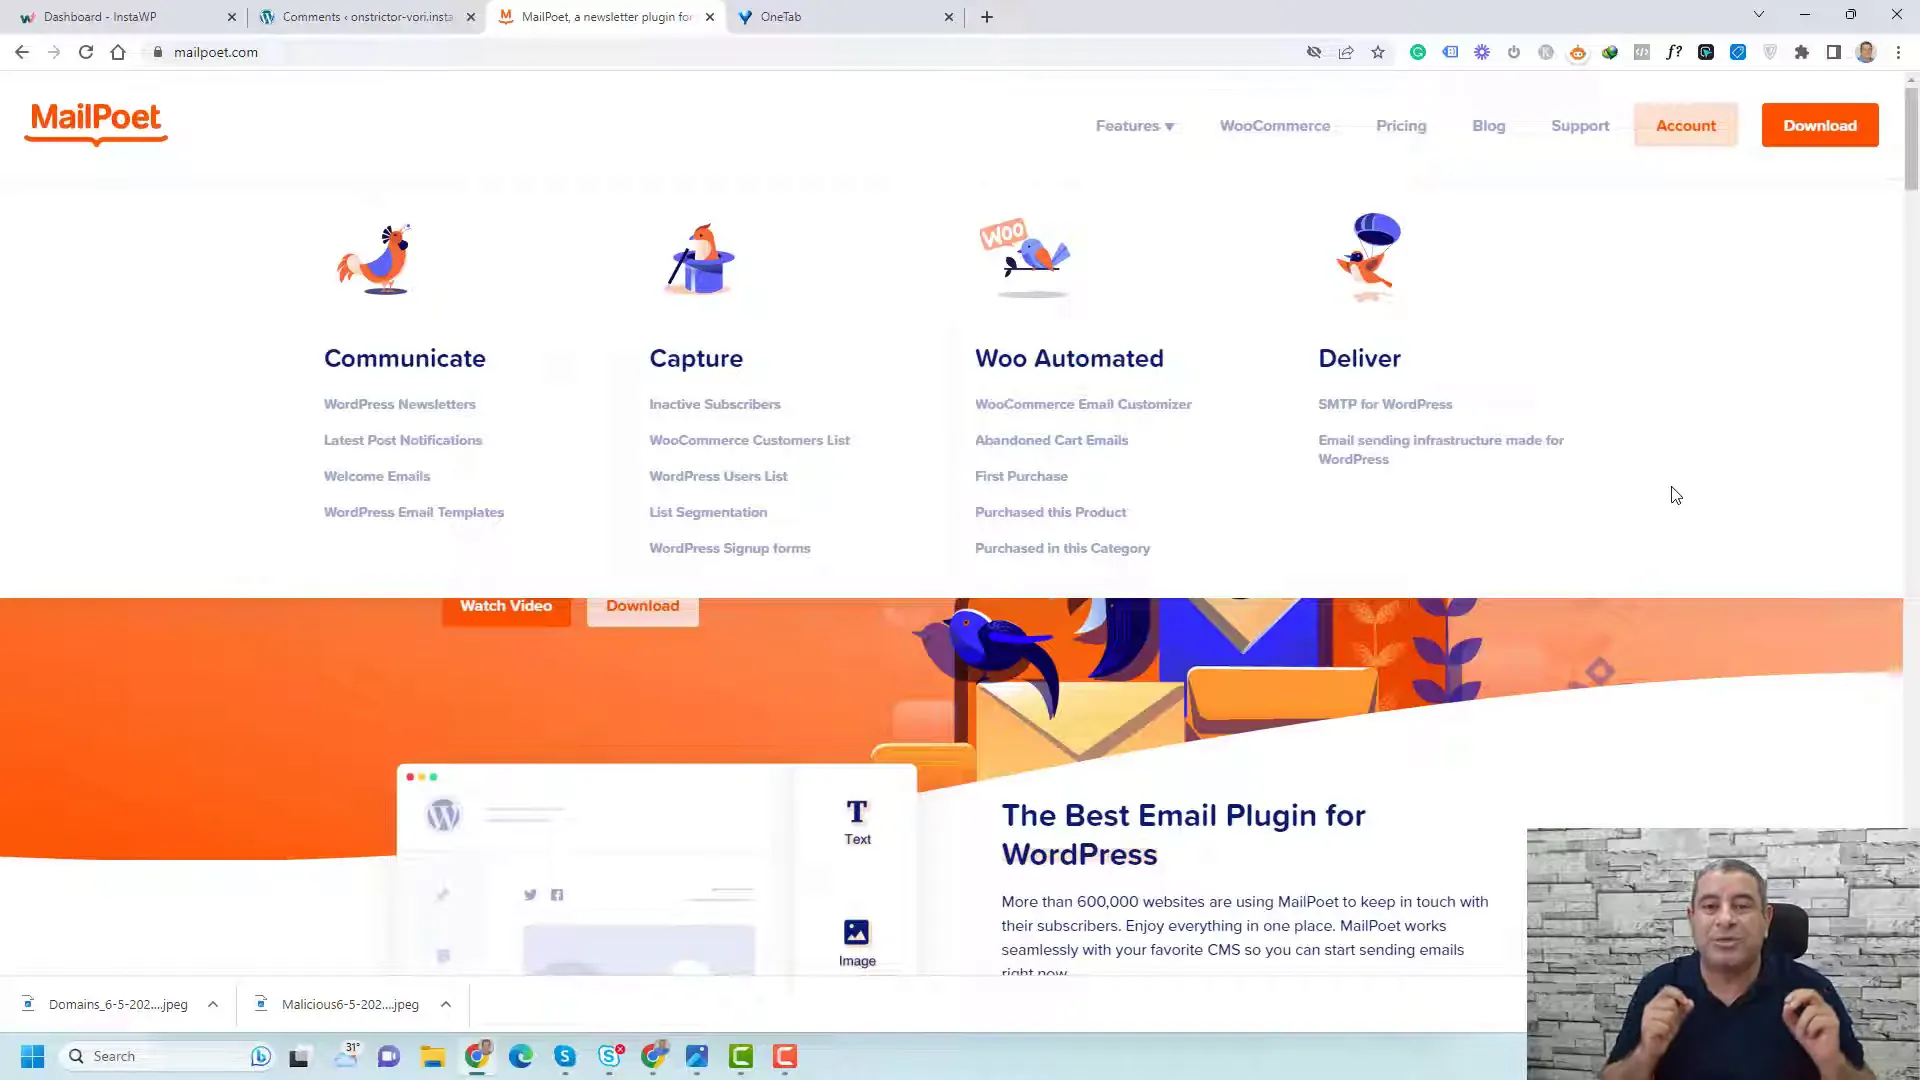
Pricing Plans Overview
MailPoet offers a range of pricing plans to cater to different needs. The free starter plan allows you to manage up to 1,000 subscribers and send up to 5,000 emails per month. This is an excellent option for those just starting with email marketing.
For businesses looking to grow, MailPoet’s premium plans start at $10 per month, which includes additional features such as unlimited emails and support for more subscribers. As your email list grows, you can easily upgrade your plan to accommodate your needs.
Installing the MailPoet Plugin
Installing the MailPoet plugin is a straightforward process. First, navigate to the ‘Plugins’ section in your WordPress dashboard. Click on ‘Add New’ and search for ‘MailPoet’. Once you find it, click ‘Install Now’ and then ‘Activate’.
After activation, you will be prompted to begin the setup process. This includes entering your details and connecting your MailPoet account if you have one. The installation process is designed to be user-friendly, ensuring that you can get started with minimal hassle.
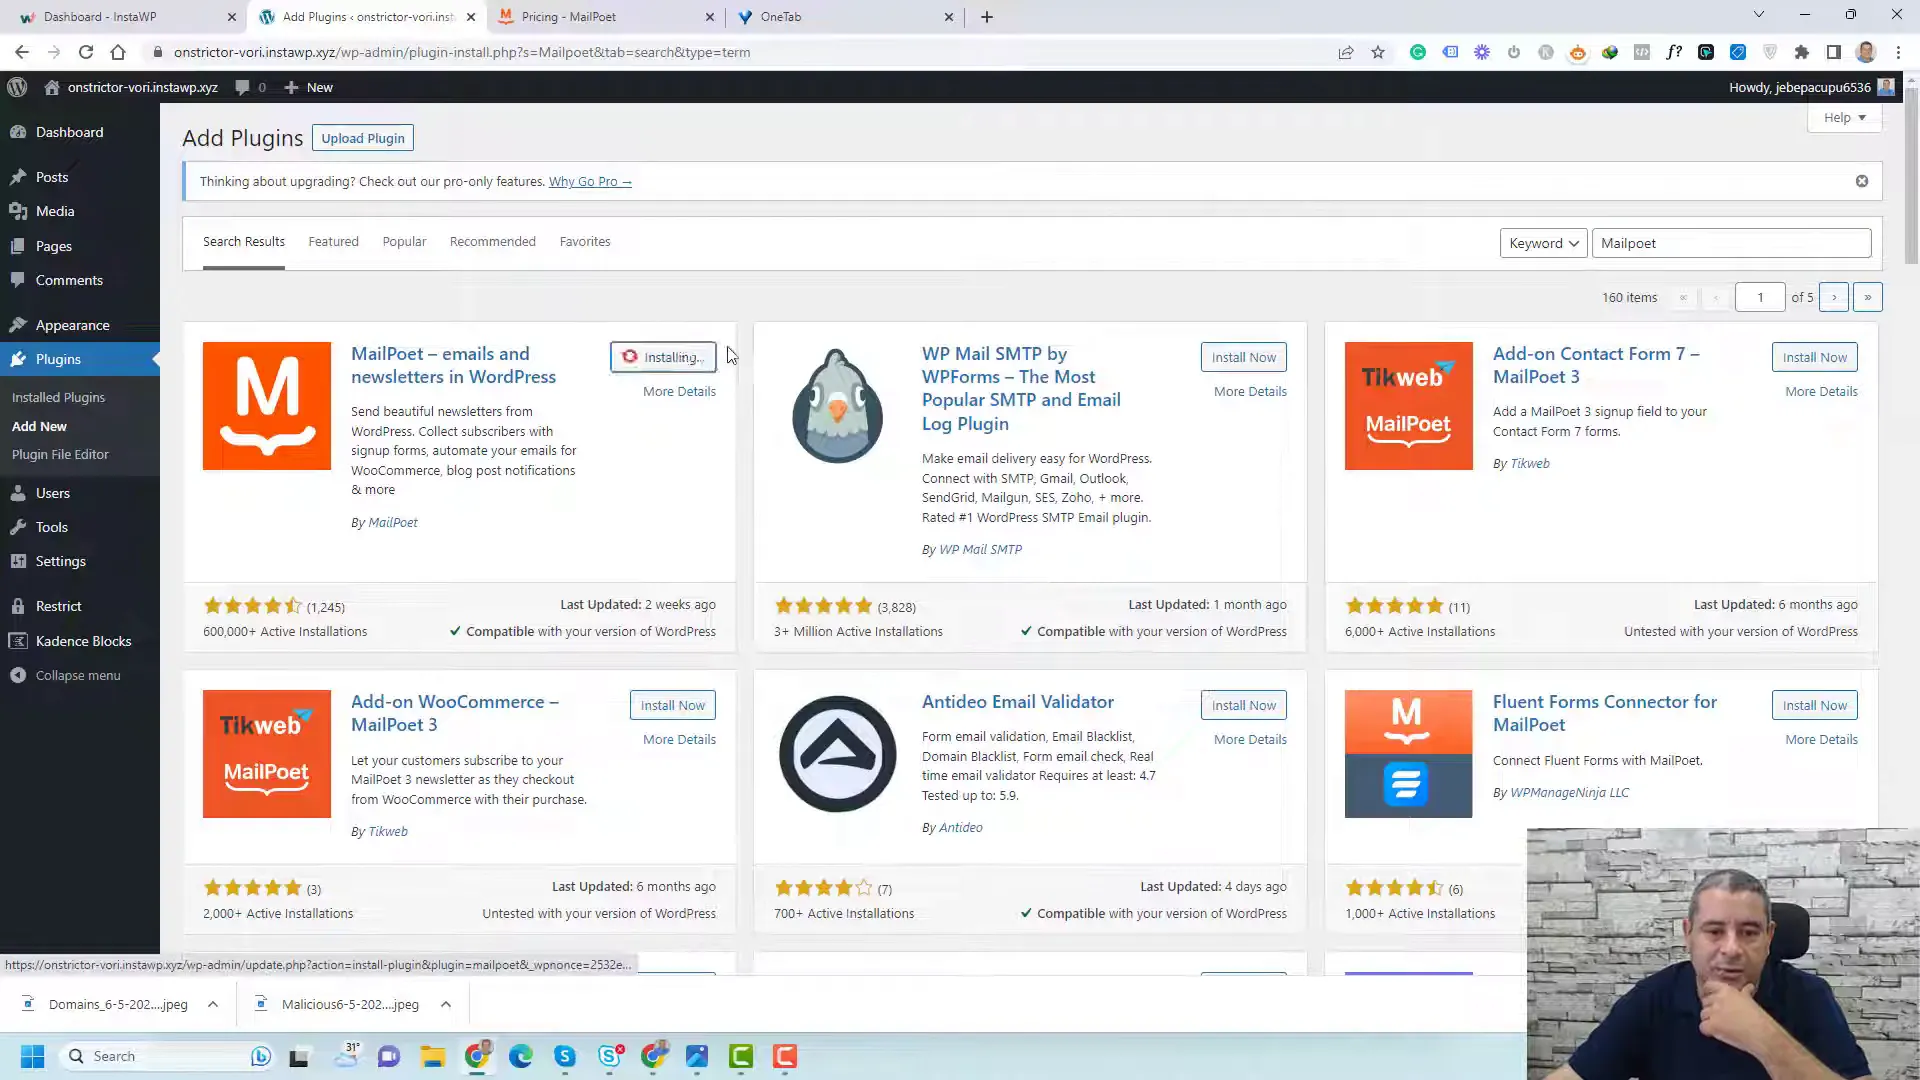
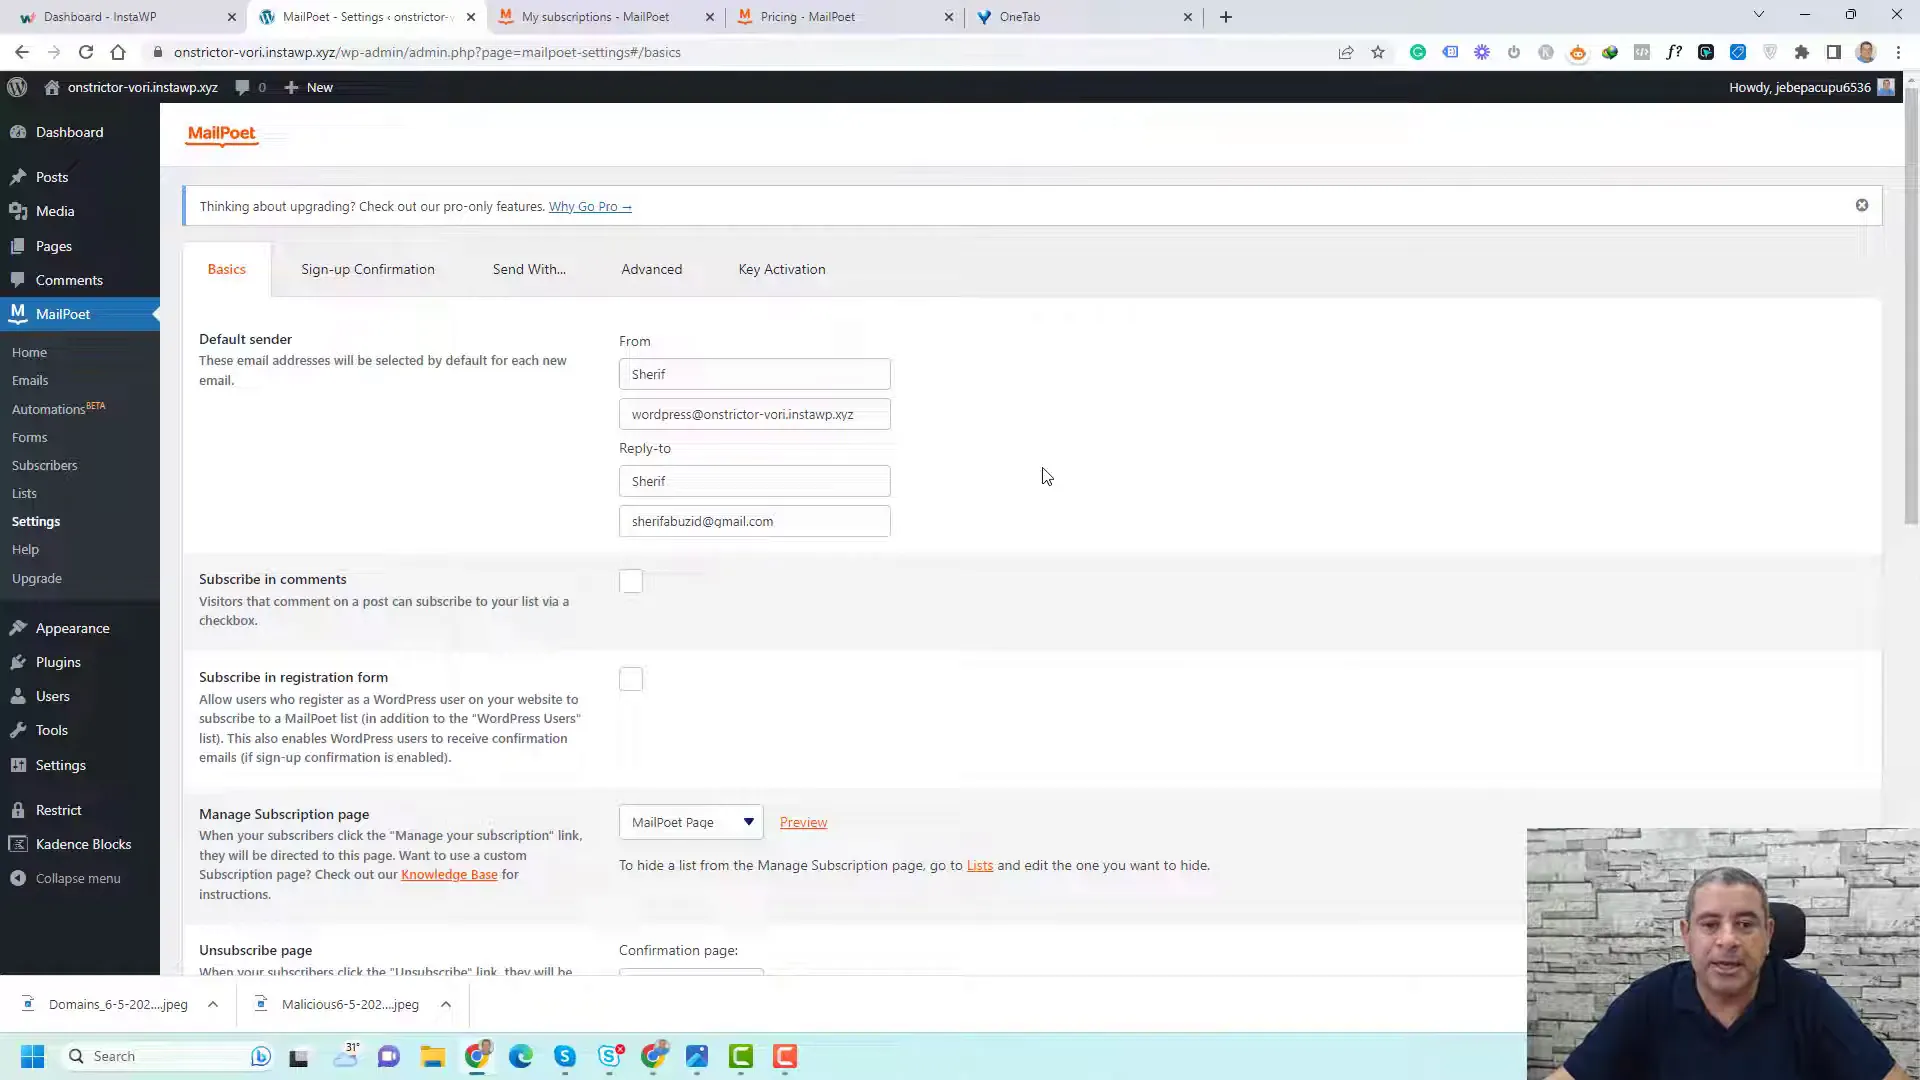
Setting Up MailPoet
Once installed, setting up MailPoet involves configuring your basic settings. You will need to add your default sender name and email address. It’s recommended to use an email associated with your domain to enhance credibility.
Additionally, you can configure your sign-up confirmation settings, choosing between single opt-in and double opt-in methods. This flexibility allows you to comply with regulations while maximizing your subscriber list.
Creating Subscriber Lists
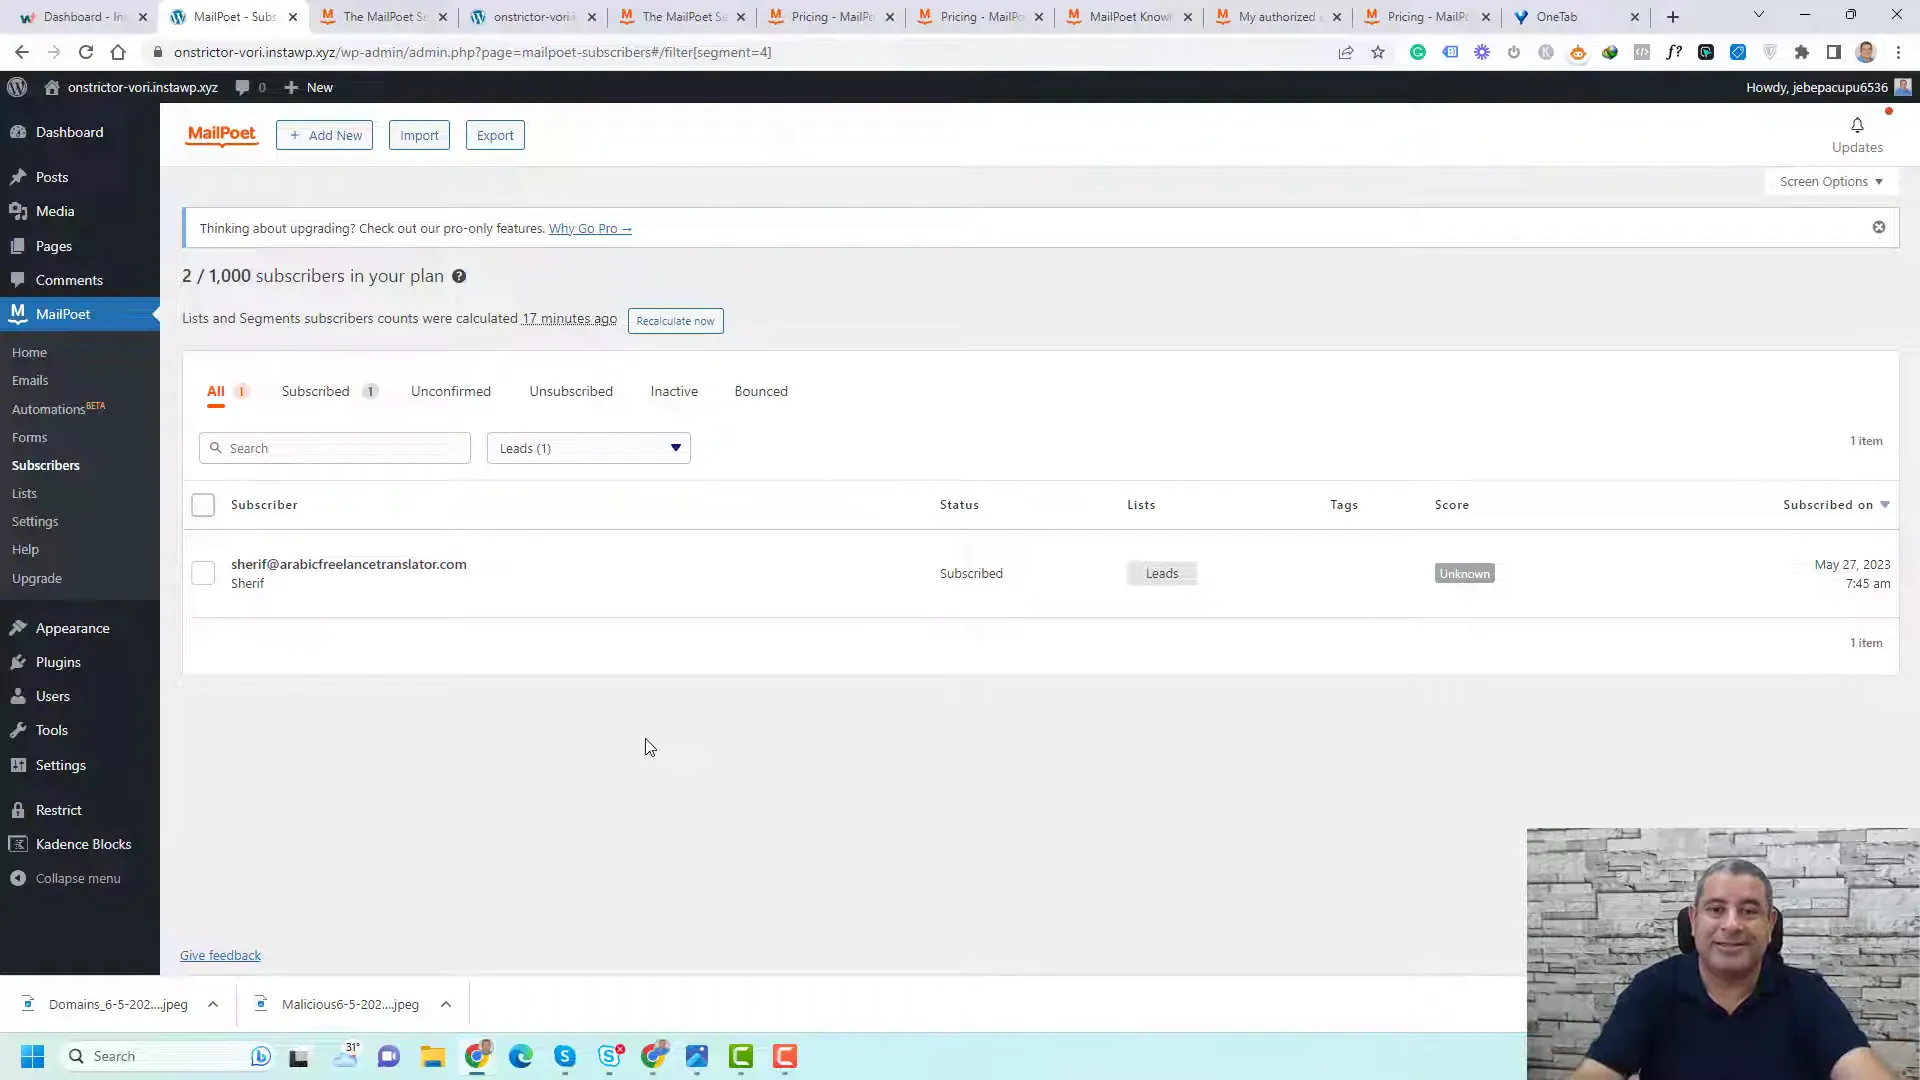
Creating subscriber lists in MailPoet is crucial for organizing your email marketing efforts. You can categorize your subscribers based on various criteria, such as their interests or the types of content they engage with.
By default, MailPoet creates a list for WordPress users, but you can easily create additional lists for specific campaigns. For example, if you offer a free ebook, you can create a list specifically for those subscribers, allowing you to target them with relevant follow-up emails.
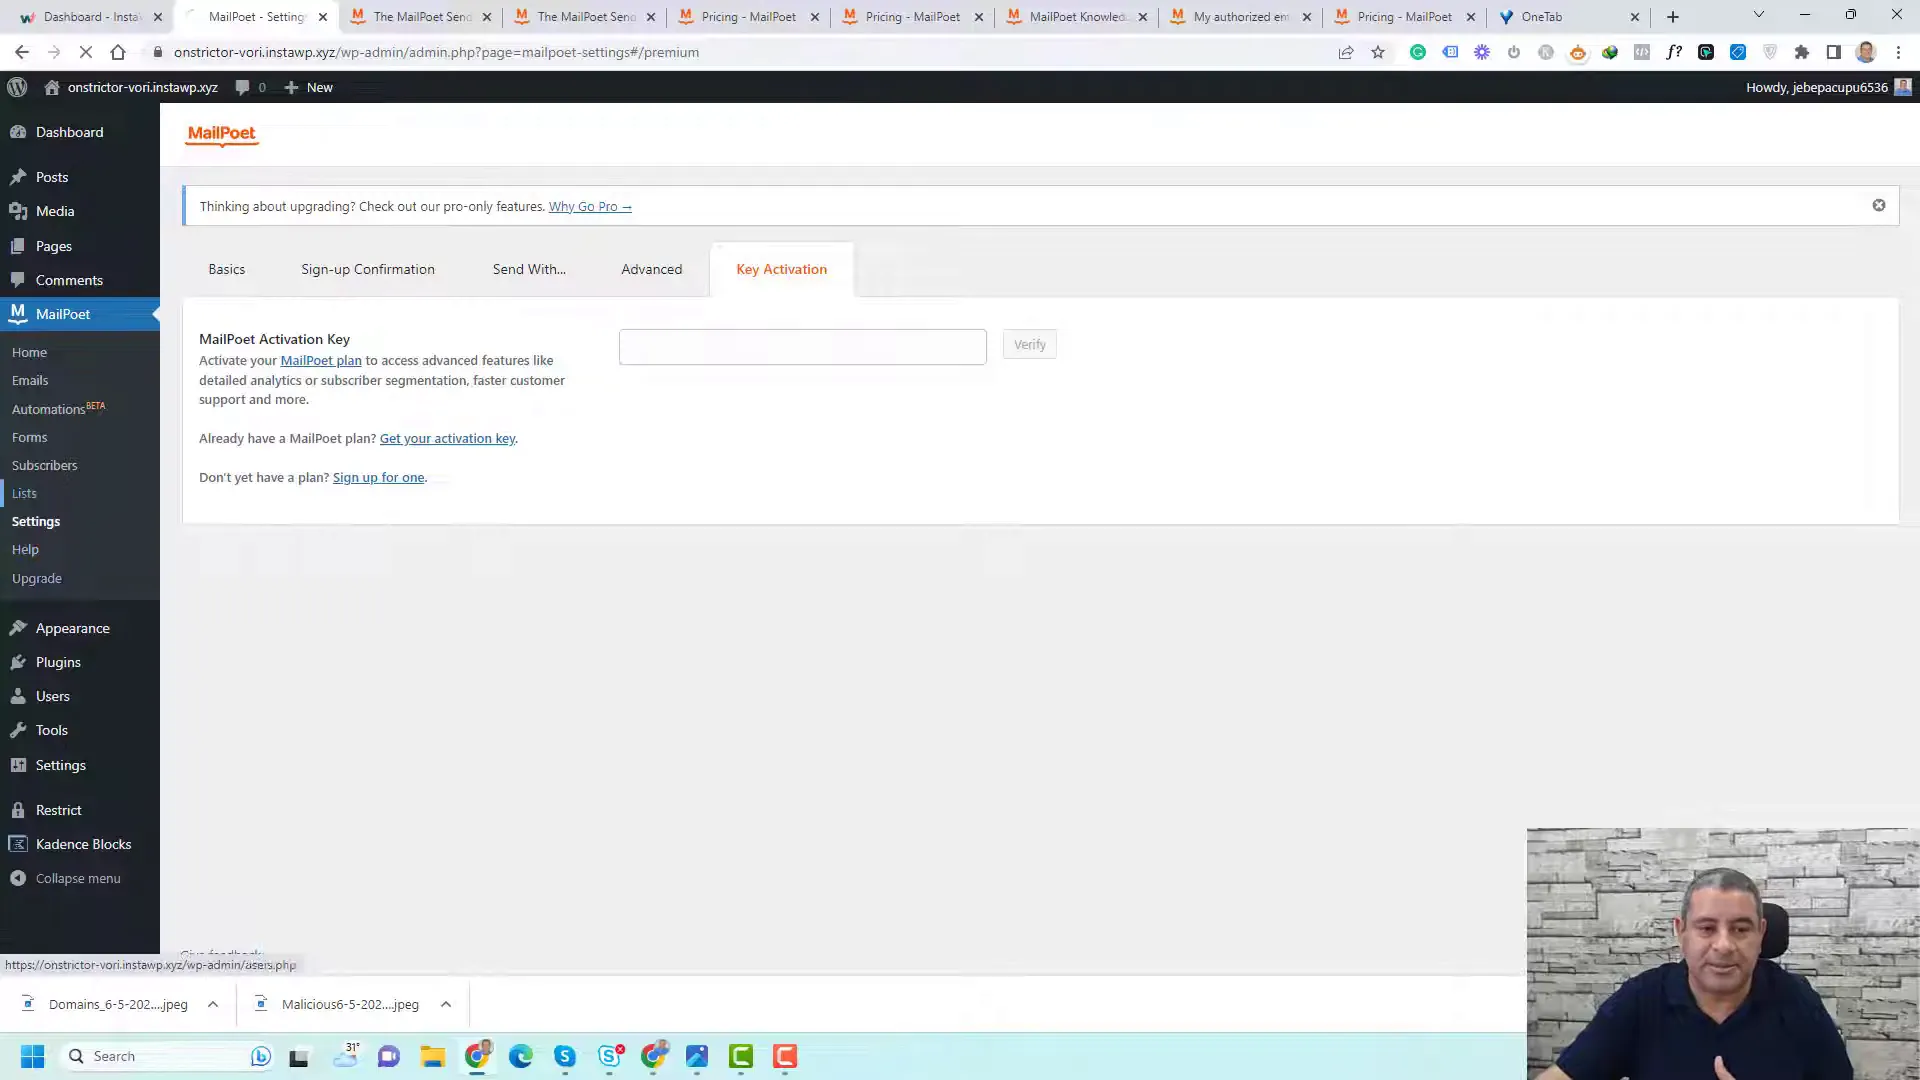
Designing Opt-in Forms
Creating effective opt-in forms is crucial for growing your email list. With MailPoet, you can design forms that not only look great but also convert visitors into subscribers.
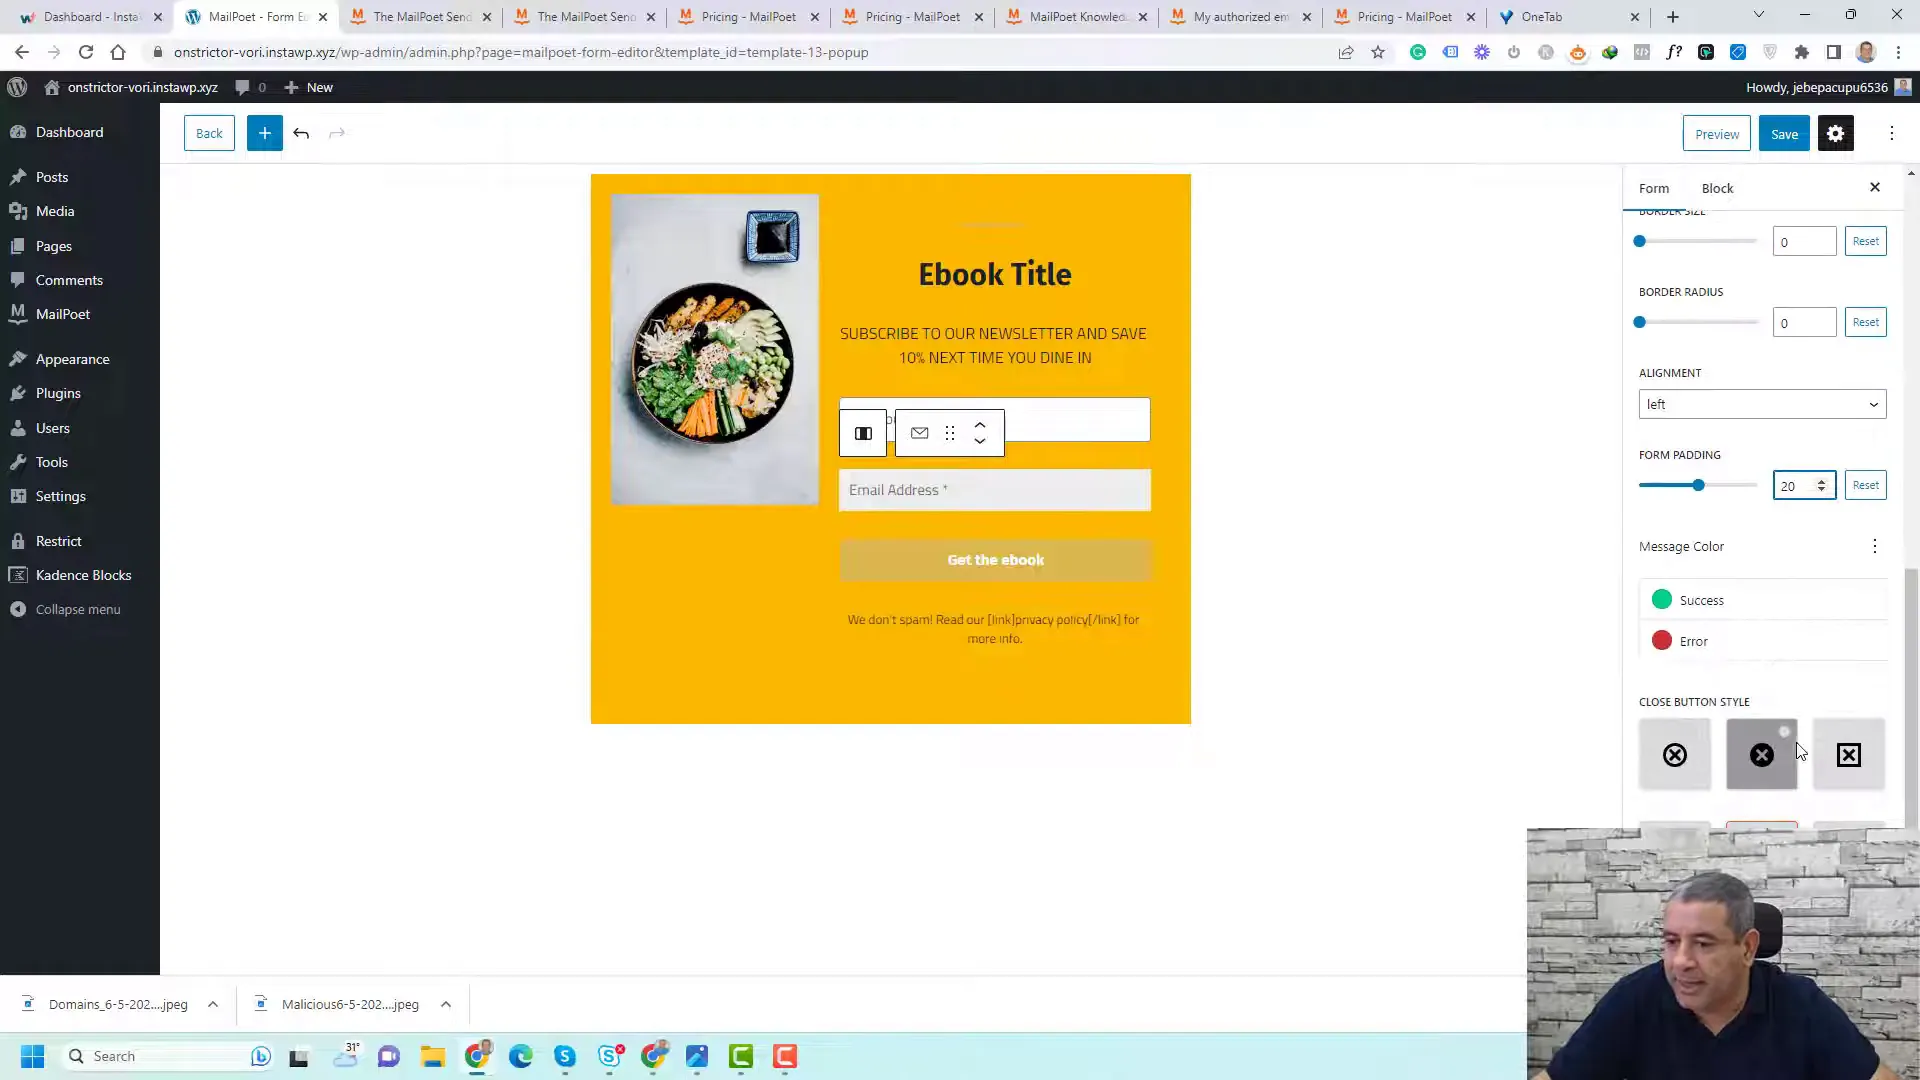
To start, navigate to the Forms section in MailPoet. You can choose from pre-designed templates or create your own from scratch. Customization options allow you to add fields such as name, email, and even custom questions to gather more information about your subscribers.
Customization Options
- Field Types: Add various field types to your forms, including checkboxes and dropdowns.
- Styling: Adjust colors, fonts, and layouts to match your website’s branding.
- Placement: Choose whether the form appears as a popup, inline, or in the footer of your posts.
Once you’ve designed your form, don’t forget to attach it to a subscriber list. This ensures that anyone who fills it out is added to your desired list automatically.
Sending Welcome Emails
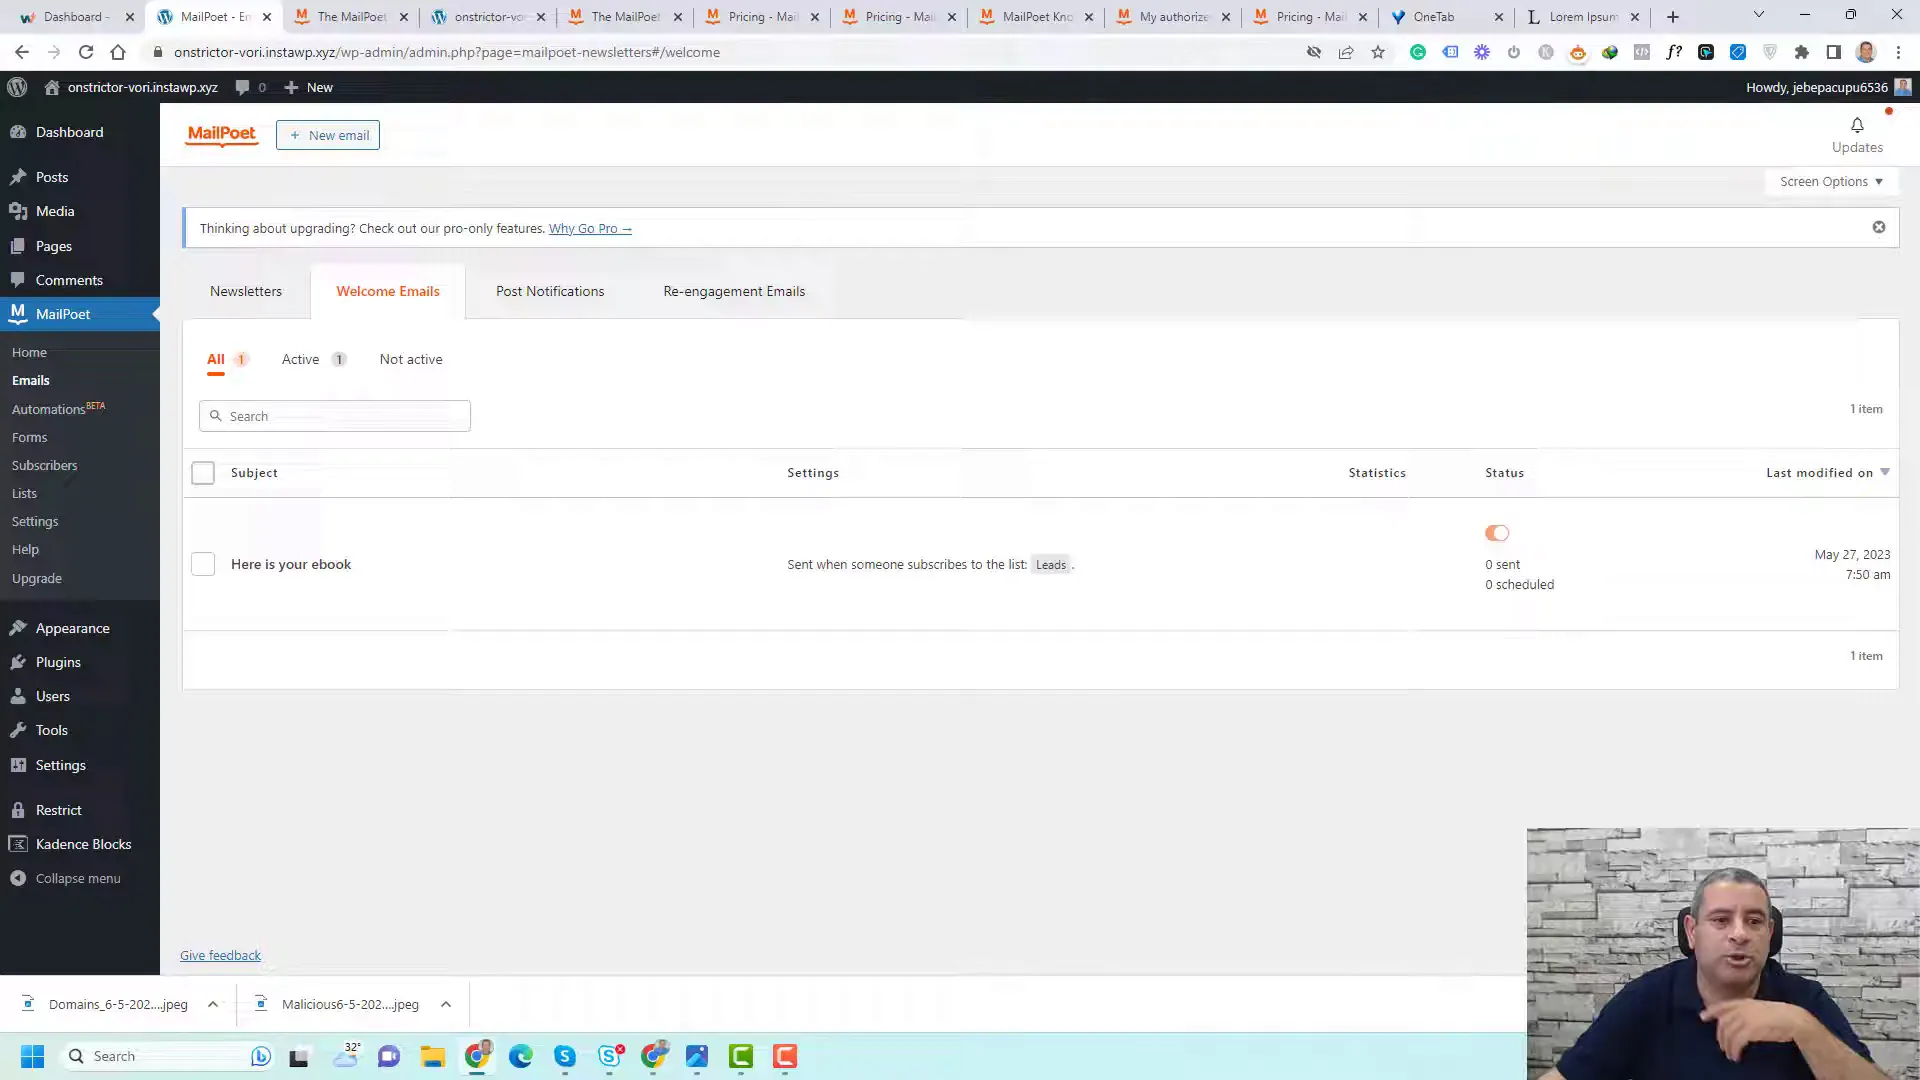
Welcome emails are a great way to make a positive first impression. When someone subscribes through your opt-in form, you can set up an automated welcome email that introduces your brand and provides useful resources.
To create a welcome email, go to the Emails section in MailPoet. Select the type of email you want to send, and choose the template that best fits your message. Personalizing the subject line and content can significantly improve engagement rates.
Best Practices for Welcome Emails
- Personalization: Address subscribers by their first name to create a more personal connection.
- Clear Call-to-Action: Include a clear CTA, such as a link to download a free resource or to visit your website.
- Follow-Up: Consider scheduling a series of follow-up emails to nurture new subscribers further.
Creating and Scheduling Newsletters
With MailPoet, crafting newsletters is straightforward. You can create visually appealing emails using the drag-and-drop editor, making it easy to insert images, text, and links.
When designing your newsletter, focus on delivering value to your subscribers. Share updates, tips, or exclusive offers that resonate with your audience. Once your newsletter is ready, you can send it immediately or schedule it for a later date.
Scheduling Options
MailPoet allows you to schedule newsletters at your preferred time. Here’s how:
- After designing your newsletter, click on the “Schedule” option.
- Select the date and time you want your newsletter to be sent.
- Confirm your settings and click “Schedule.”
This feature is especially useful for planning campaigns around holidays or special events, ensuring that your content reaches subscribers immediately.
Automations in MailPoet
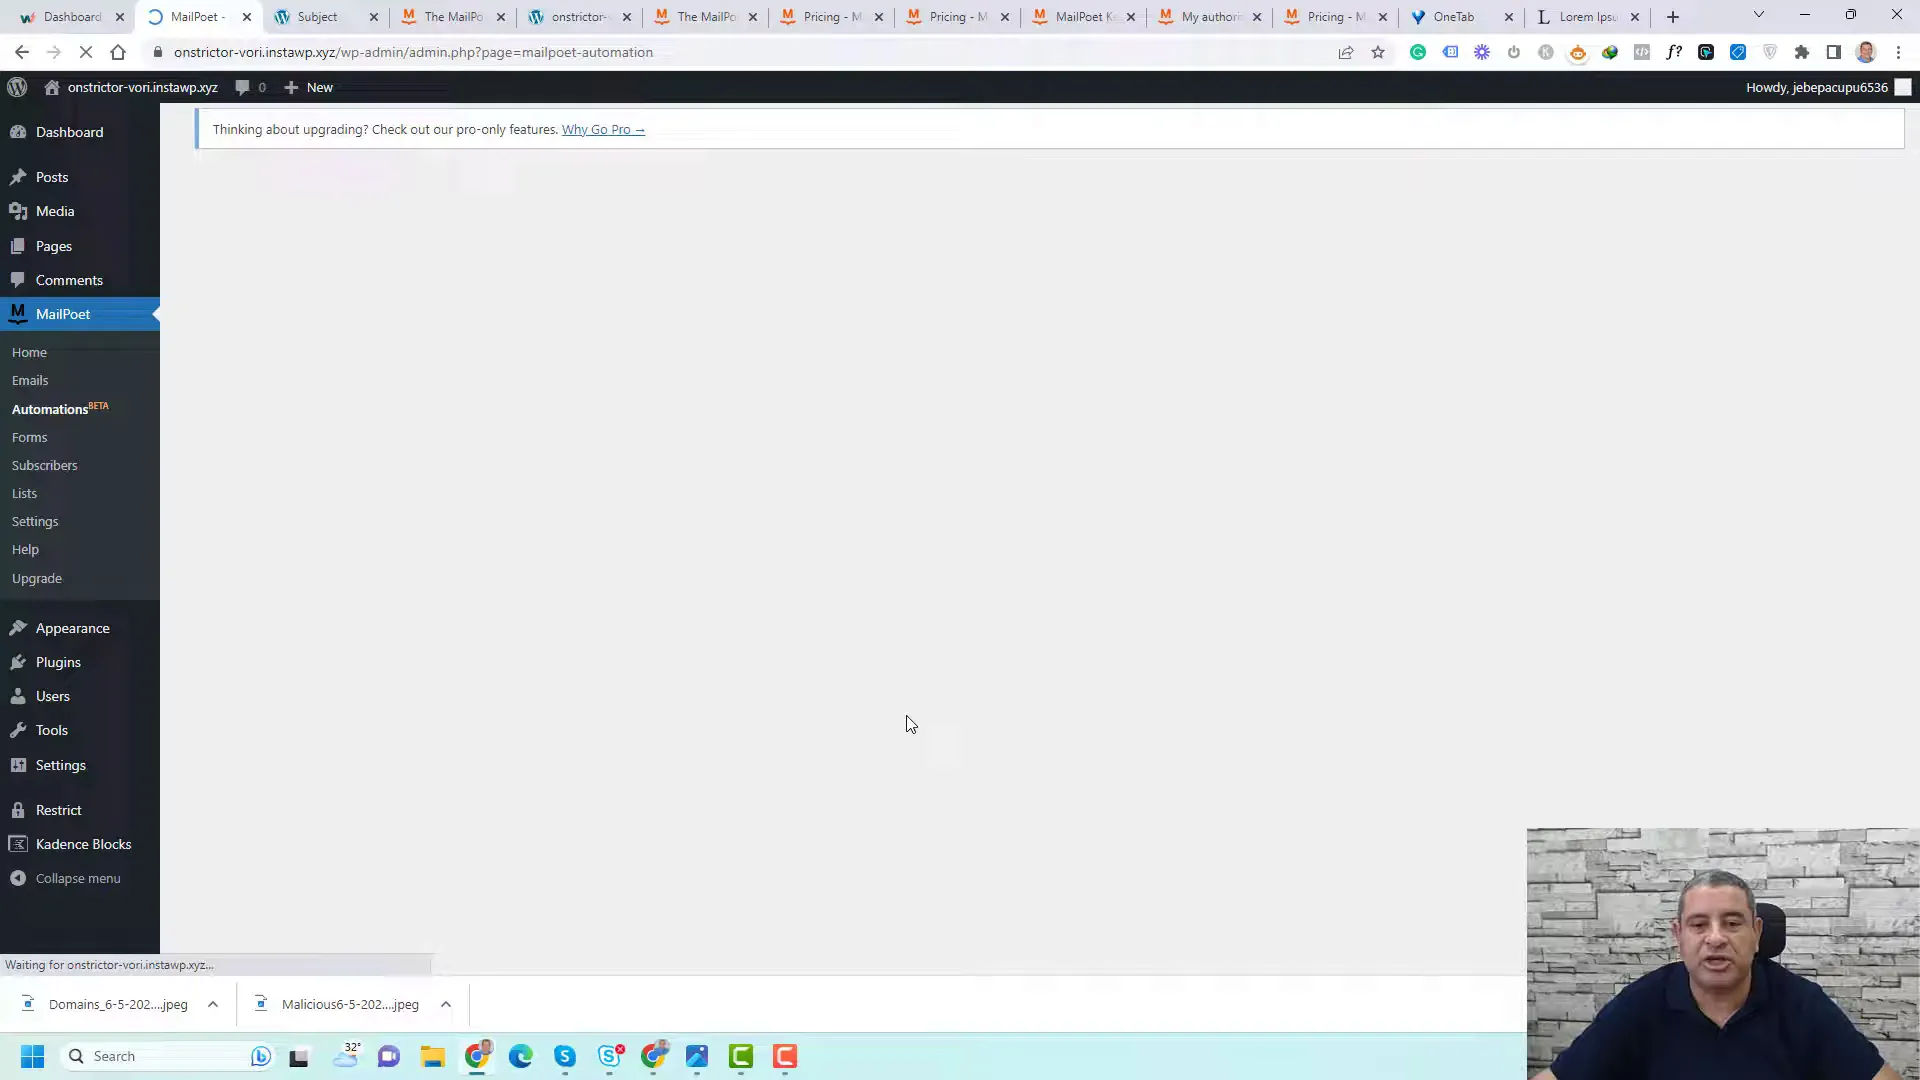
Automation is a powerful feature that allows you to engage with your subscribers without having to manually send emails. With MailPoet, you can set up automated sequences for various scenarios, such as welcome emails or follow-up sequences.
To create an automation, navigate to the Automation section and choose a template that fits your needs. You can set triggers based on subscriber actions, such as signing up for a list or clicking a link in an email.
Types of Automation
- Welcome Series: Automatically send a series of welcome emails to new subscribers.
- Engagement Campaigns: Re-engage inactive subscribers with targeted content.
- Event Reminders: Send reminders for upcoming webinars or product launches.
Keep in mind that while the free version offers basic automation, upgrading to a premium plan unlocks advanced features and more automation options.
Conclusion and Overall Recommendation
MailPoet is a robust email marketing plugin that caters to both beginners and seasoned marketers. Its user-friendly interface and powerful features like automation and customizable opt-in forms make it an excellent choice for anyone looking to enhance their email marketing strategy.
For those just starting, the free version provides ample features to get you going. As your needs grow, consider upgrading to access more advanced functionalities. Overall, I highly recommend MailPoet for its ease of use and effective email marketing capabilities.
FAQs about the MailPoet Plugin


