If you’re searching for the best opt-in form plugin for WordPress, look no further than Fluent Forms. This free plugin enables users to create versatile opt-in forms, enhancing lead generation and user engagement on their websites. In this review, we’ll explore its features, benefits, and how it stands out in the crowded plugin market.
Introduction to Fluent Forms
Fluent Forms is a powerful, user-friendly opt-in form plugin for WordPress. It allows users to create a wide variety of forms effortlessly, making it an ideal choice for lead generation. With its intuitive drag-and-drop interface, even those with minimal technical skills can design professional forms.
This plugin supports not just opt-in forms but also surveys, quizzes, and job applications. Its versatility makes it a valuable tool for any website looking to improve user engagement and capture leads.
Key Features of Fluent Forms
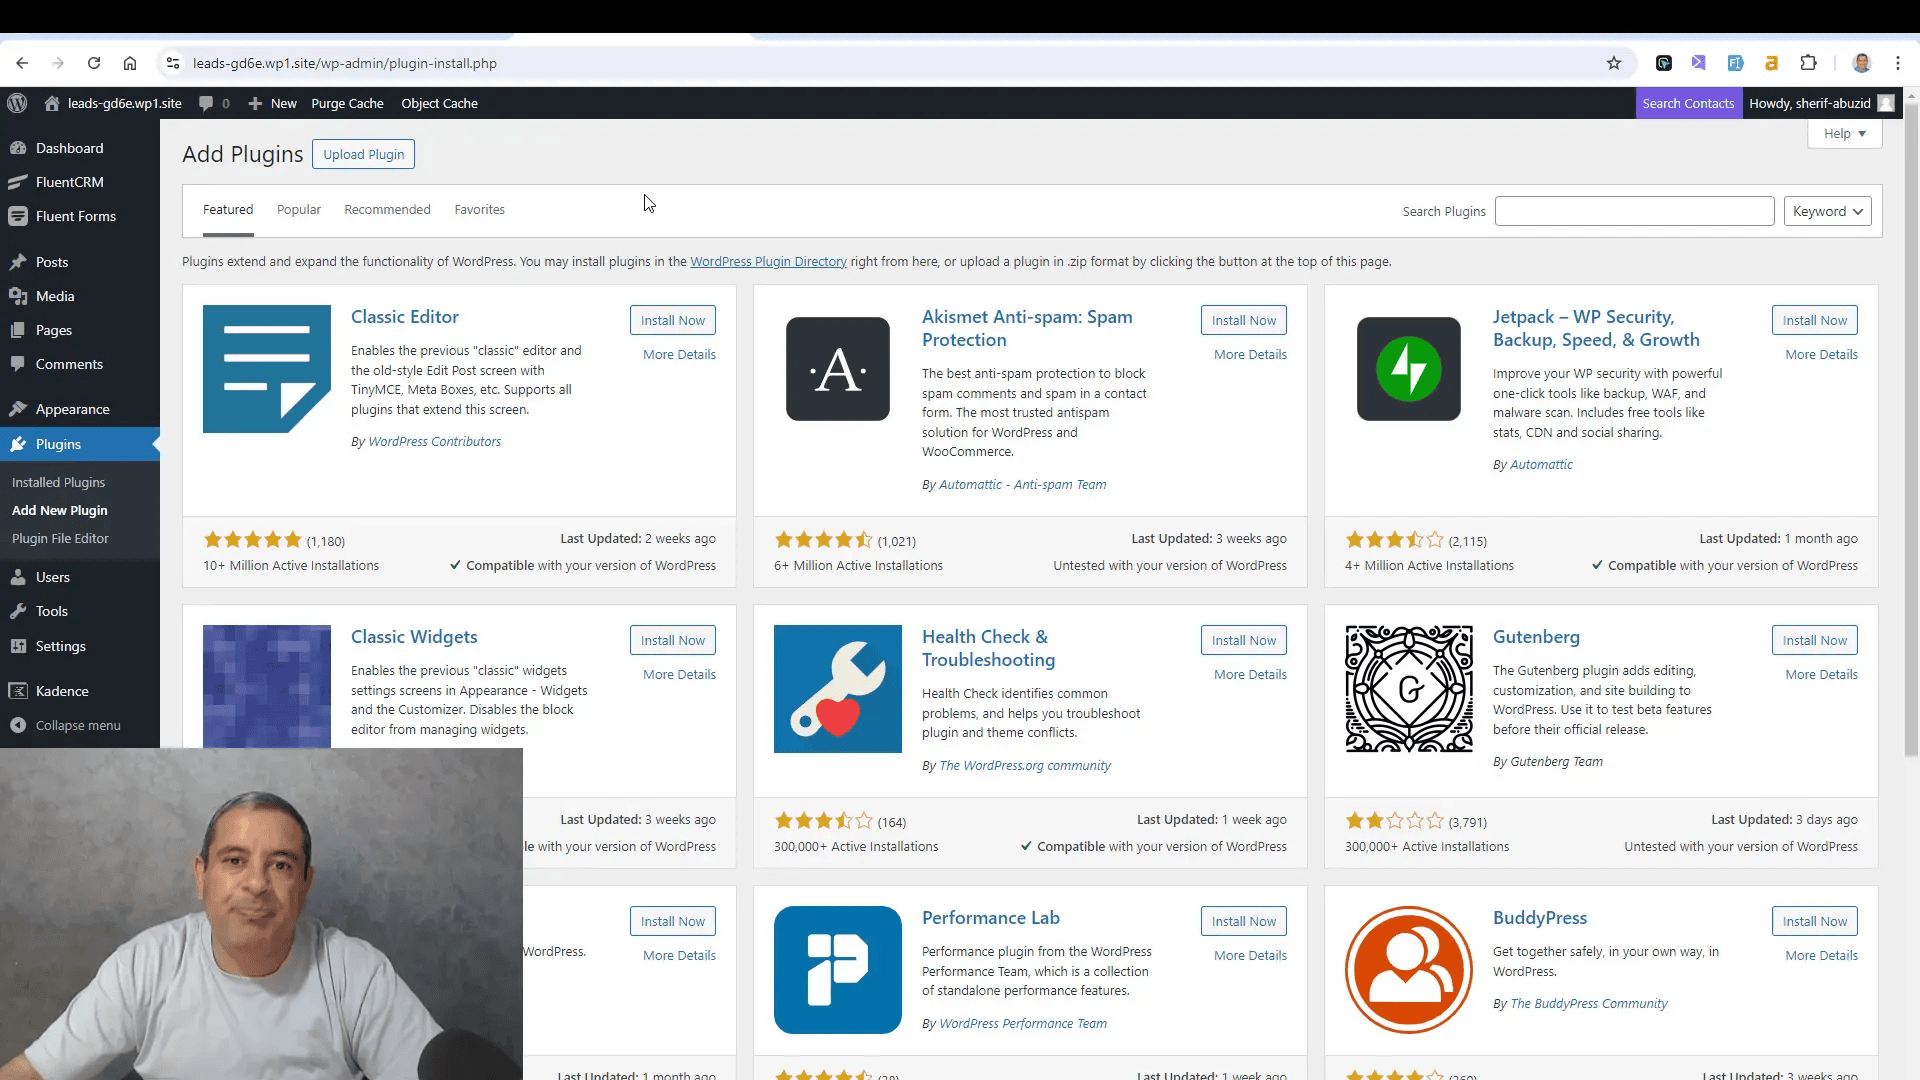
Fluent Forms is packed with features that enhance its functionality and usability. Here are some of the key features:
- Drag-and-Drop Builder: Easily create forms using a simple drag-and-drop interface.
- Pre-built Templates: Choose from various templates to jumpstart your form creation.
- Multi-Column Layouts: Arrange your fields in multiple columns for better design flexibility.
- Email Marketing Integration: Seamlessly connect with popular email marketing platforms like Mailchimp and FluentCRM.
- Conditional Logic: Show or hide fields based on user responses to create more dynamic forms.
- Customizable Notifications: Set up email notifications for both users and administrators.
Installing Fluent Forms
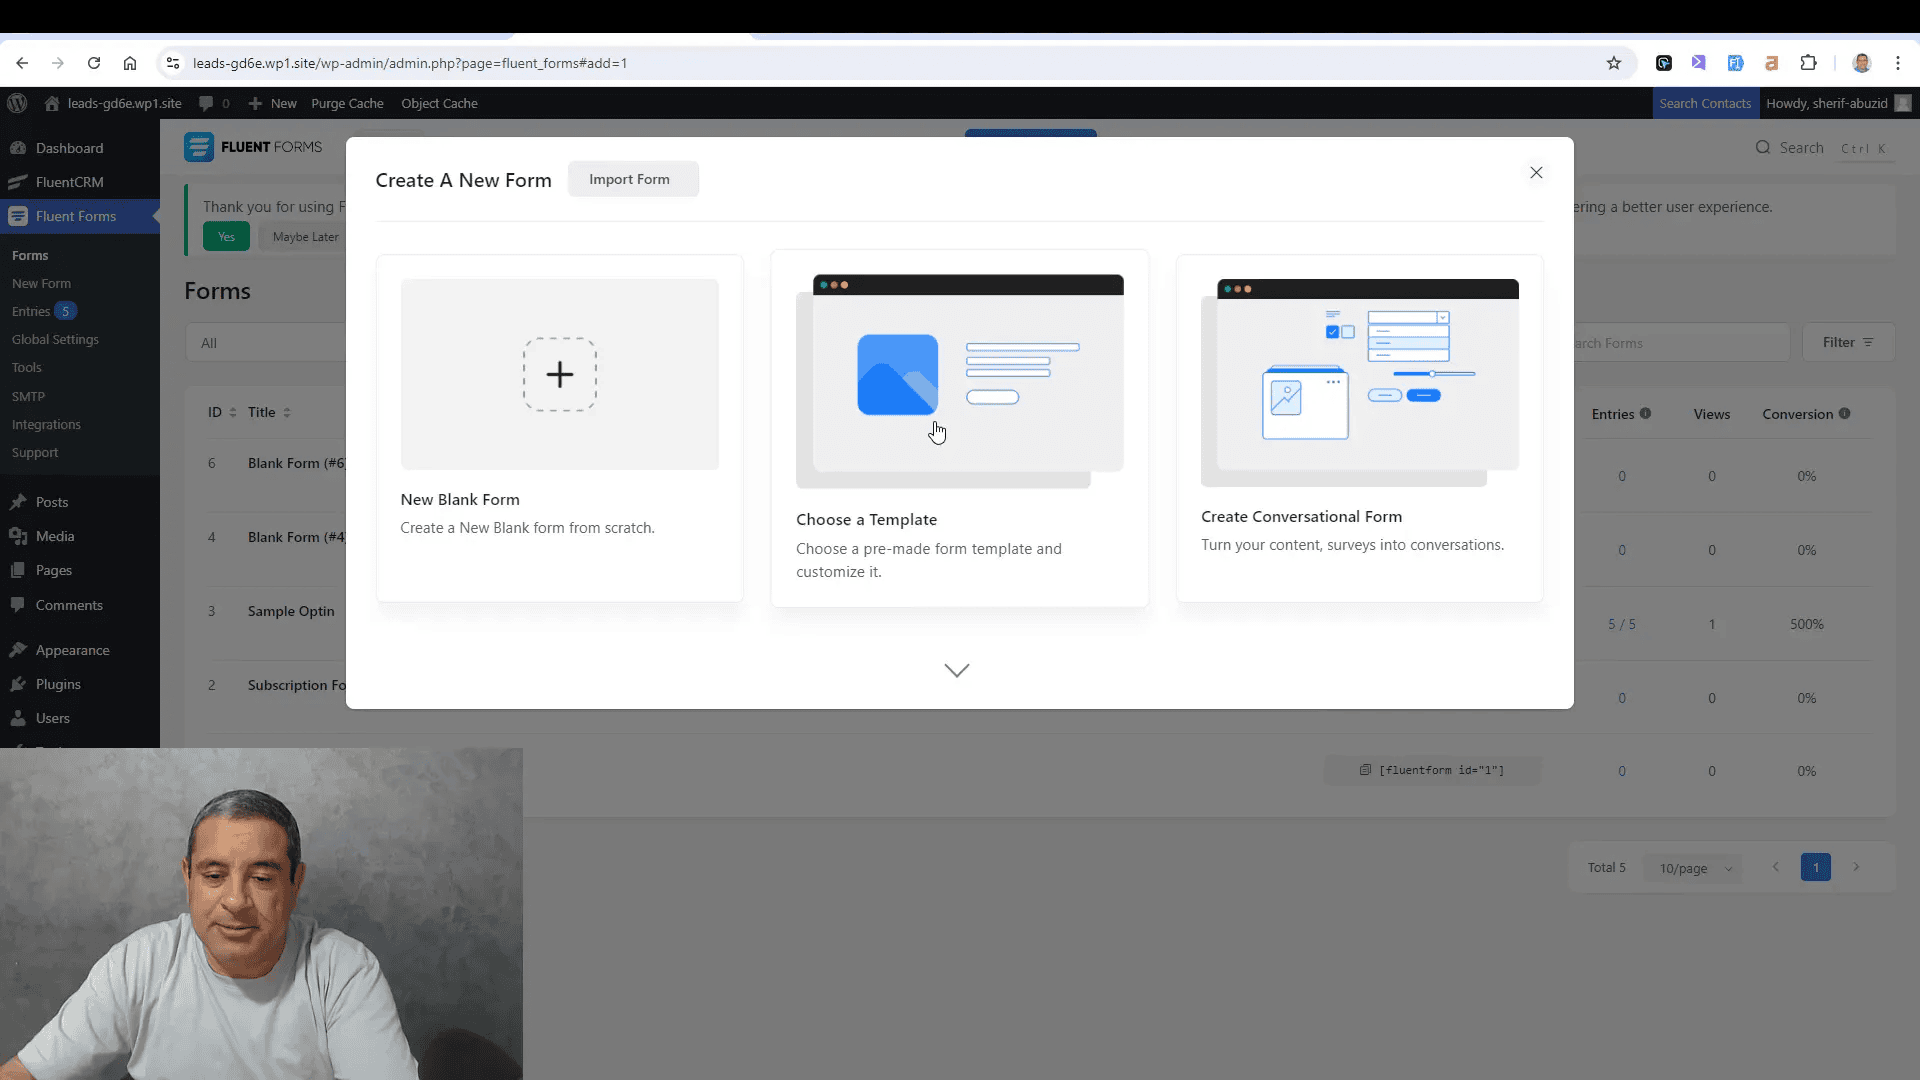
Installing Fluent Forms is straightforward. Follow these steps to get started:
- Log in to your WordPress dashboard.
- Navigate to Plugins and click Add New.
- In the search bar, type Fluent Forms and hit enter.
- Locate the Fluent Forms plugin and click Install Now.
- After installation, click Activate to enable the plugin.
Once activated, you will see a new menu item labeled Fluent Forms in your dashboard.
Creating Your First Opt-in Form
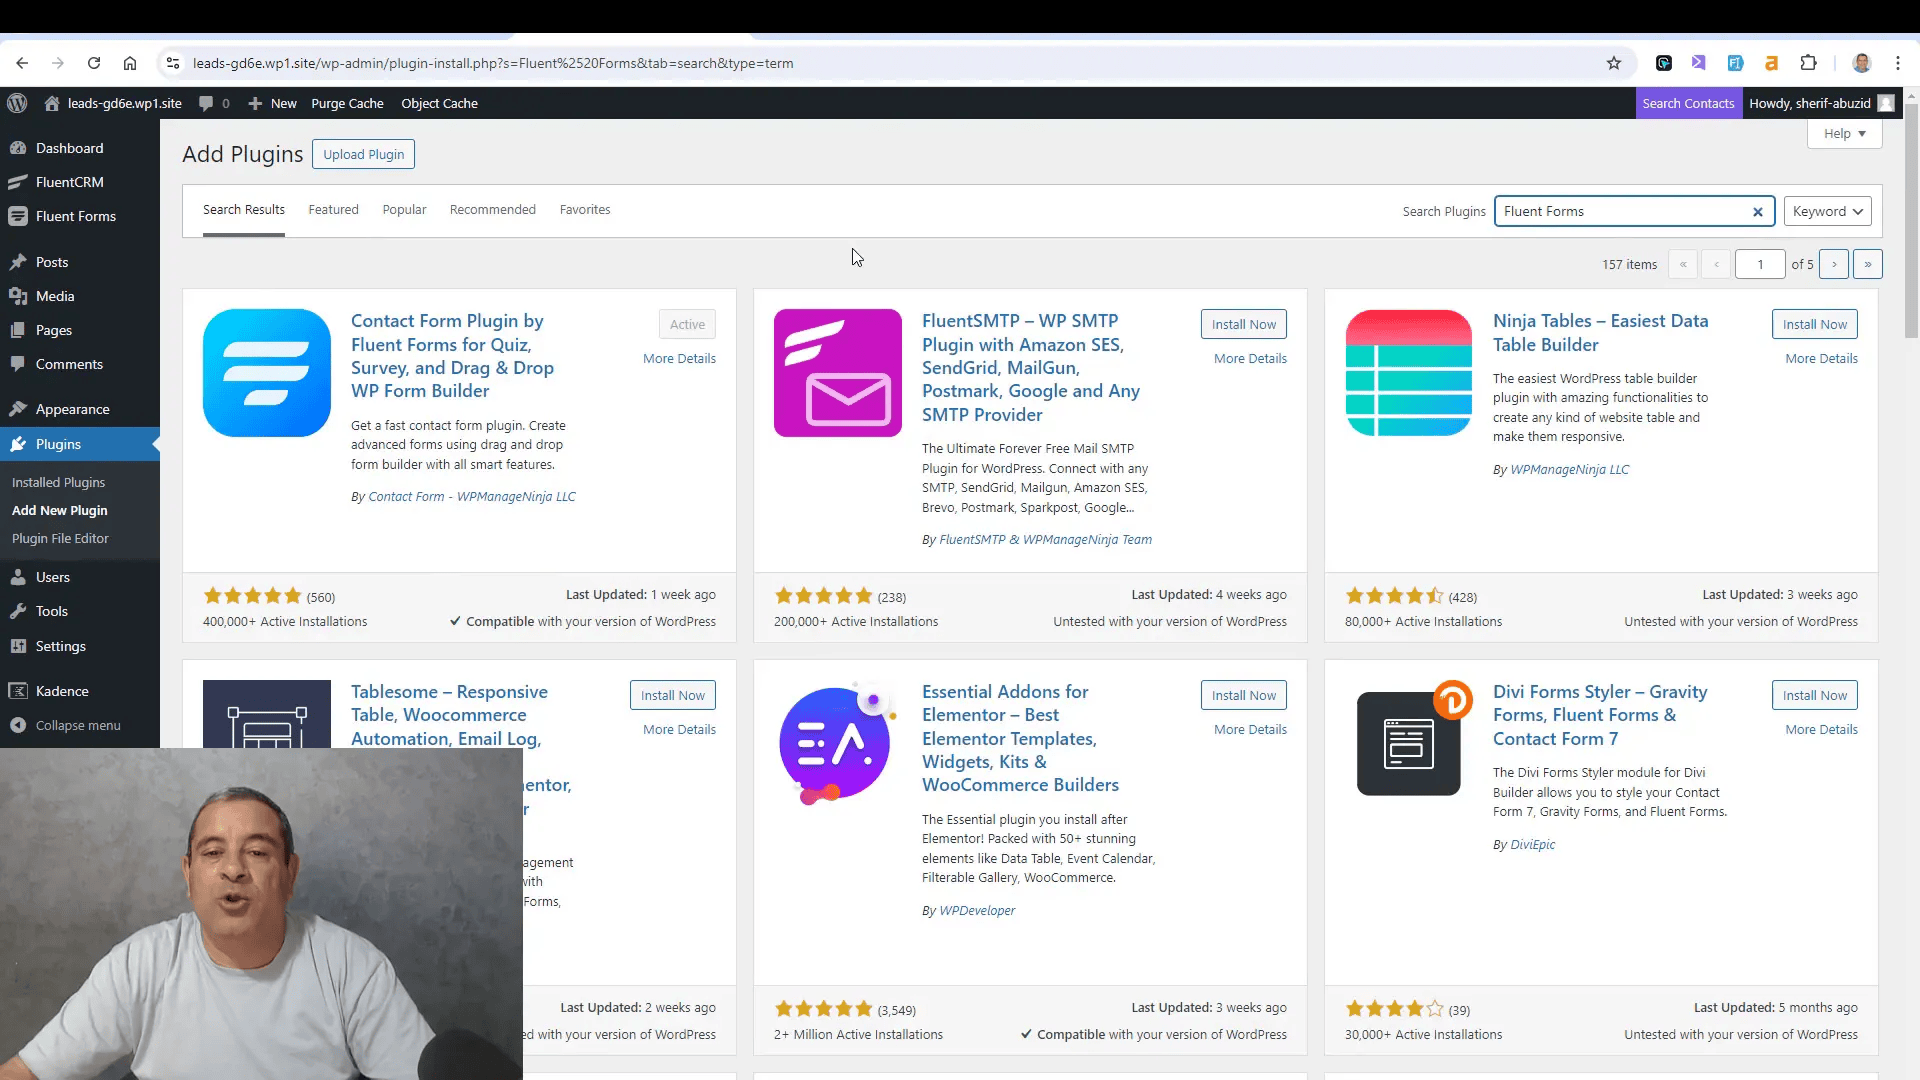
Creating your first opt-in form with Fluent Forms is simple. Here’s how to do it:
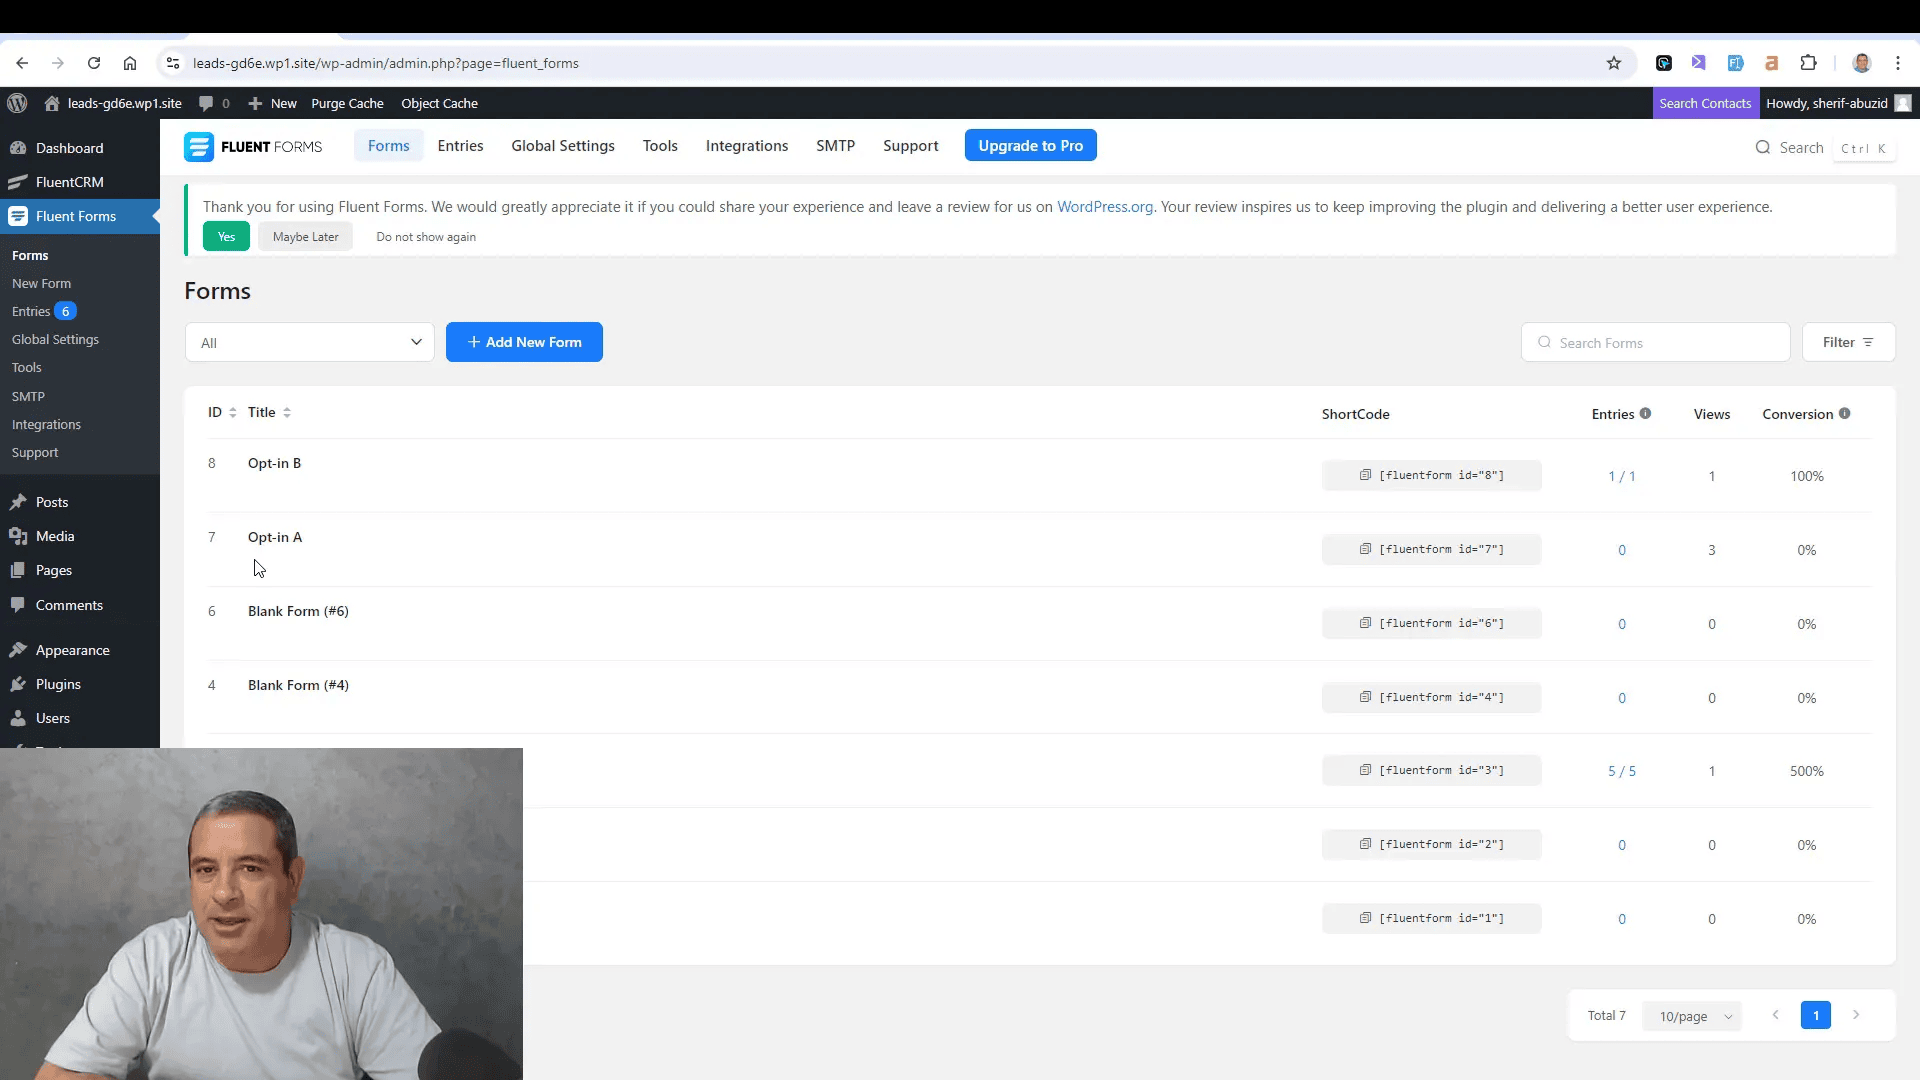
- Click on Fluent Forms in your dashboard, then select New Form.
- Choose to start from scratch or select a pre-built template.
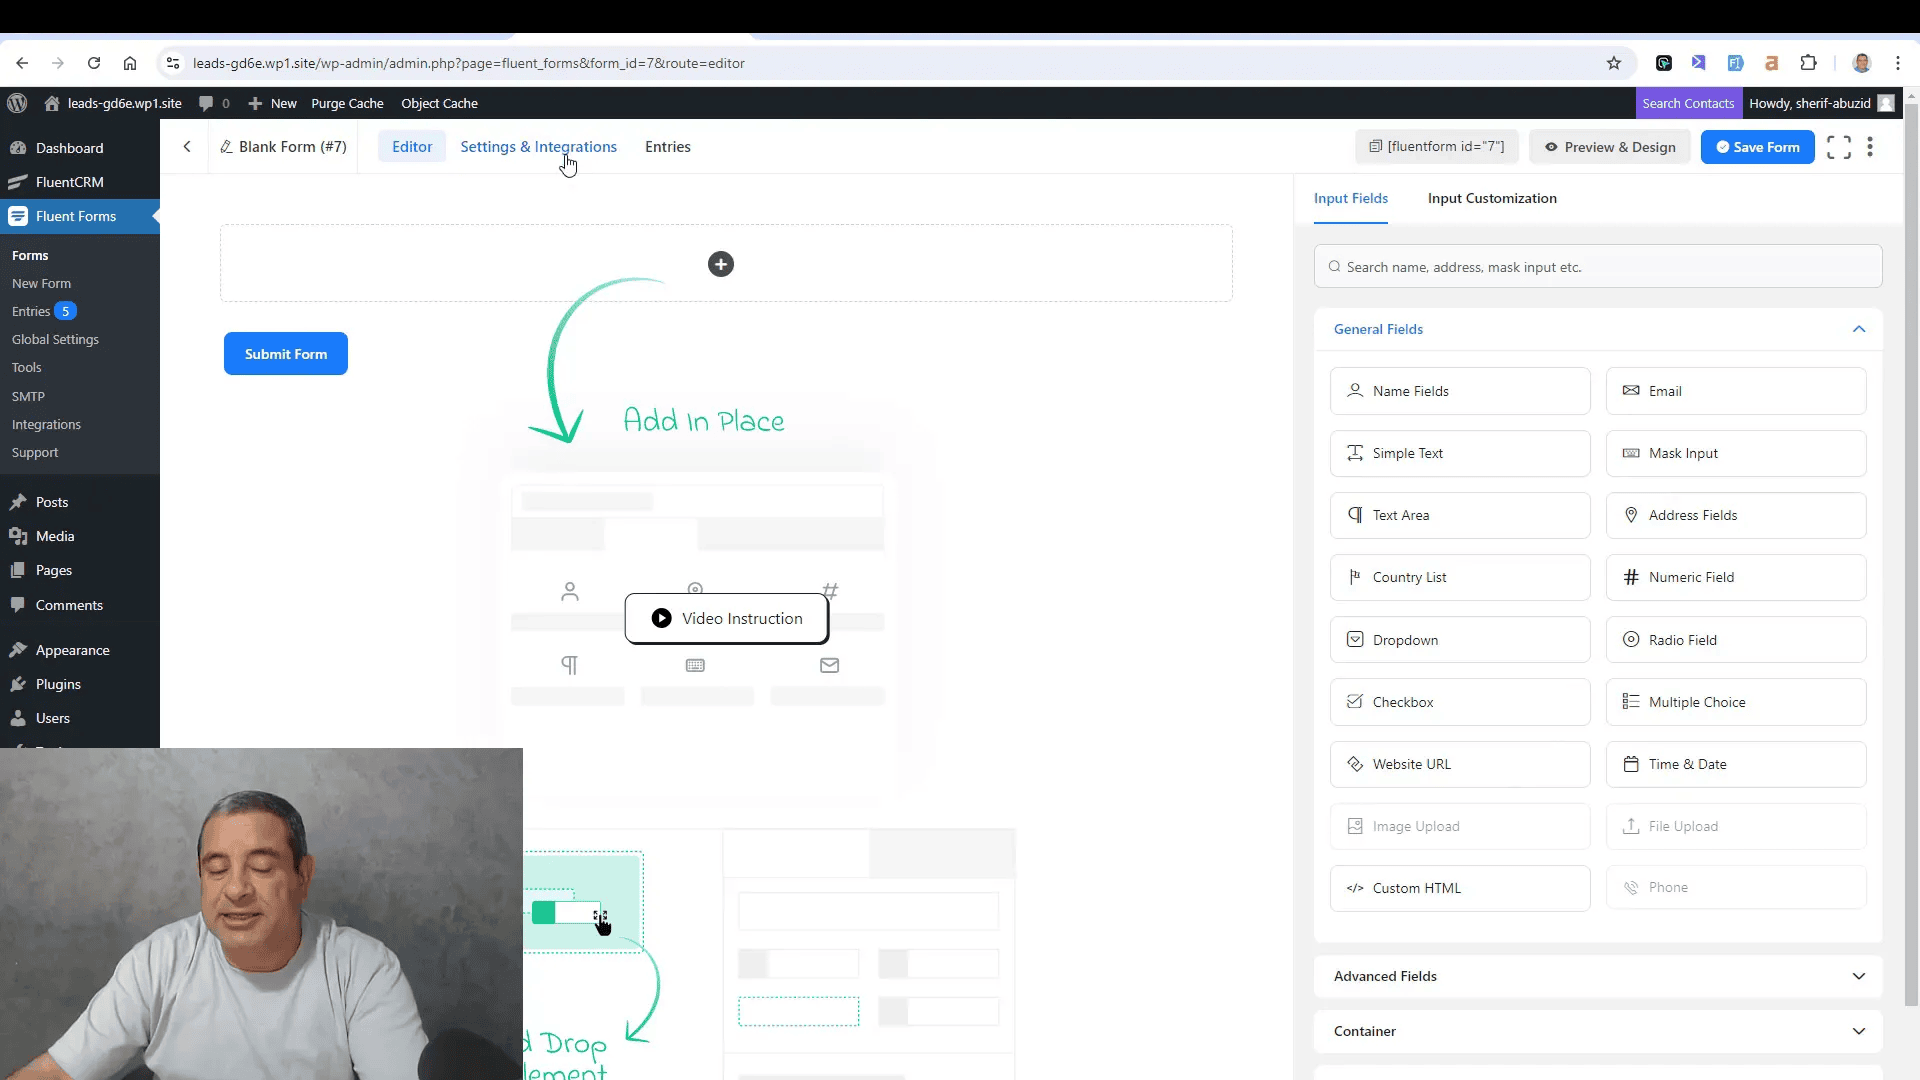
- Use the drag-and-drop builder to add fields such as name and email.
- Customize the fields by clicking on them and adjusting the settings.
- Once satisfied with your form, click Save.
Your form is now ready to be used on your website!
Customization Options
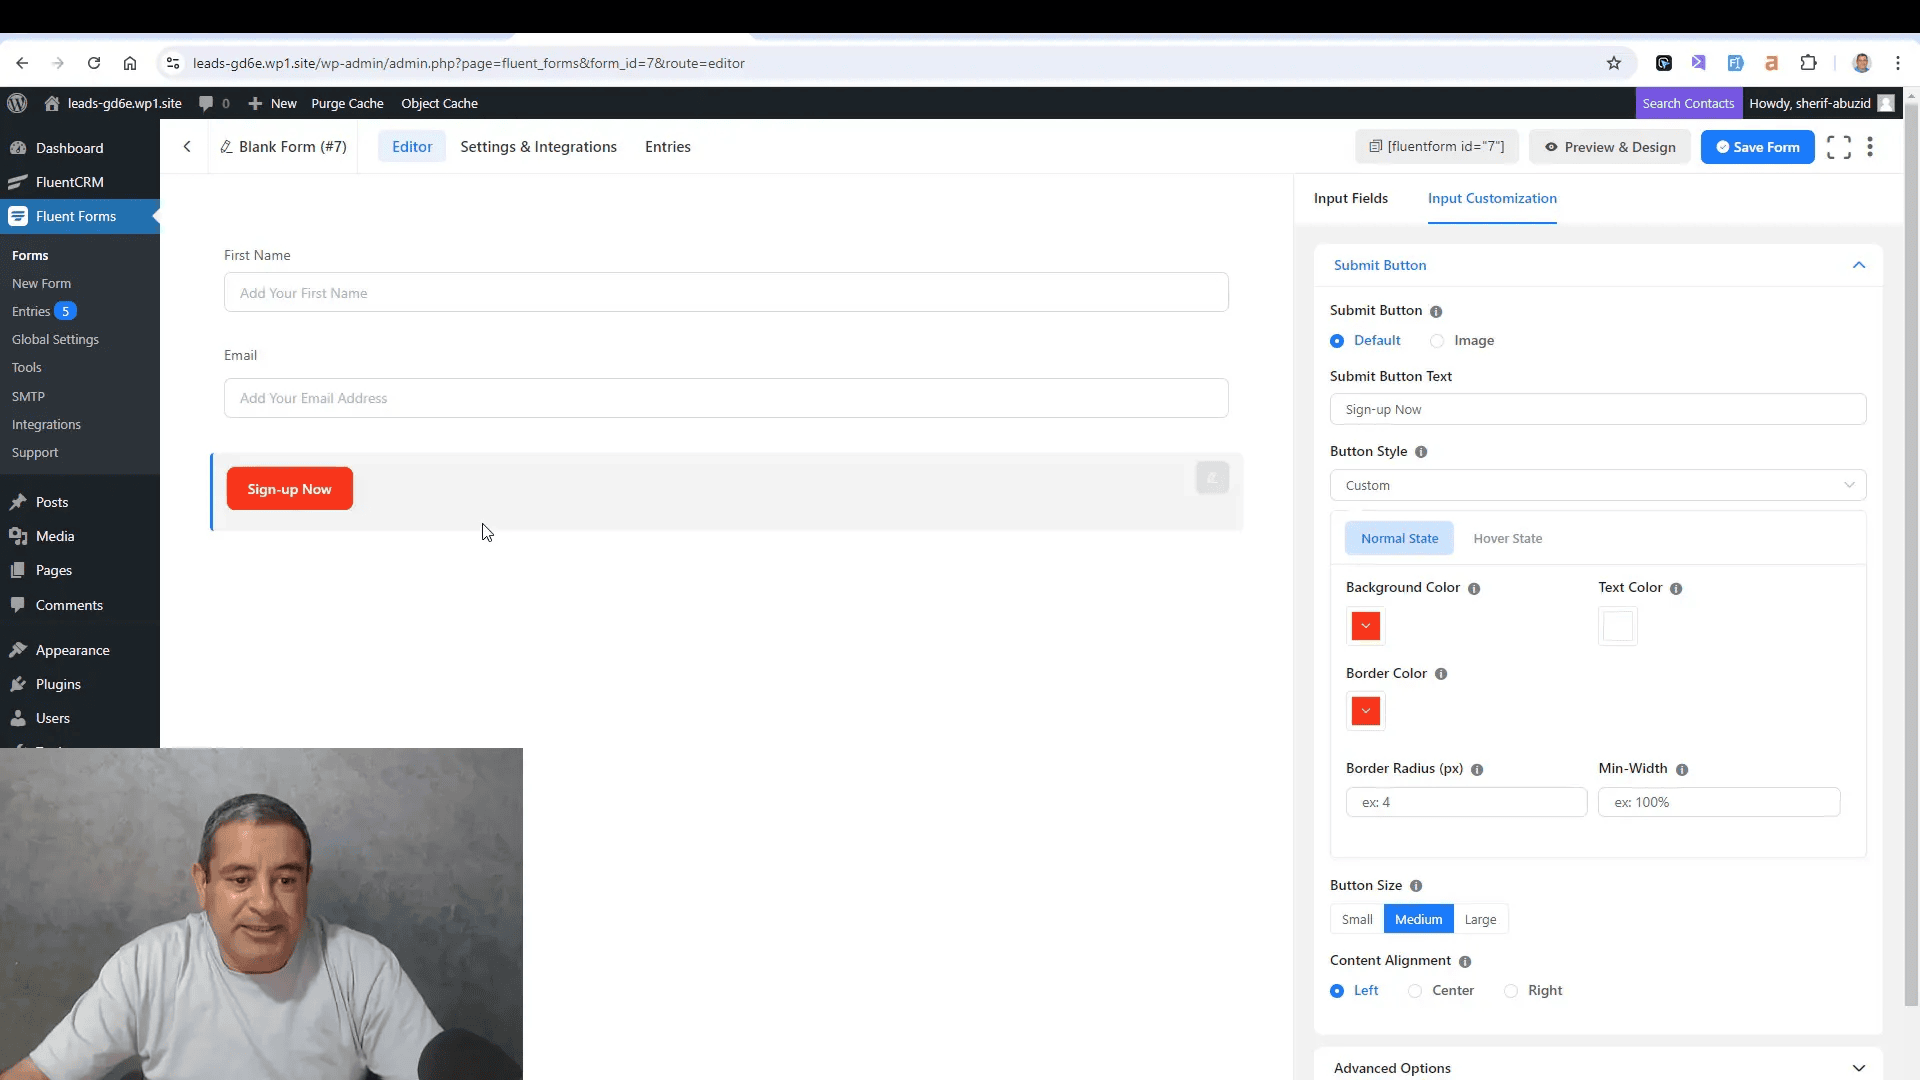
Fluent Forms offers extensive customization options to ensure your forms match your website’s design. You can:
- Edit Field Labels: Change the default labels to suit your needs.
- Set Placeholders: Provide hints in input fields to guide users.
- Adjust Button Styles: Change button colors, text, and borders for better visibility.
- Use Custom HTML: Add headings or descriptions to enhance your form’s appearance.
These customization features allow you to create forms that are not only functional but also visually appealing.
Integrating with Email Marketing Platforms
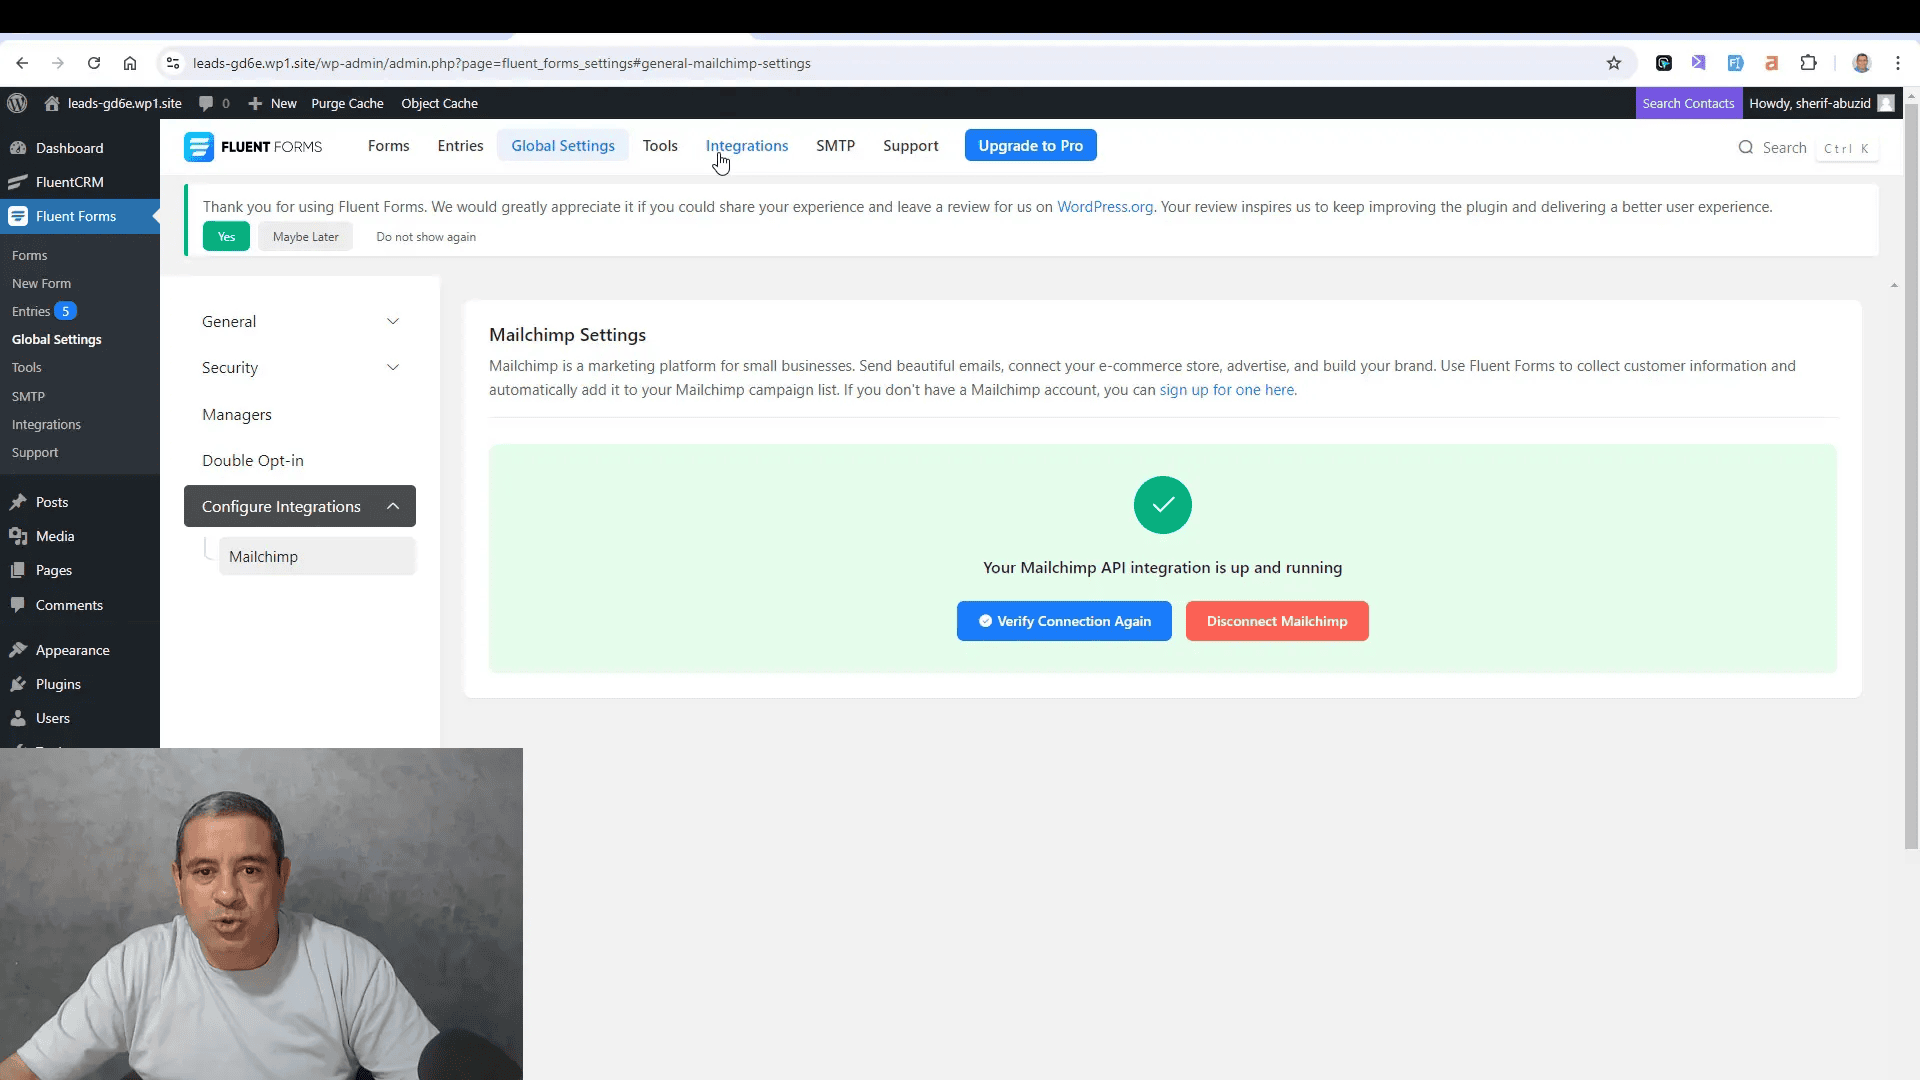
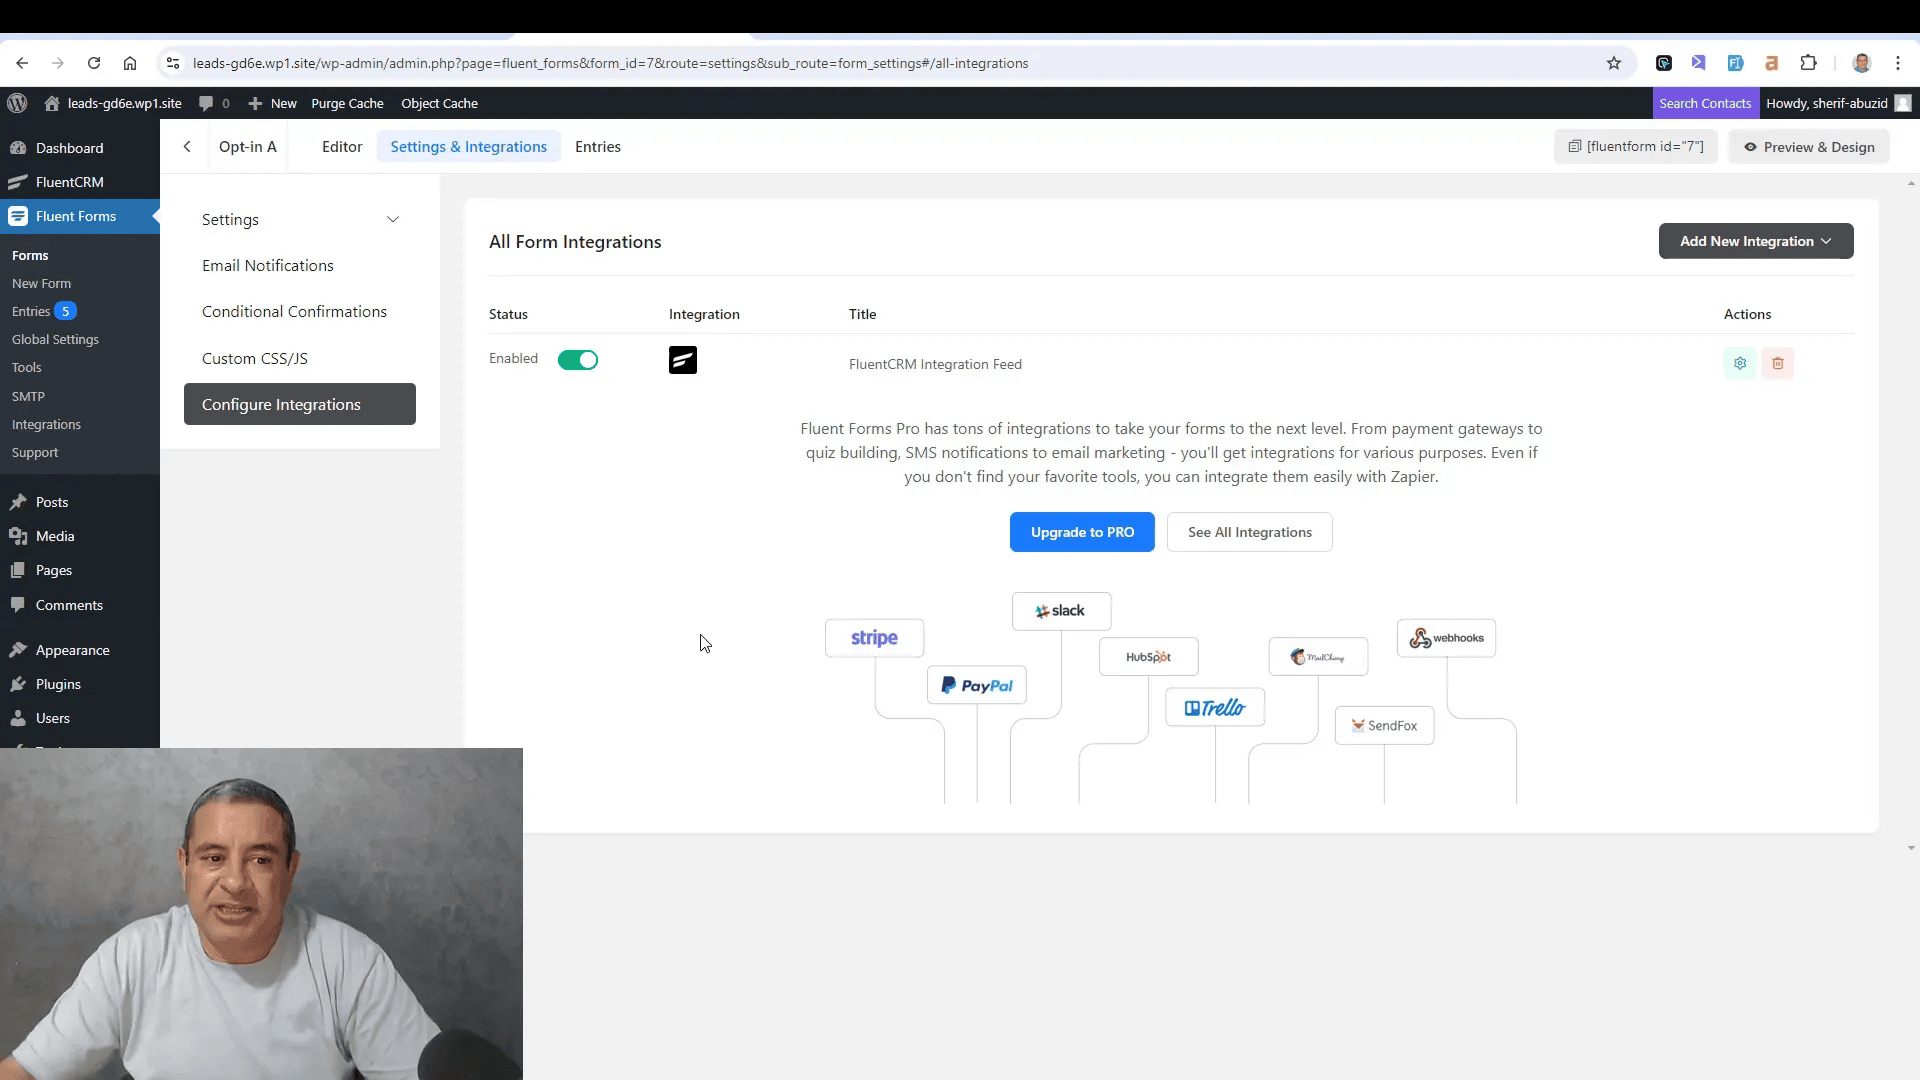
Connecting your opt-in form to an email marketing platform is crucial for effective lead management. Fluent Forms supports several integrations, including:
- Mailchimp: Automatically add subscribers to your Mailchimp lists.
- FluentCRM: Seamlessly manage your contacts within WordPress.
- ConvertKit: Integrate your forms with ConvertKit for advanced email marketing features.
To integrate, navigate to the Settings tab of your form, select Integrations, and follow the prompts to connect your chosen platform.
Setting Up Thank You Pages
A thank you page is essential for acknowledging user submissions. Here’s how to set one up:
- Go to the Settings tab of your form.
- Under Confirmation Settings, choose Redirect to a Page.
- Select your thank you page from the dropdown menu.
- Save your settings.
This process ensures that users are redirected to a dedicated thank you page after submitting their information, enhancing user experience and engagement.
Adding Opt-in Forms to Blog Posts
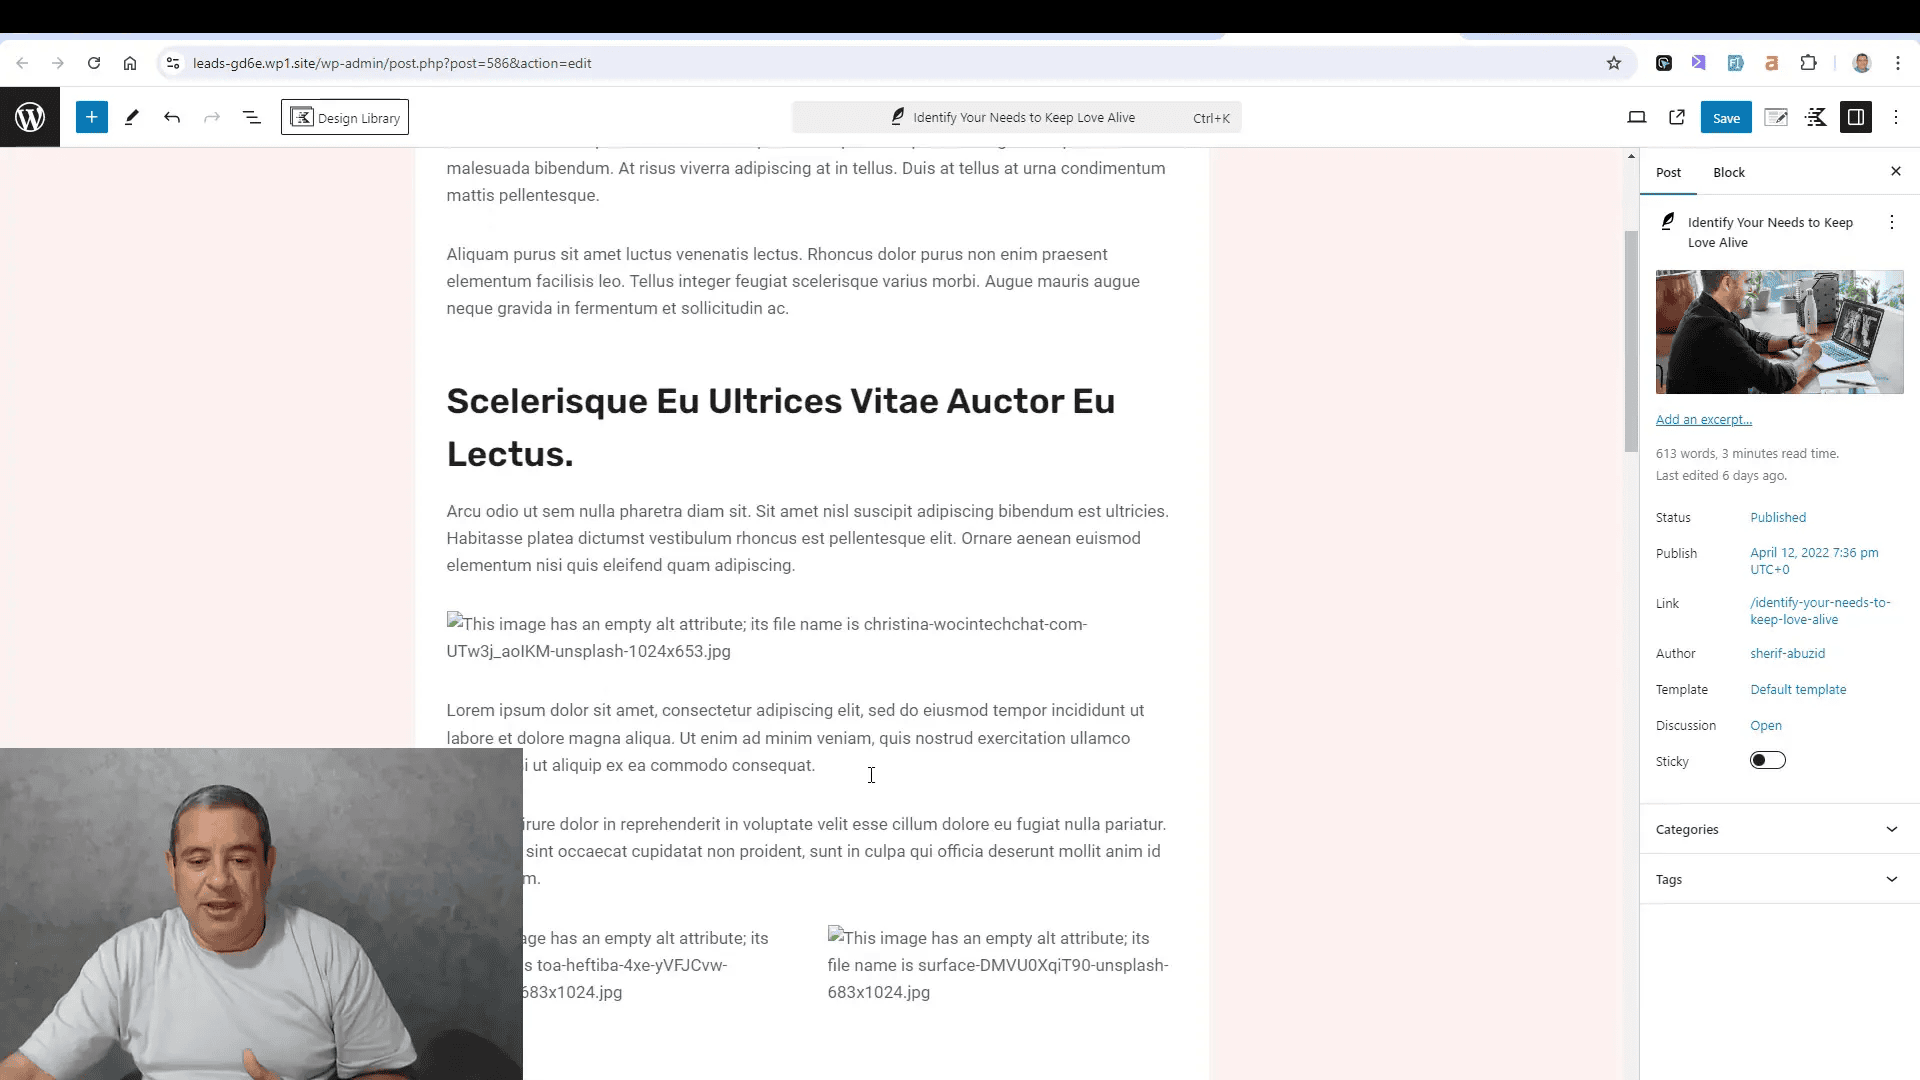
Integrating opt-in forms within your blog posts can significantly increase engagement and lead capture. Here’s how to add your opt-in form seamlessly:
- Edit the blog post where you want to insert the opt-in form.
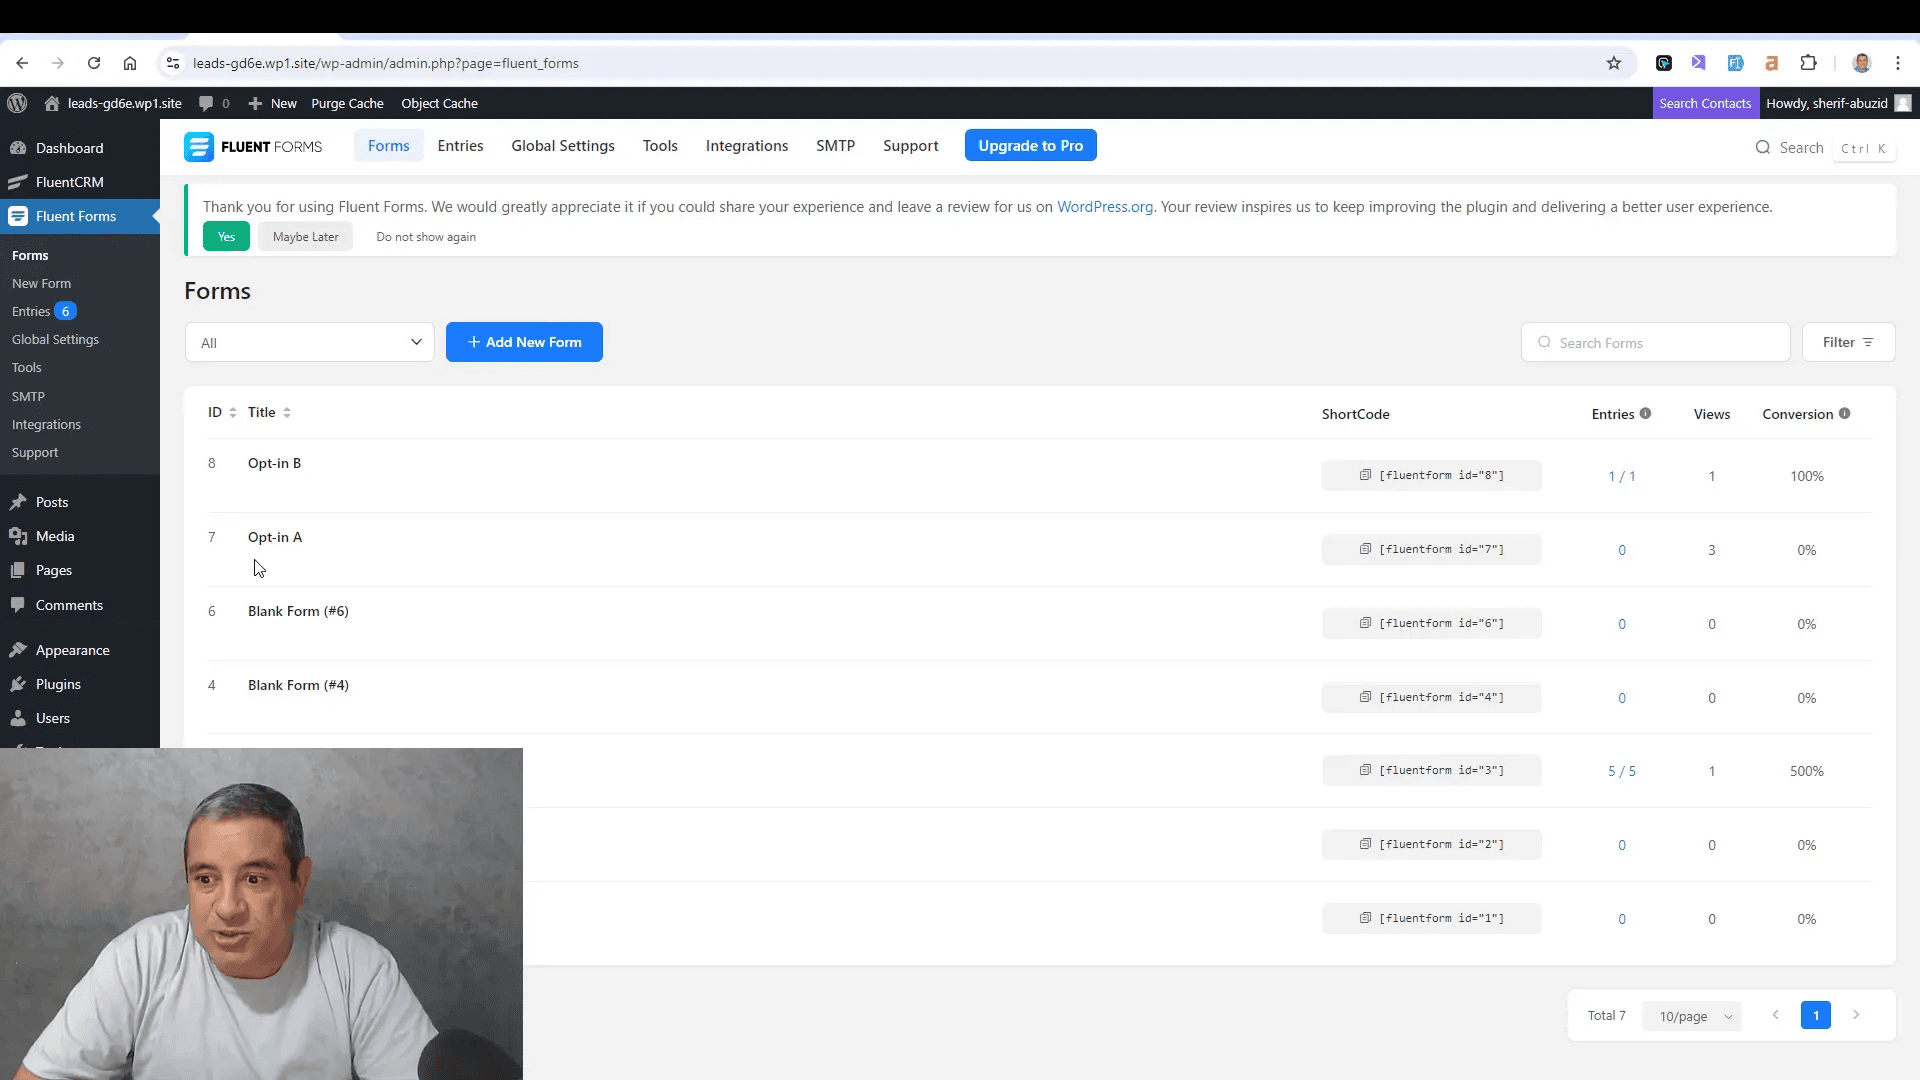
- Use the shortcode provided by Fluent Forms to embed your form.
- Consider placing the form at strategic locations, such as the beginning or end of your post.
- Use a background or a container to enhance its visibility.
This approach not only captures leads but also encourages readers to subscribe as they enjoy your content.
Creating a Dedicated Opt-in Page
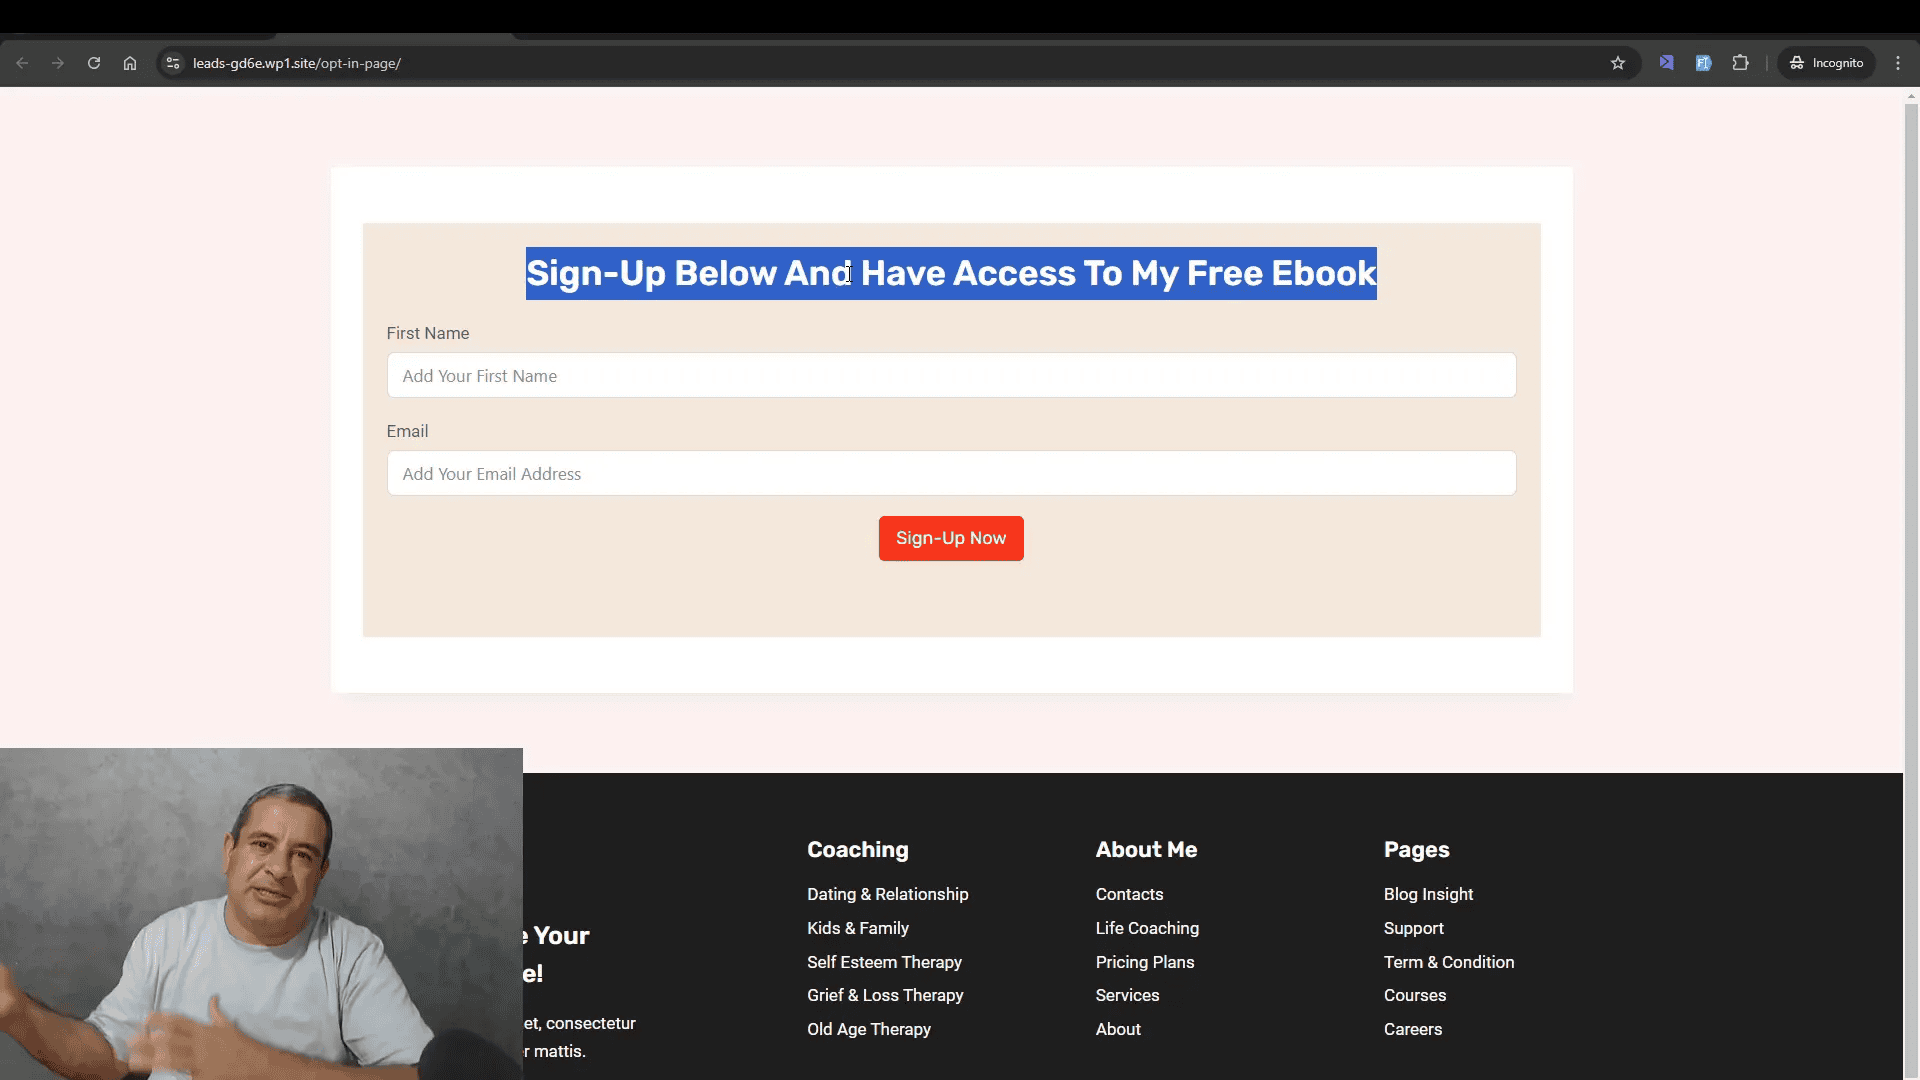
A dedicated opt-in page is an excellent way to funnel visitors directly into your lead capture process. Follow these steps to create one:
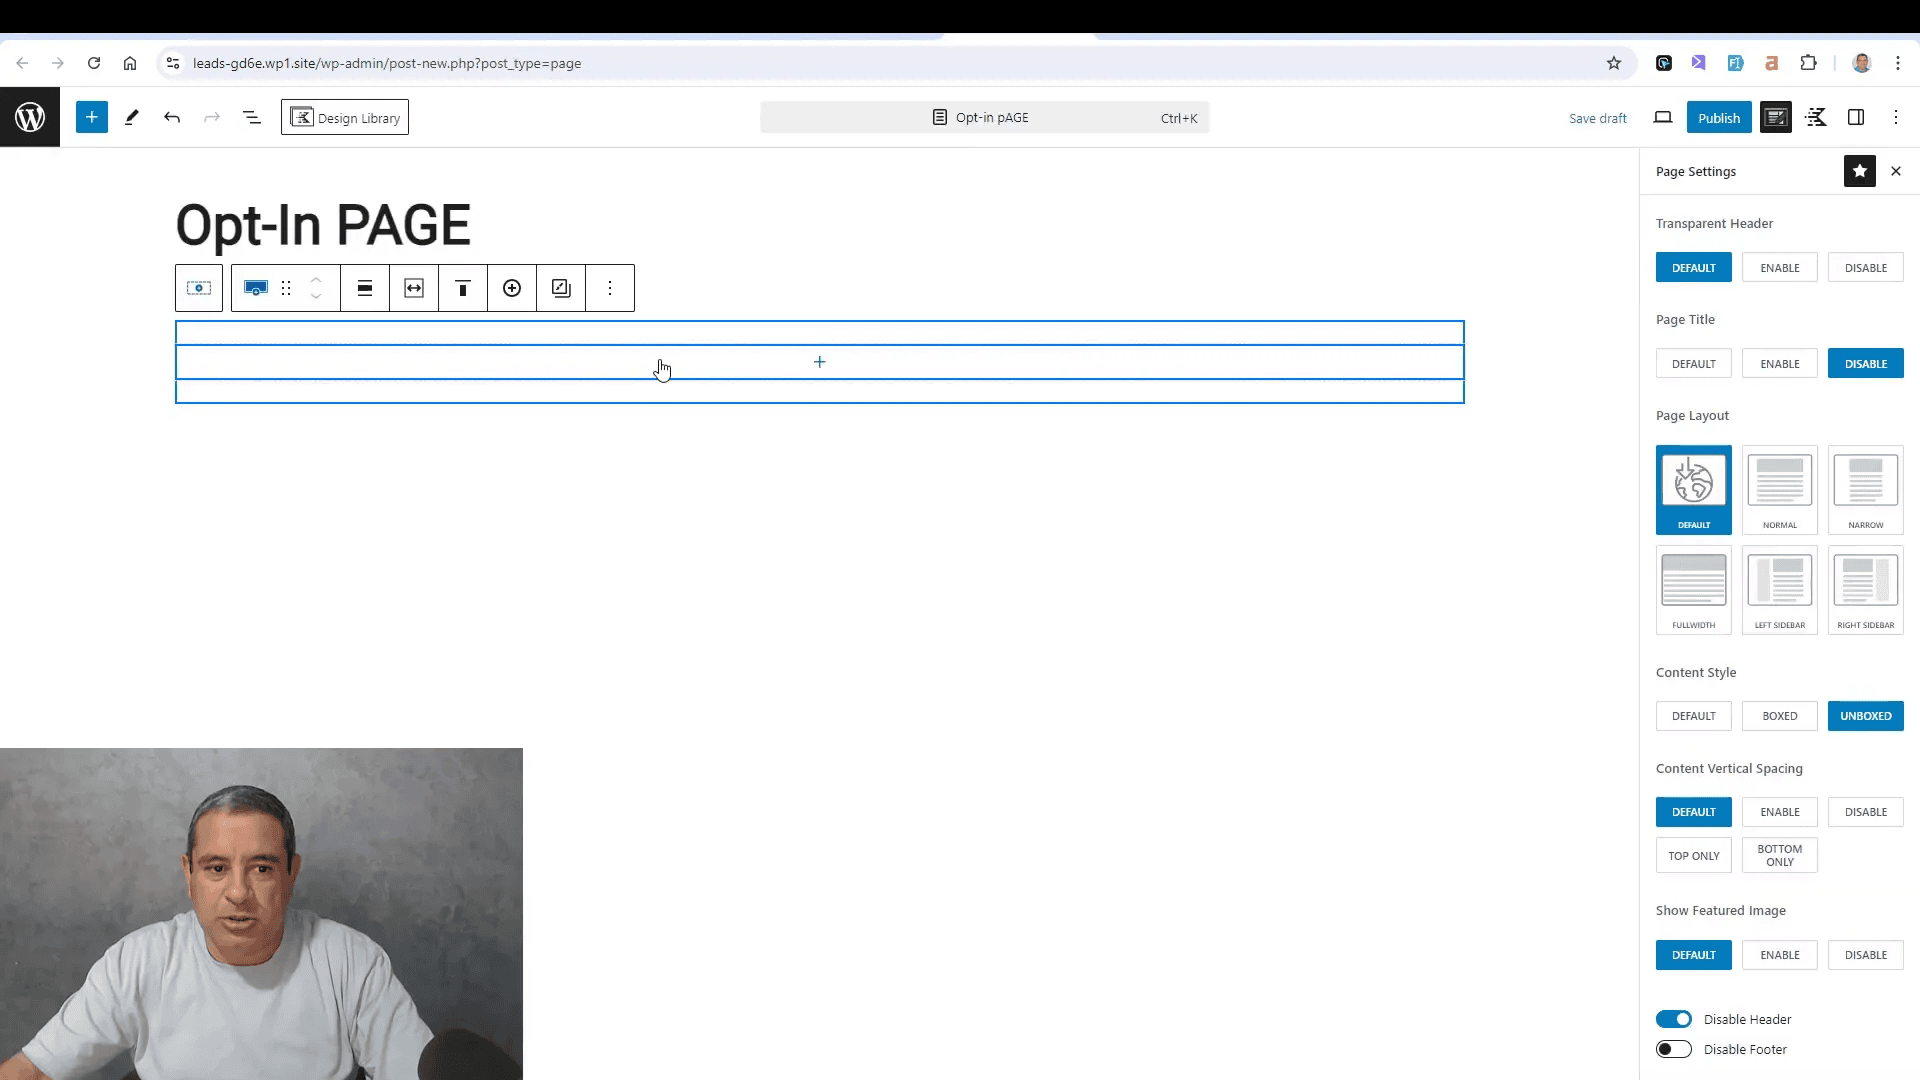
- Navigate to the Pages section in your WordPress dashboard.
- Select Add New and name your page something like “Opt-in Page.”
- Disable the page title and header for a cleaner look.
- Add a row and insert the shortcode for your opt-in form.
- Customize the page layout and design to match your branding.
- Publish the page once you’re satisfied with the design.
This dedicated page will serve as a focused entry point for potential subscribers, increasing conversion rates.
Advanced Customization Techniques
To make your opt-in forms more appealing, consider these advanced customization techniques:
- Custom CSS: Apply custom styles to match your website’s theme.
- Conditional Logic: Show or hide fields based on user responses to create a tailored experience.
- Custom HTML Fields: Use these to add headings or descriptions to guide users.
- Duplicate Forms: Create variations of your forms for A/B testing to see which performs better.
These techniques ensure your forms not only function well but also resonate with your audience visually.
Pros and Cons of Fluent Forms
Like any tool, Fluent Forms has its strengths and weaknesses. Here’s a breakdown:
Pros
- User-Friendly: The drag-and-drop interface is intuitive for all skill levels.
- Free Version Available: Many features are accessible without cost.
- Versatility: Supports various form types, including surveys and quizzes.
- Integrations: Easily connects with popular email marketing services.
Cons
- Limited Features in Free Version: Some advanced features require a paid upgrade.
- Customization Complexity: Advanced users may find certain customizations require coding knowledge.
Understanding these pros and cons will help you determine if Fluent Forms is the right tool for your needs.
Who Should Use Fluent Forms?
Fluent Forms is ideal for a wide range of users:
- Bloggers: Anyone looking to grow their email list through engaging content.
- Marketers: Professionals who need versatile forms for lead generation.
- Business Owners: Those who want to streamline customer inquiries and feedback.
- Nonprofits: Organizations seeking to engage supporters through newsletters and updates.
If you fit any of these categories, Fluent Forms can enhance your website’s functionality and user engagement.
Final Thoughts and Recommendation
In conclusion, Fluent Forms stands out as a powerful opt-in form plugin for WordPress. It combines ease of use with robust features, making it suitable for both beginners and advanced users.
Whether you’re looking to create simple opt-in forms or complex surveys, this plugin has you covered. I highly recommend trying out the free version to see how it fits your needs.
Frequently Asked Questions

