In this Astra theme tutorial, we will walk you through the process of installing and launching a WordPress website using the Astra theme and its starter templates. Whether you’re a beginner or looking to enhance your existing site, this guide will provide you with all the necessary steps and tips to get started.
Introduction to Astra Theme
The Astra theme is a powerful, lightweight, and customizable WordPress theme that allows users to create stunning websites with ease. It is designed for speed and performance, making it a popular choice among both beginners and experienced developers. With its extensive library of starter templates, Astra simplifies the process of website building by providing ready-to-use designs that can be easily customized to fit your needs.
Installing the Astra Theme
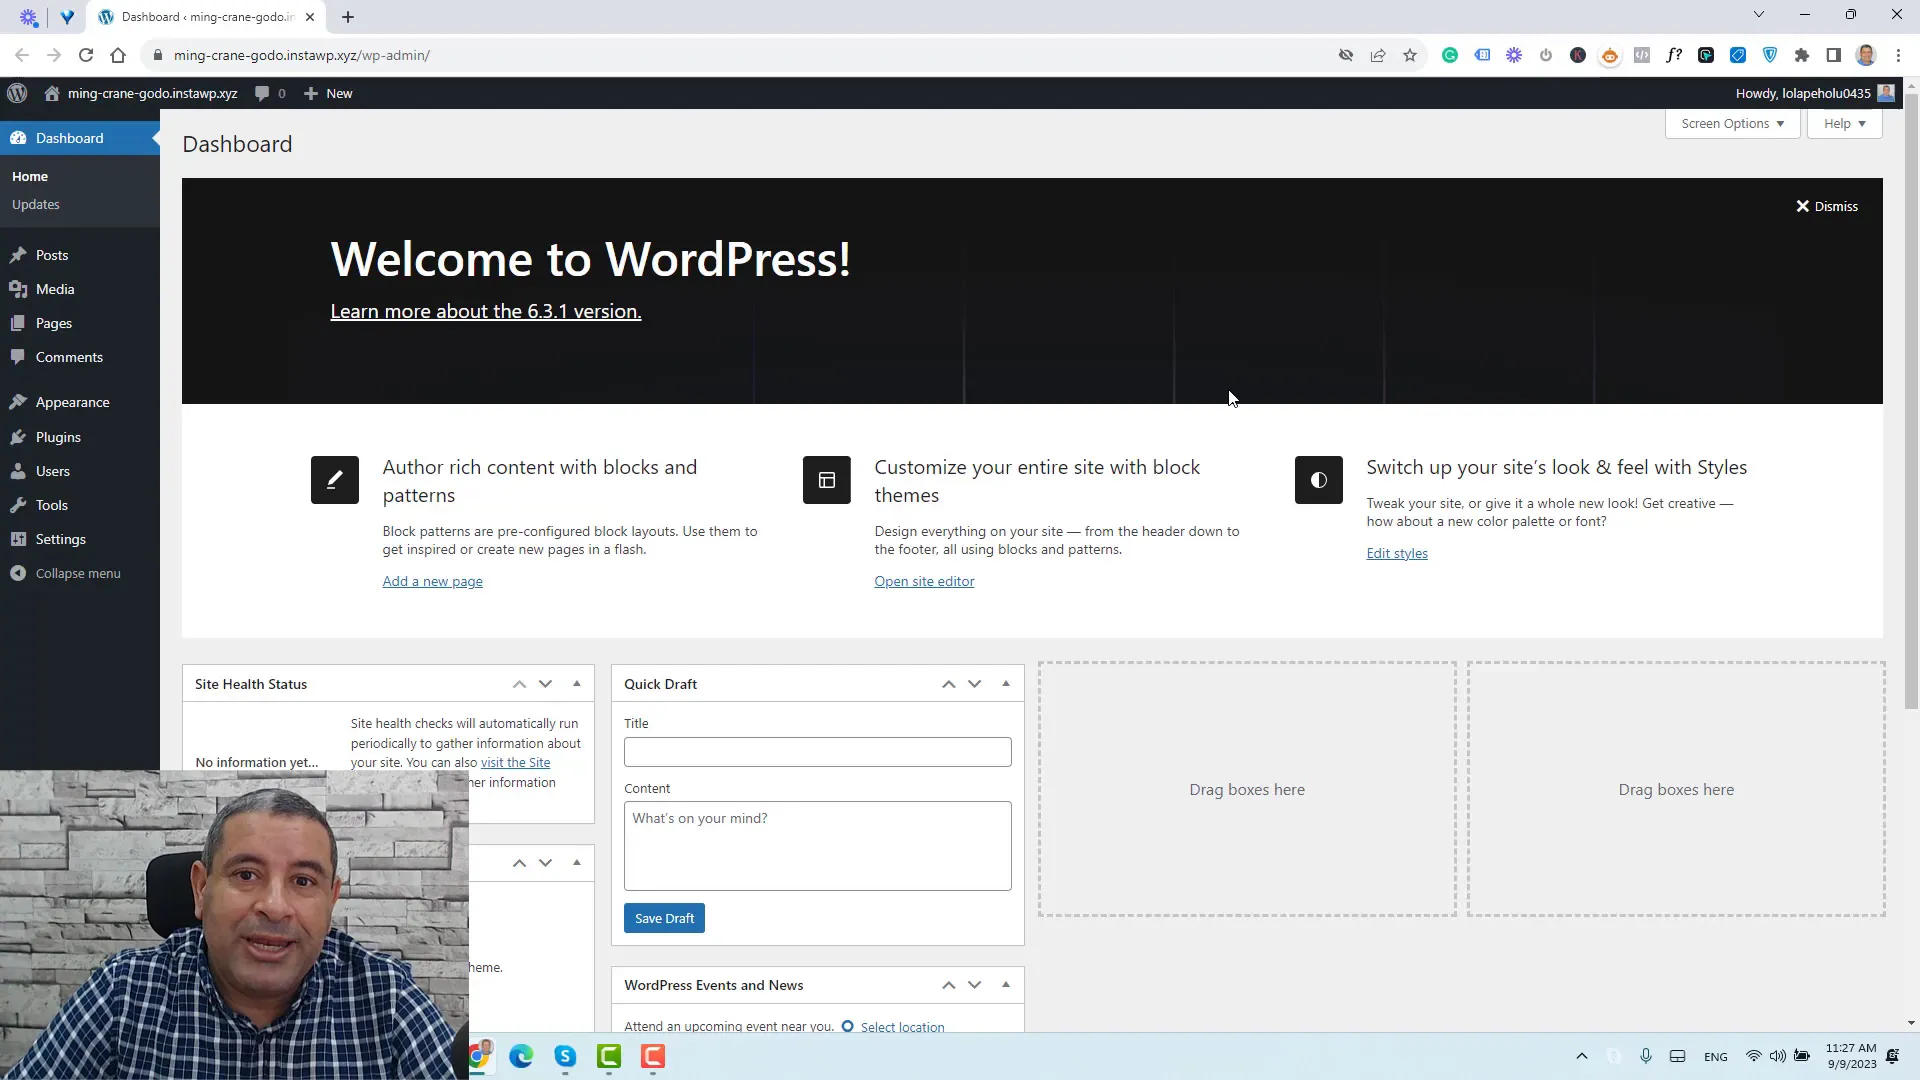
To install the Astra theme, navigate to your WordPress dashboard. Go to Appearance and then click on Themes. From there, select Add New and search for “Astra.” Once you find it, click Install and then Activate to enable the theme on your site.
Activating Astra Starter Templates Plugin
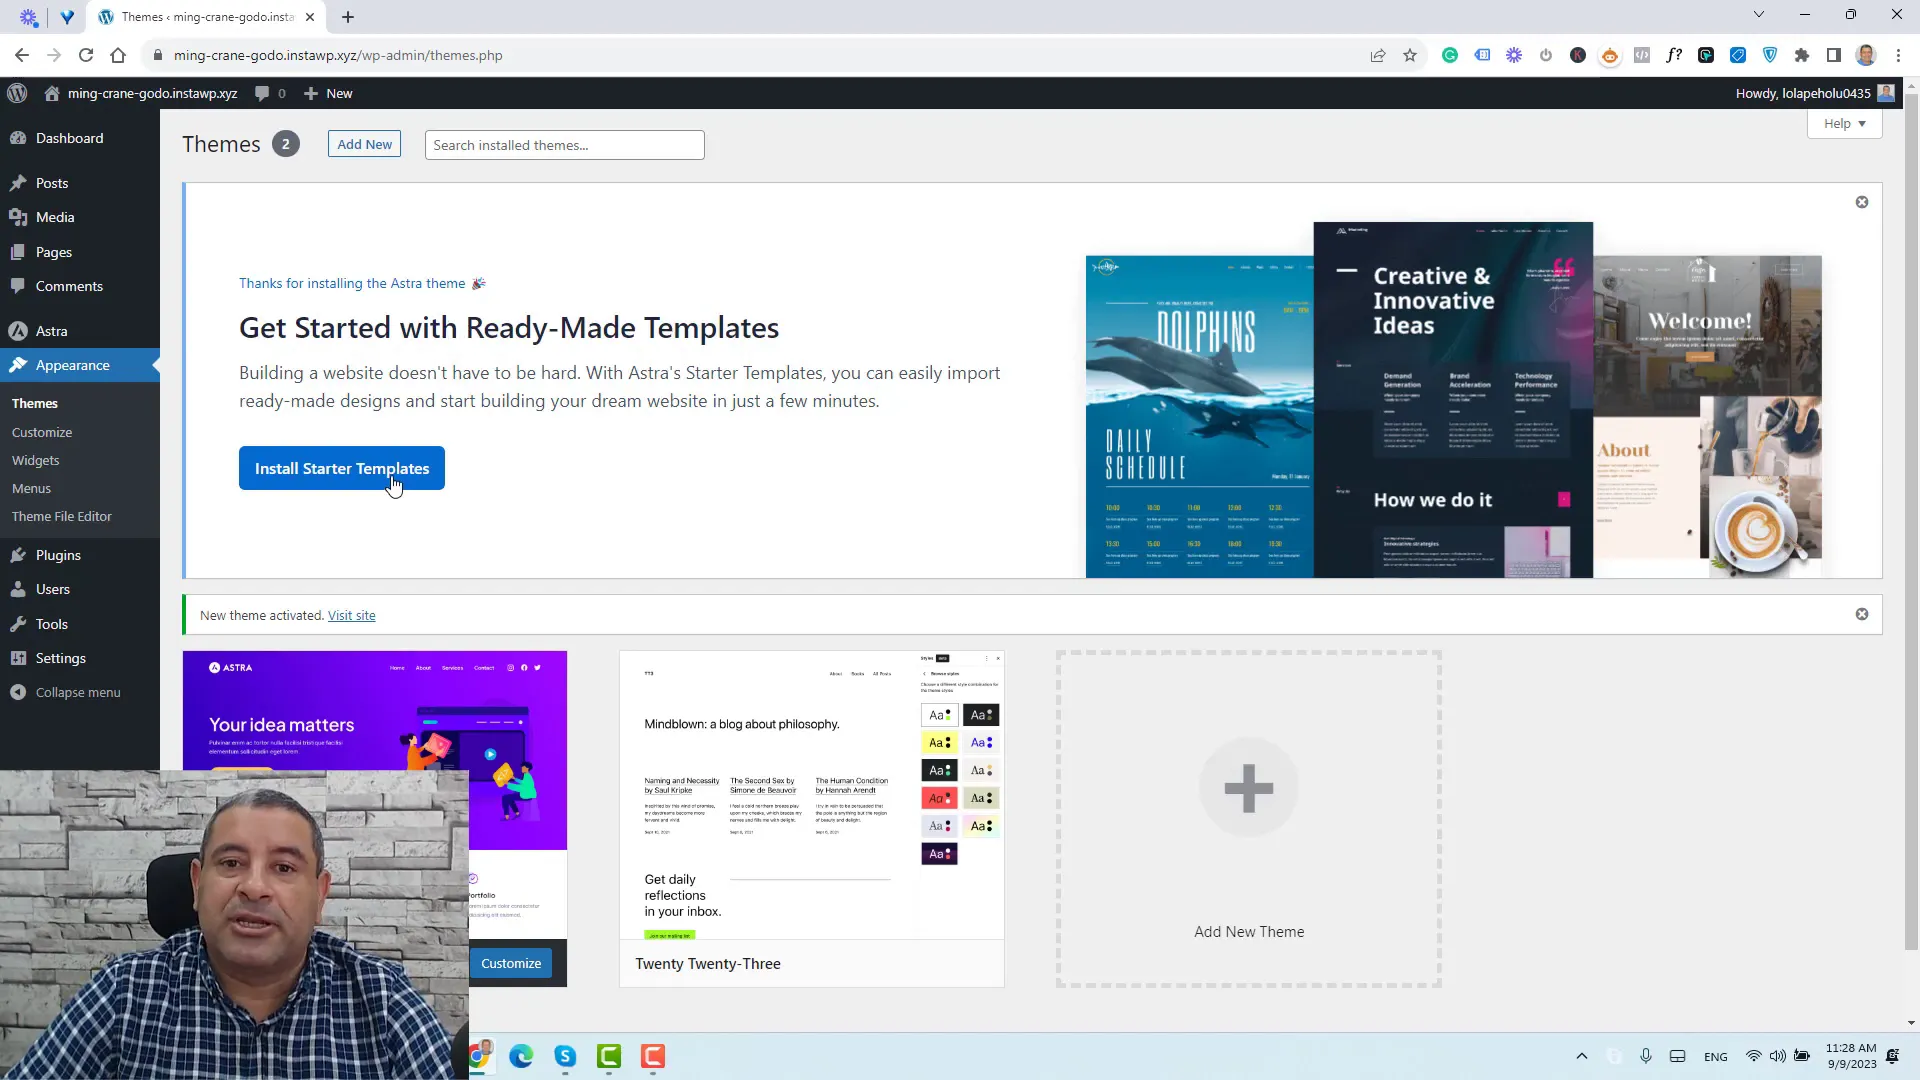
After activating the Astra theme, you will be prompted to install the Astra Starter Templates plugin. This plugin is essential as it provides access to a variety of pre-designed templates that can be used to quickly set up your website. If you do not see the prompt, you can manually install it by going to Plugins and selecting Add New. Search for “Starter Templates,” click Install, and then Activate.
Choosing a Page Builder
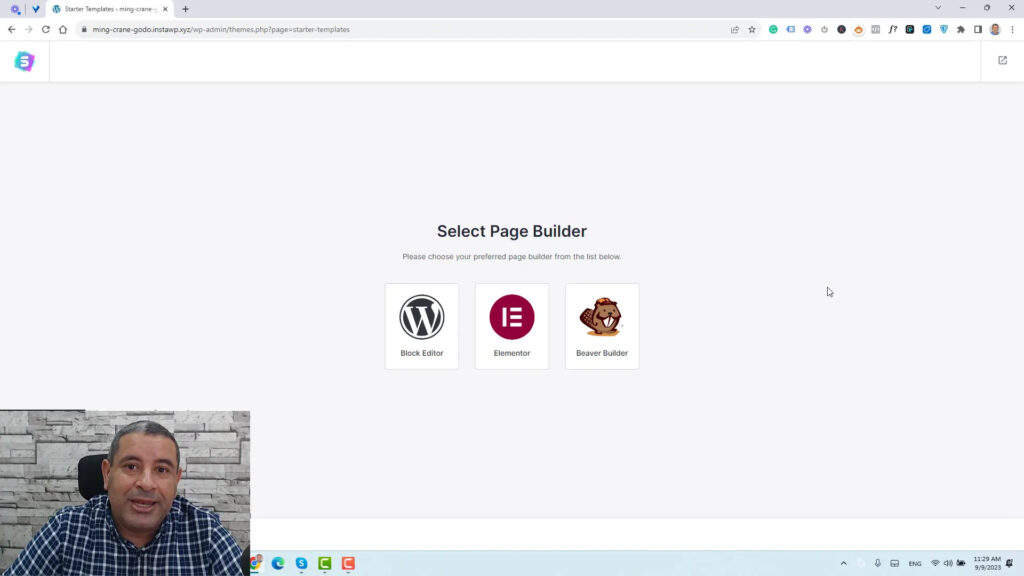
Once the Astra Starter Templates plugin is activated, you will need to choose a page builder to design your website. Popular options include Elementor and Beaver Builder, but the default block editor of WordPress is also a great choice. It is lightweight and helps maintain fast loading speeds for your site. Select your preferred page builder and proceed to the next step.
Selecting and Installing a Starter Template
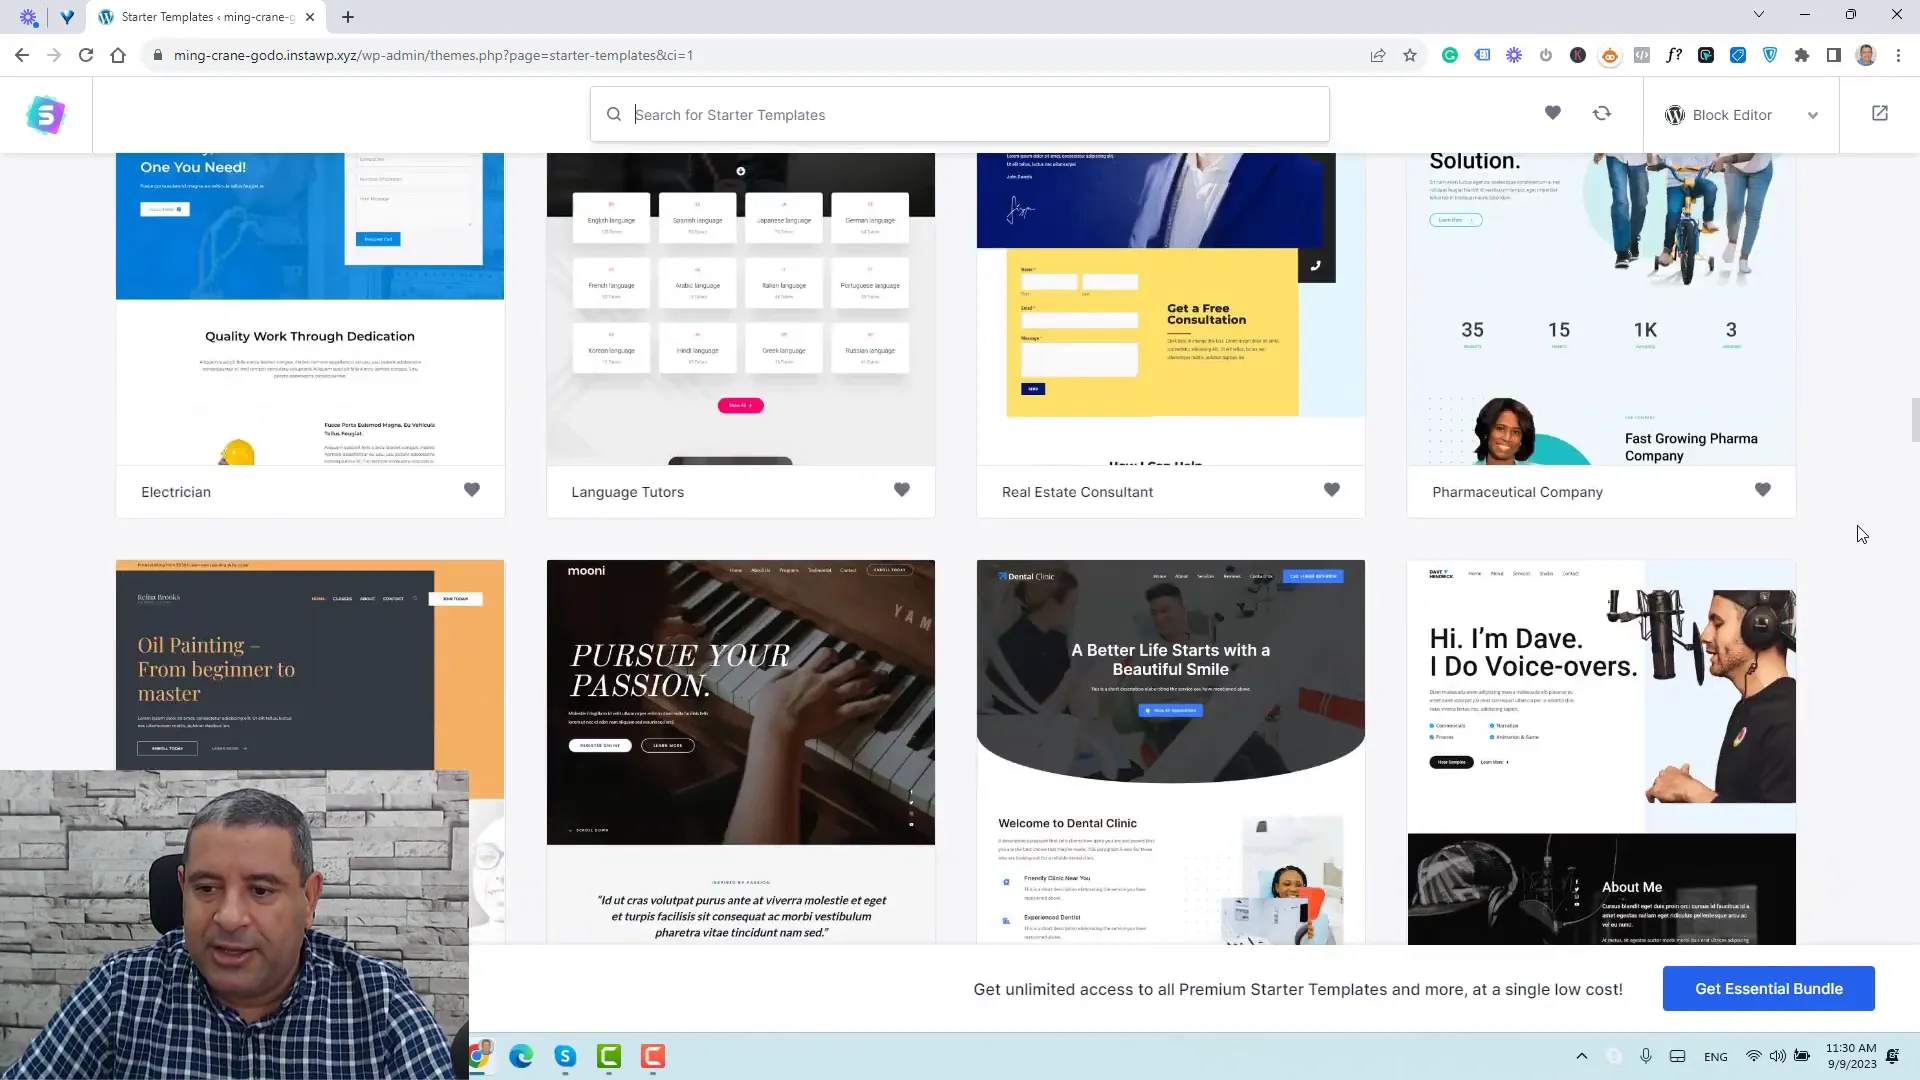
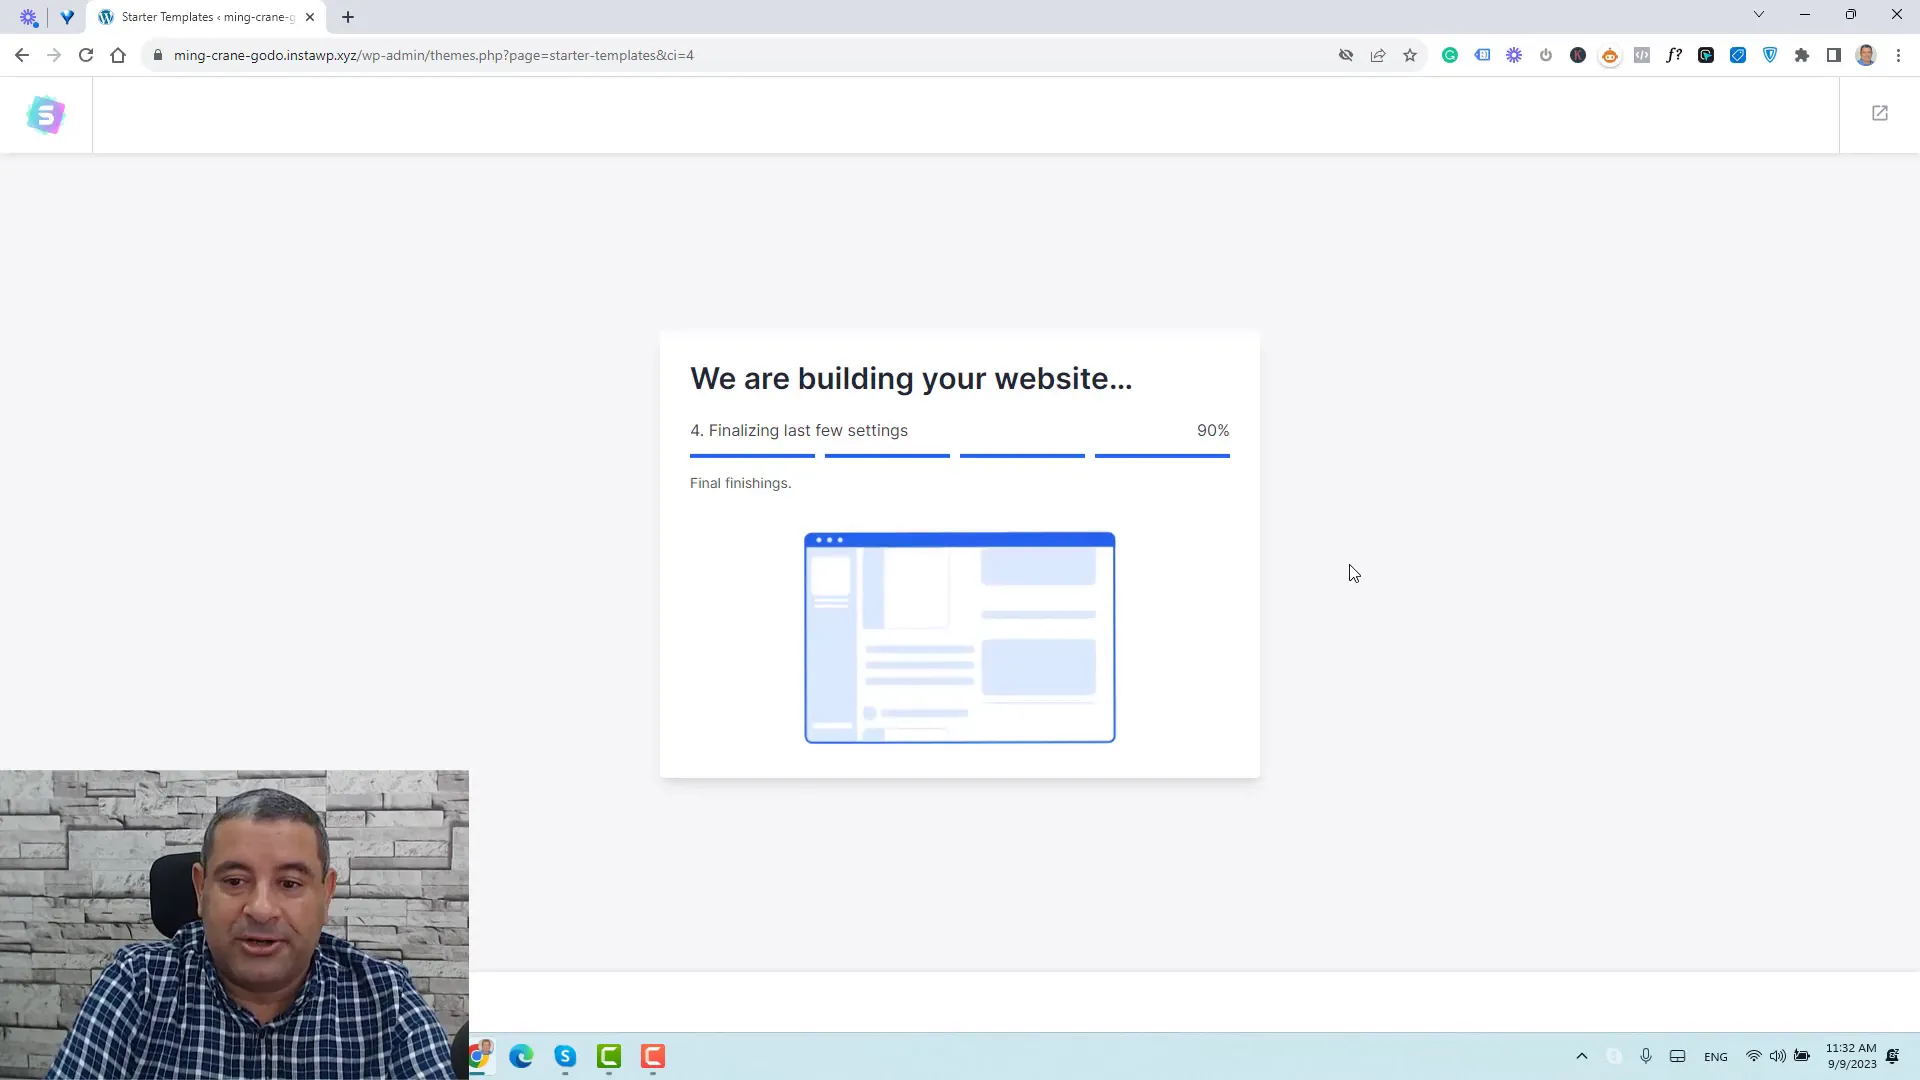
With the page builder selected, you can now browse through the available starter templates. Astra offers a variety of templates tailored for different types of websites, such as blogs, portfolios, and online stores. You can filter the templates based on your needs and choose a free one or a premium option if you have the Astra Pro extension. Click Install on the template you prefer to begin the installation process.
Customizing Your Website
Once the starter template is installed, you can start customizing your website. This includes uploading your logo, adjusting the colors and fonts, and modifying the content. The customization options are extensive, allowing you to tailor your site to match your branding. For example, you can change the background color of sections, modify text, and even rearrange containers within your layout.
Editing Page Content
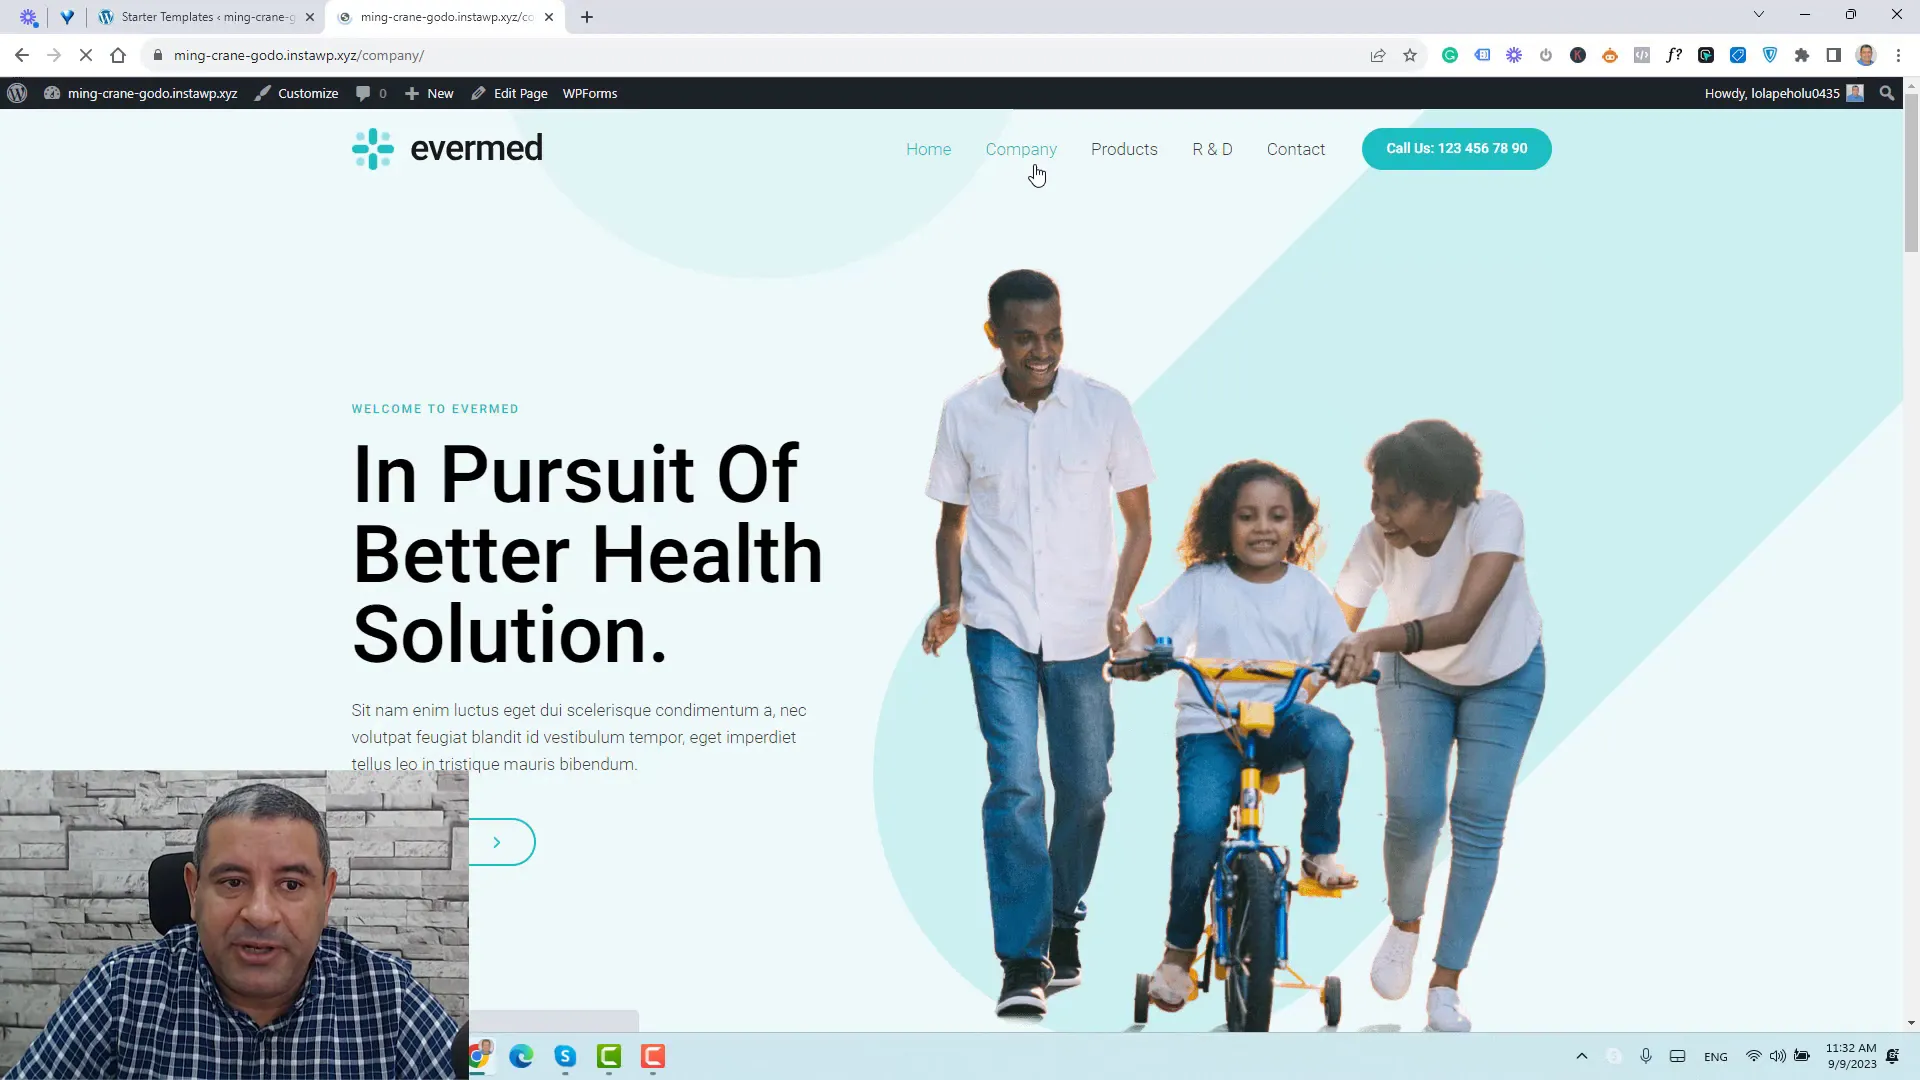
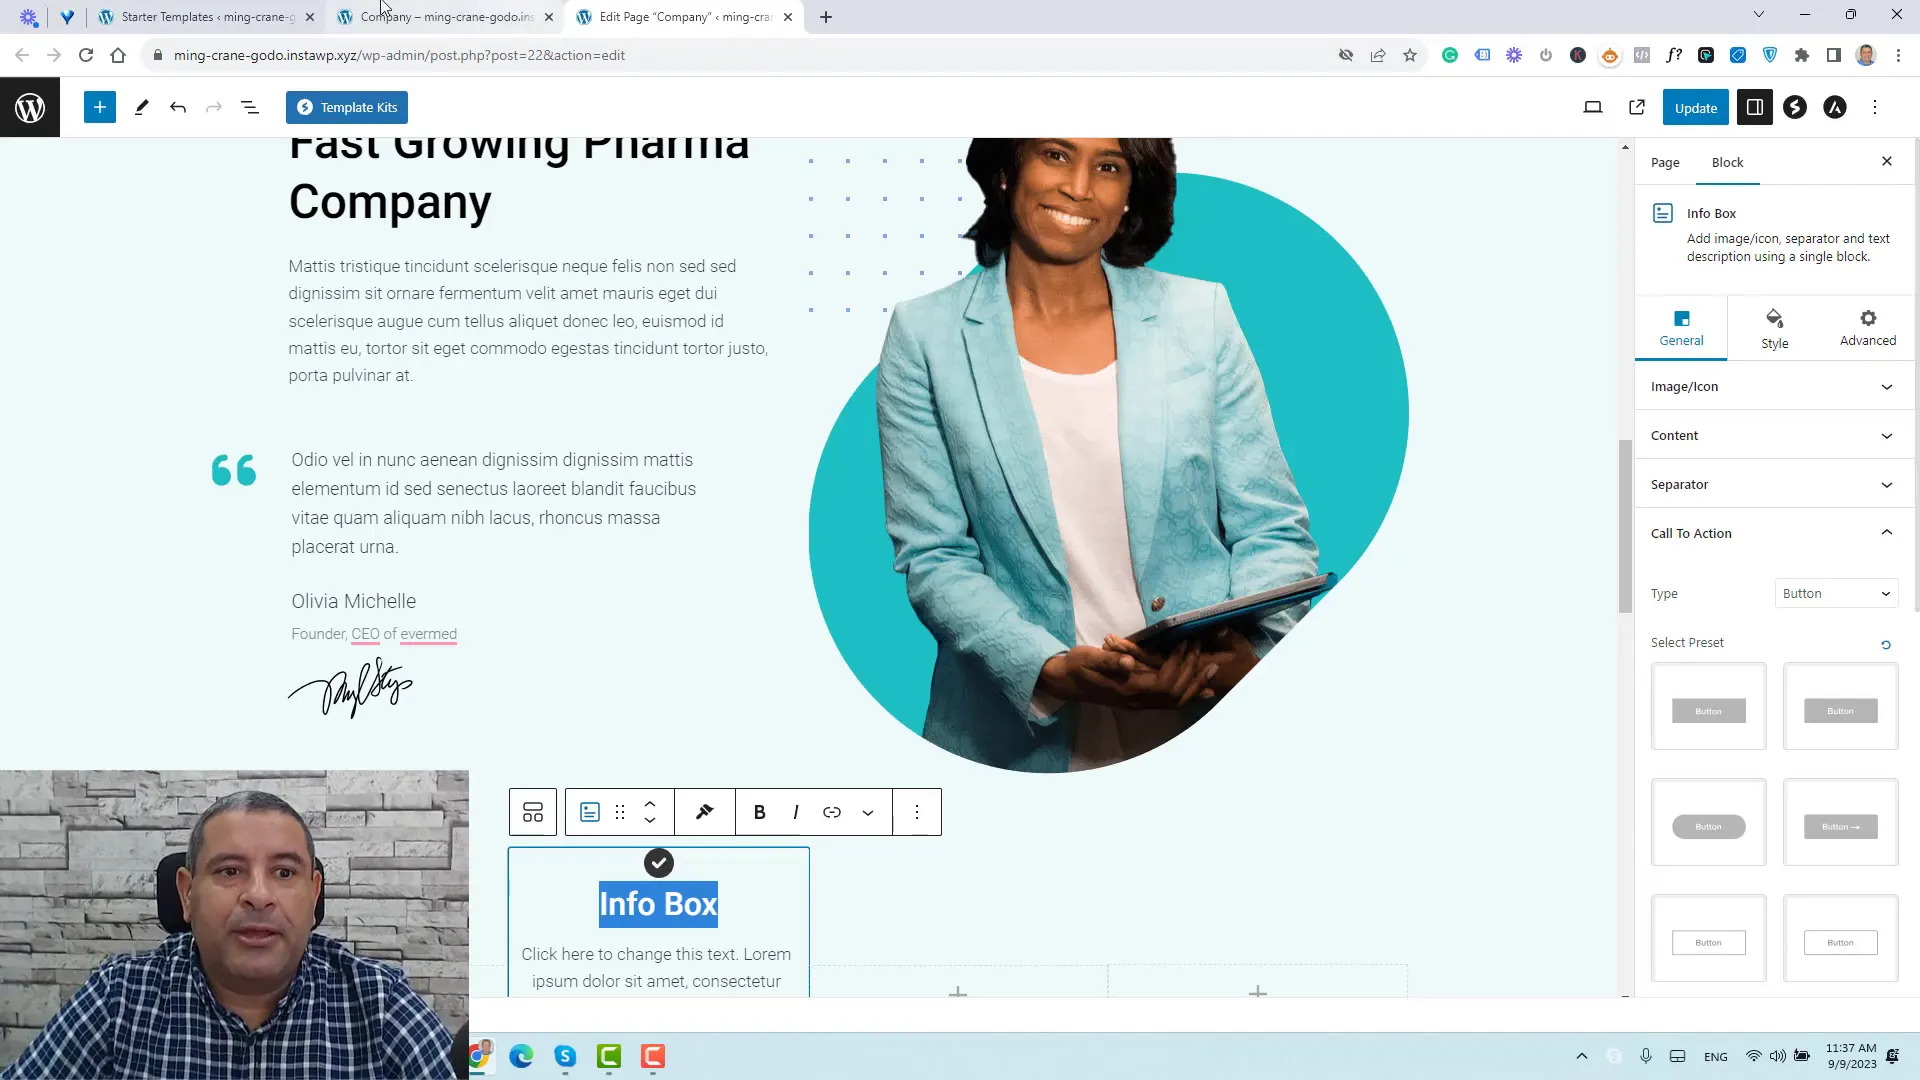
To edit the content of your pages, simply navigate to the page you wish to modify and click on Edit Page. This will open the block editor, where you can change text, images, and other elements. The structure of the page is organized into containers, making it easy to identify and modify specific sections.
Adding New Pages
Creating new pages is straightforward. From your WordPress dashboard, go to Pages and click Add New. You can name the page and start adding content. Astra also includes template kits that allow you to quickly set up complete pages. Once you have created a new page, don’t forget to publish it and add it to your menu for easy navigation.
Customizing the Header and Footer
Astra provides a powerful header and footer builder that allows you to customize these sections of your site easily. Access this feature through the WordPress dashboard by clicking on Appearance and then Customize. Here, you can modify elements such as the logo, menu items, and even add buttons or contact information.
Changing Fonts and Colors
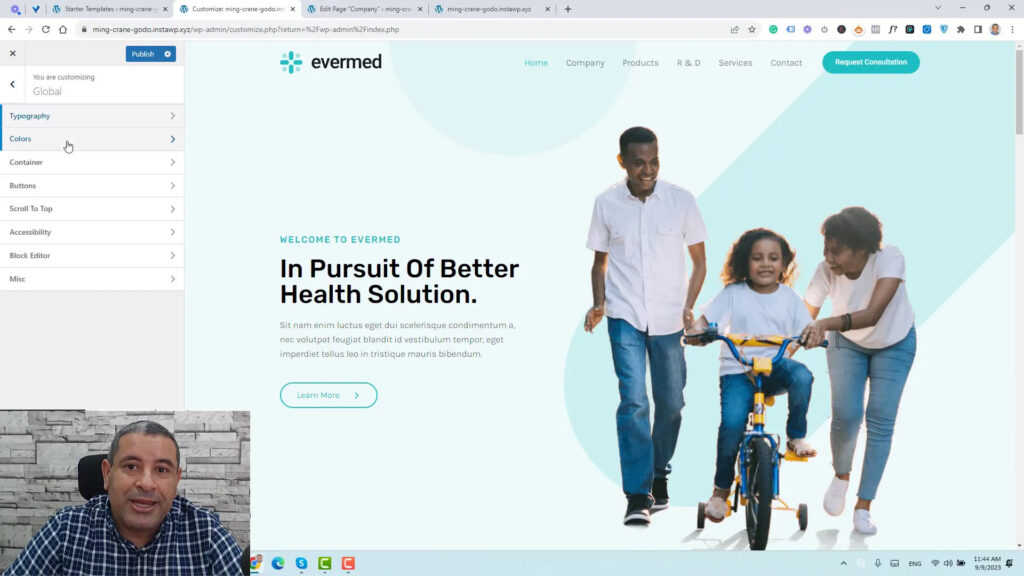
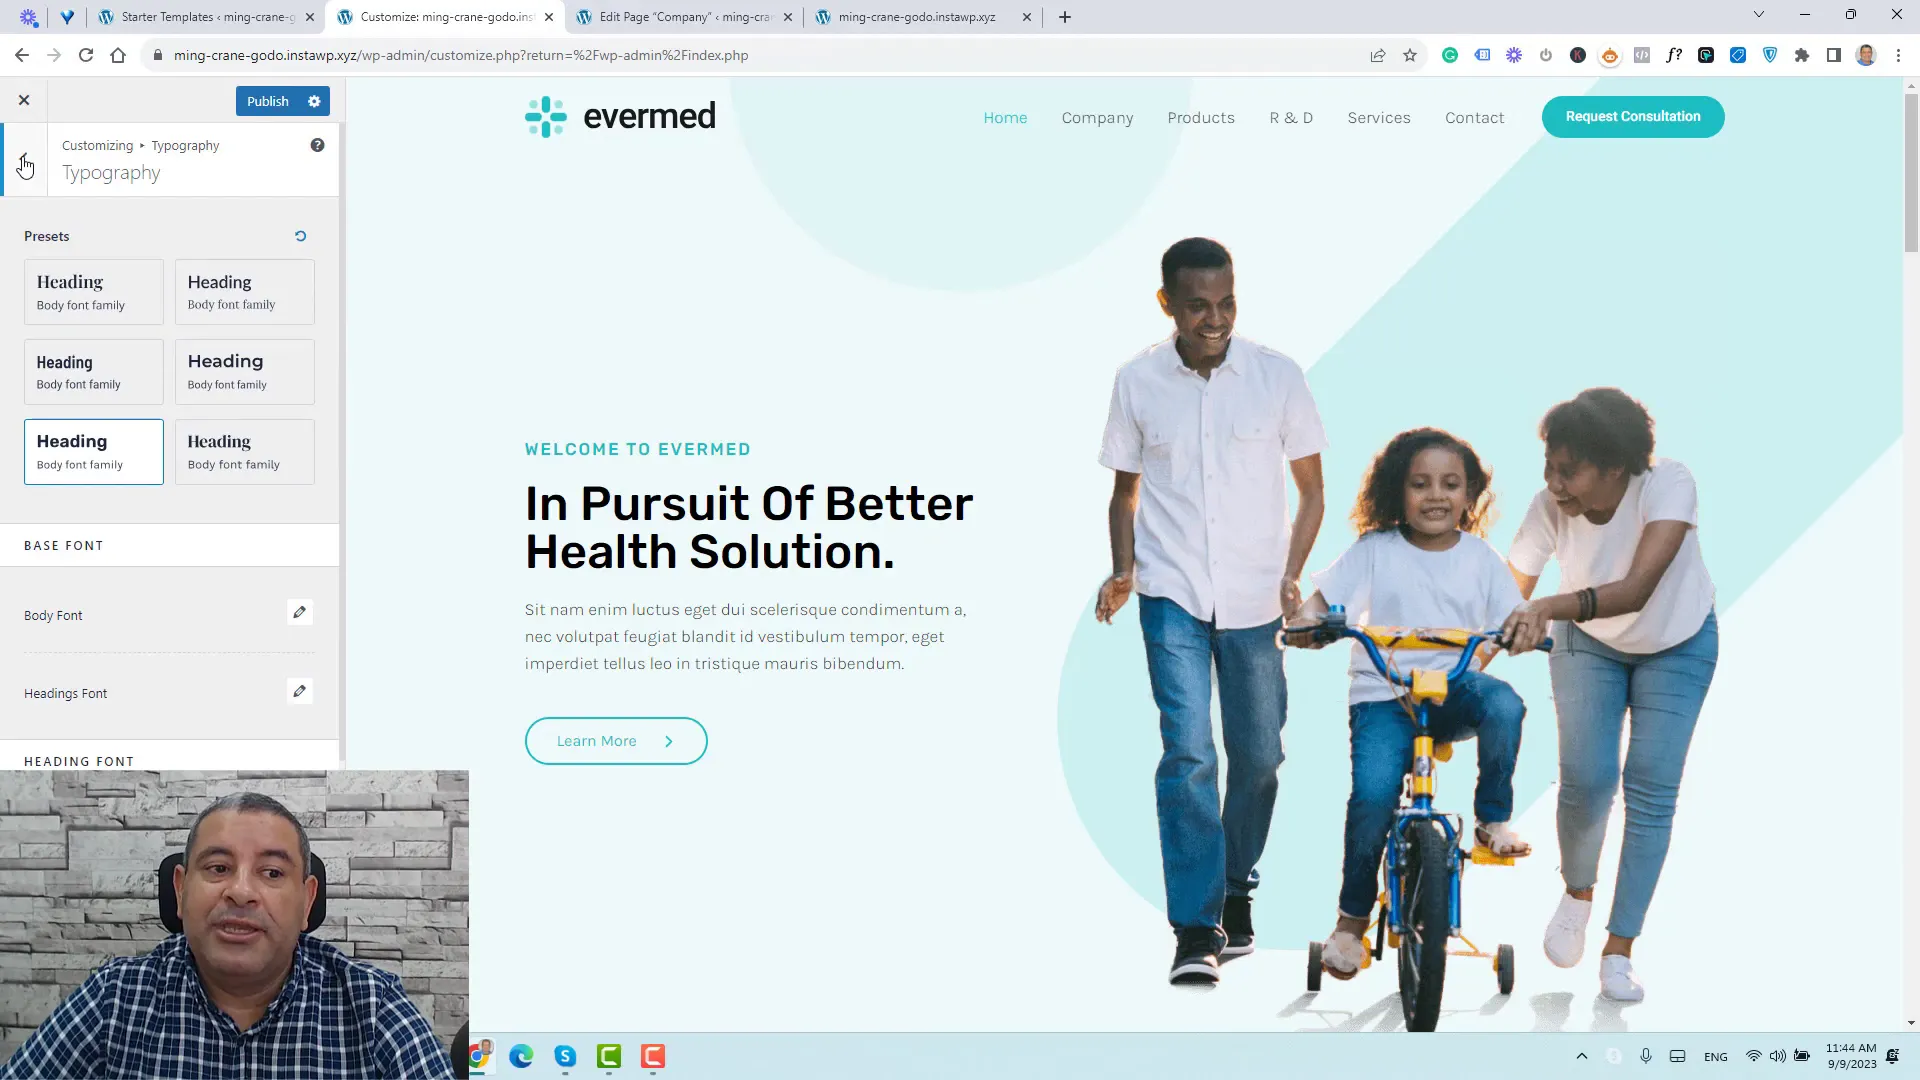
For a cohesive look, you can change the fonts and color palette of your site. This can be done through the customizer under Global Settings, where you can adjust typography and colors to ensure consistency across your site. You can also set the default colors and fonts for different elements to streamline your design process.
Creating a Blog Section
If you want to add a blog section to your website, simply navigate to Posts and click Add New. Here, you can create blog posts, add images, and set featured images. Once you have published your posts, you can create a blog archive page to display all your articles.
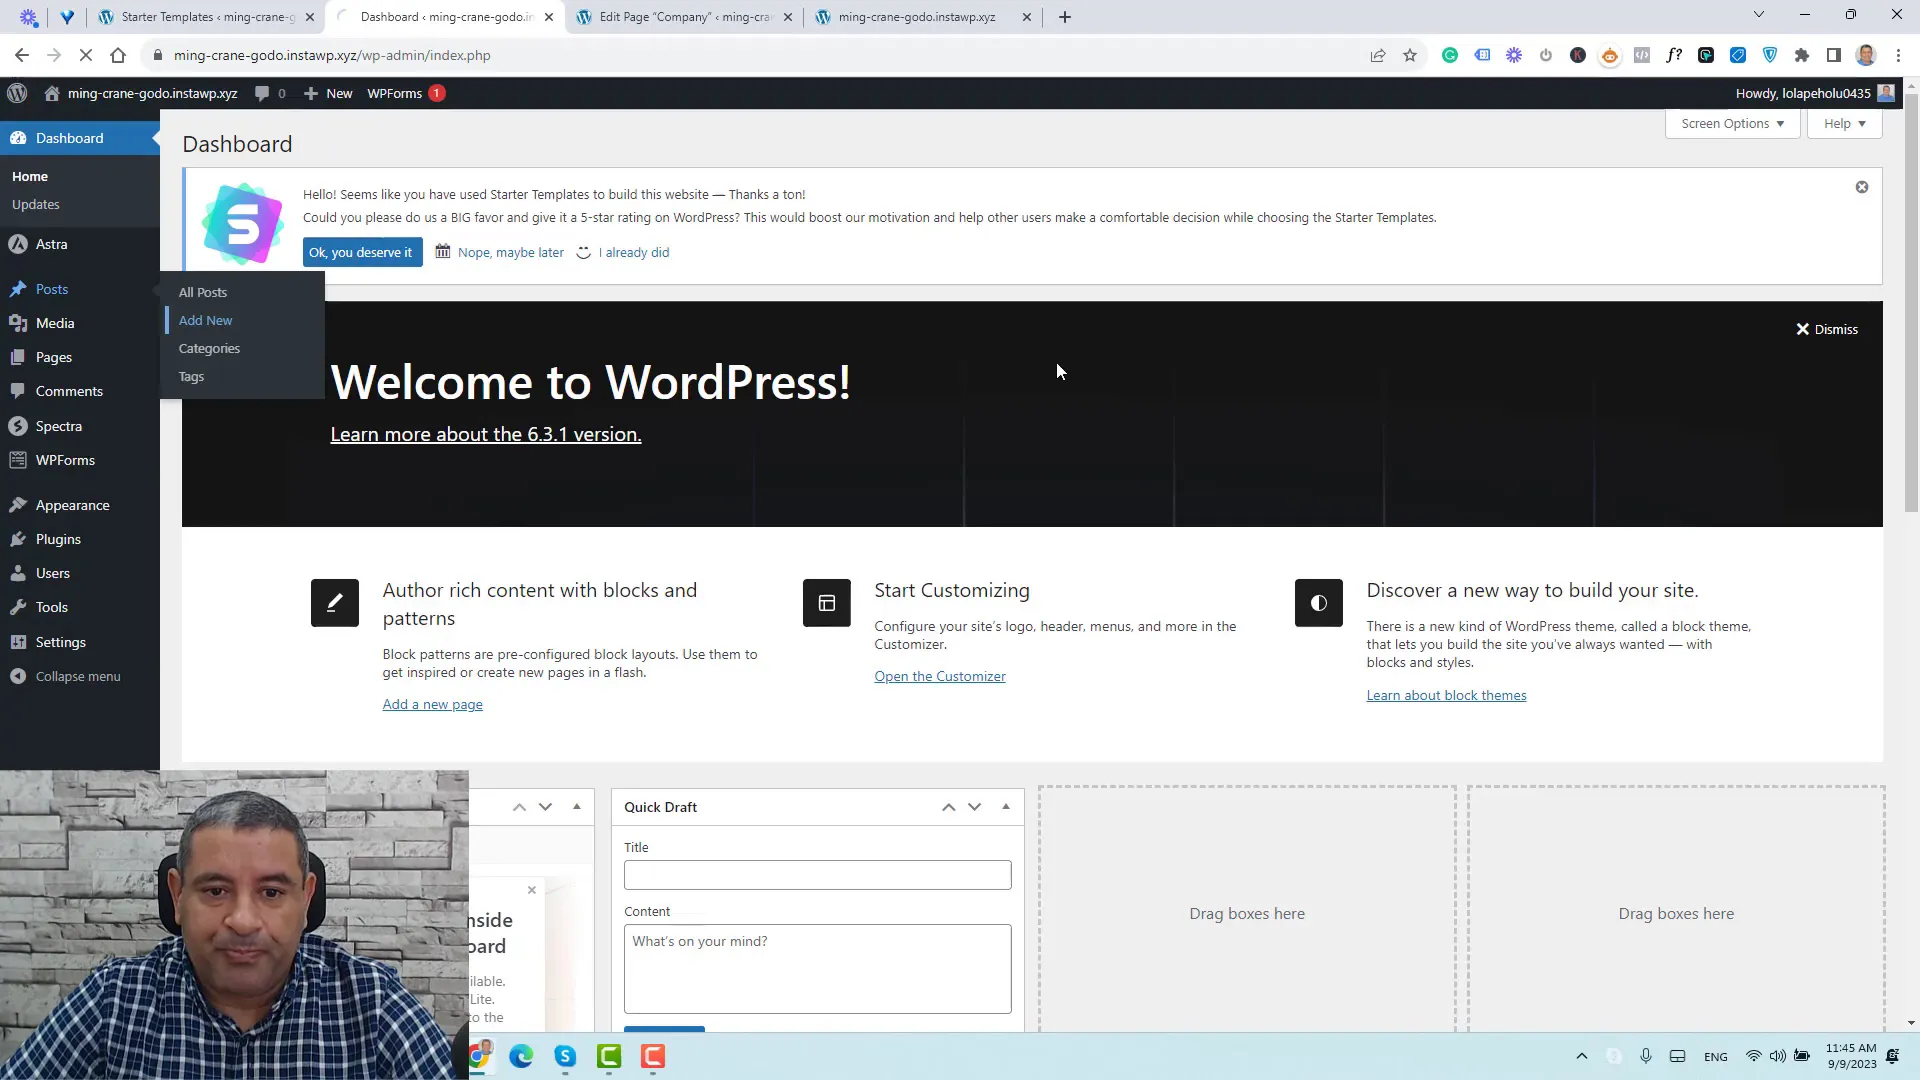
Adding Blog Archive Page to Menu
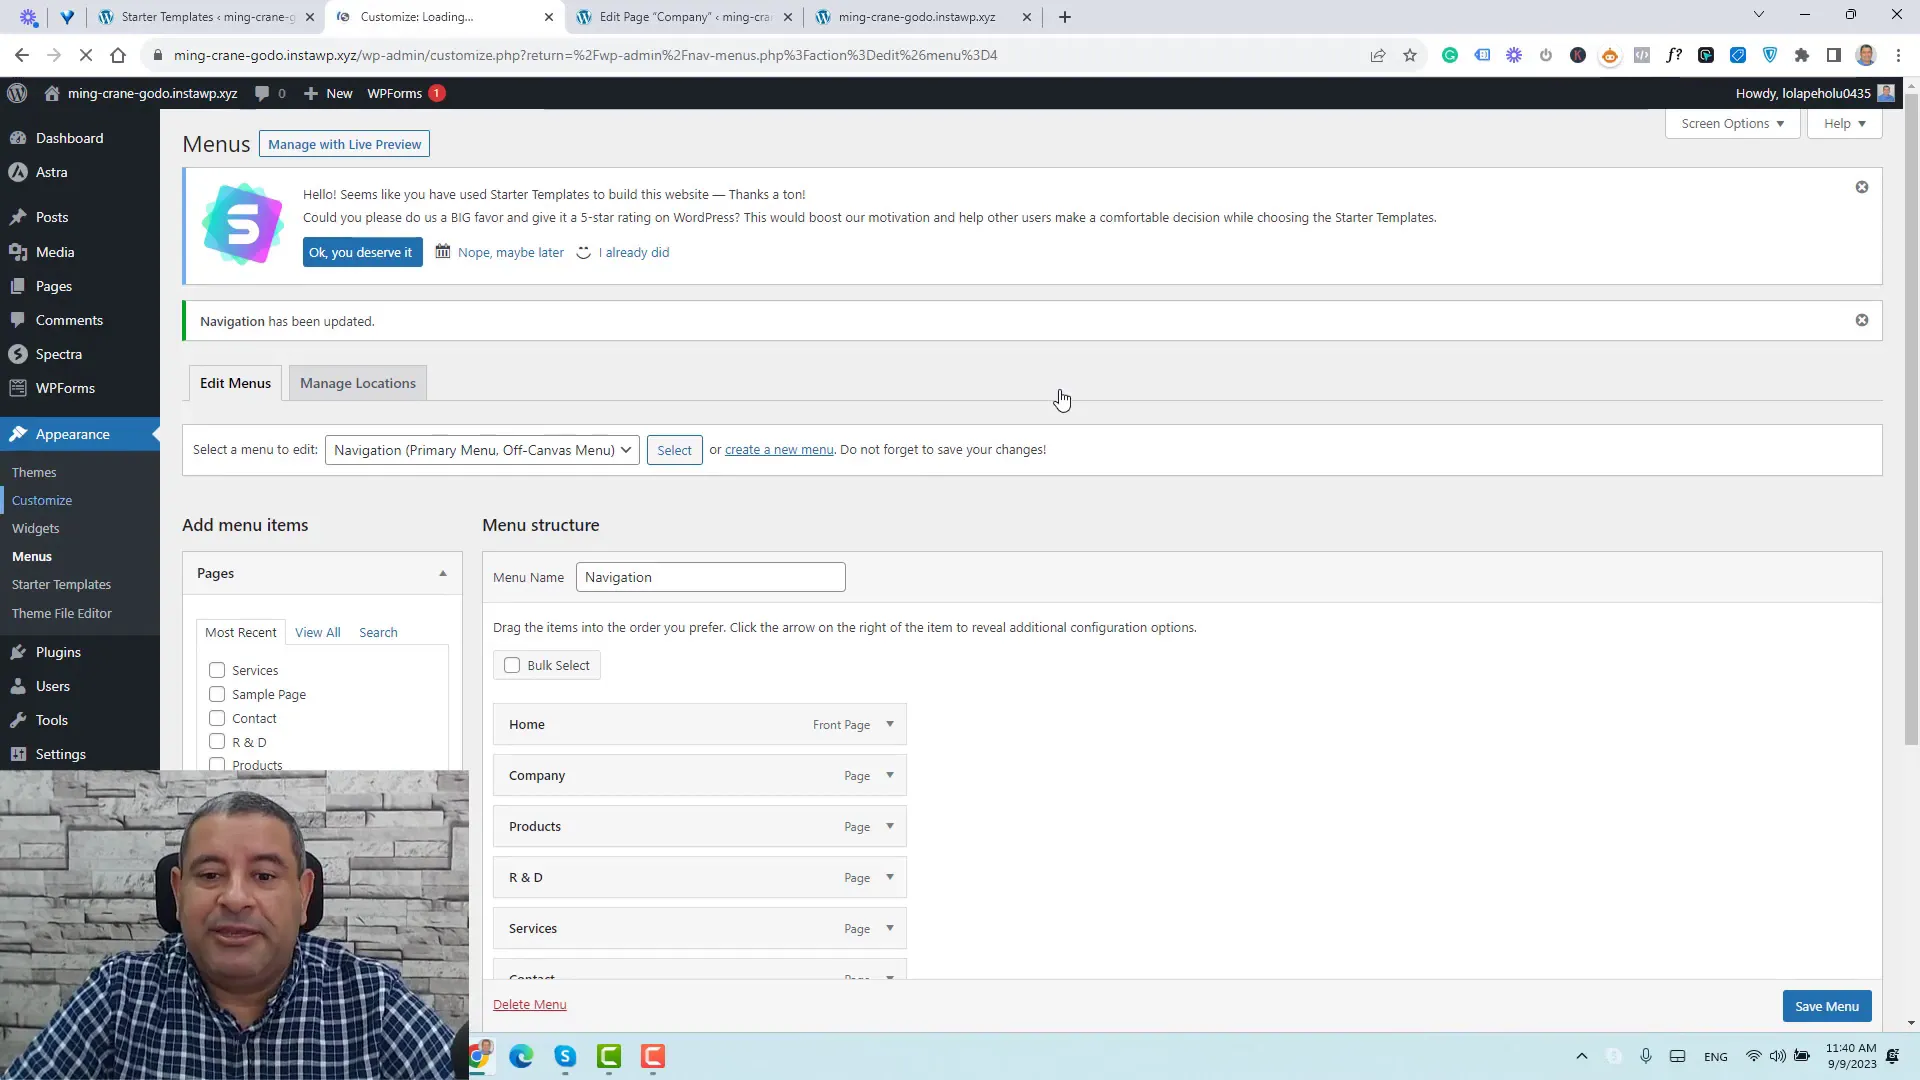
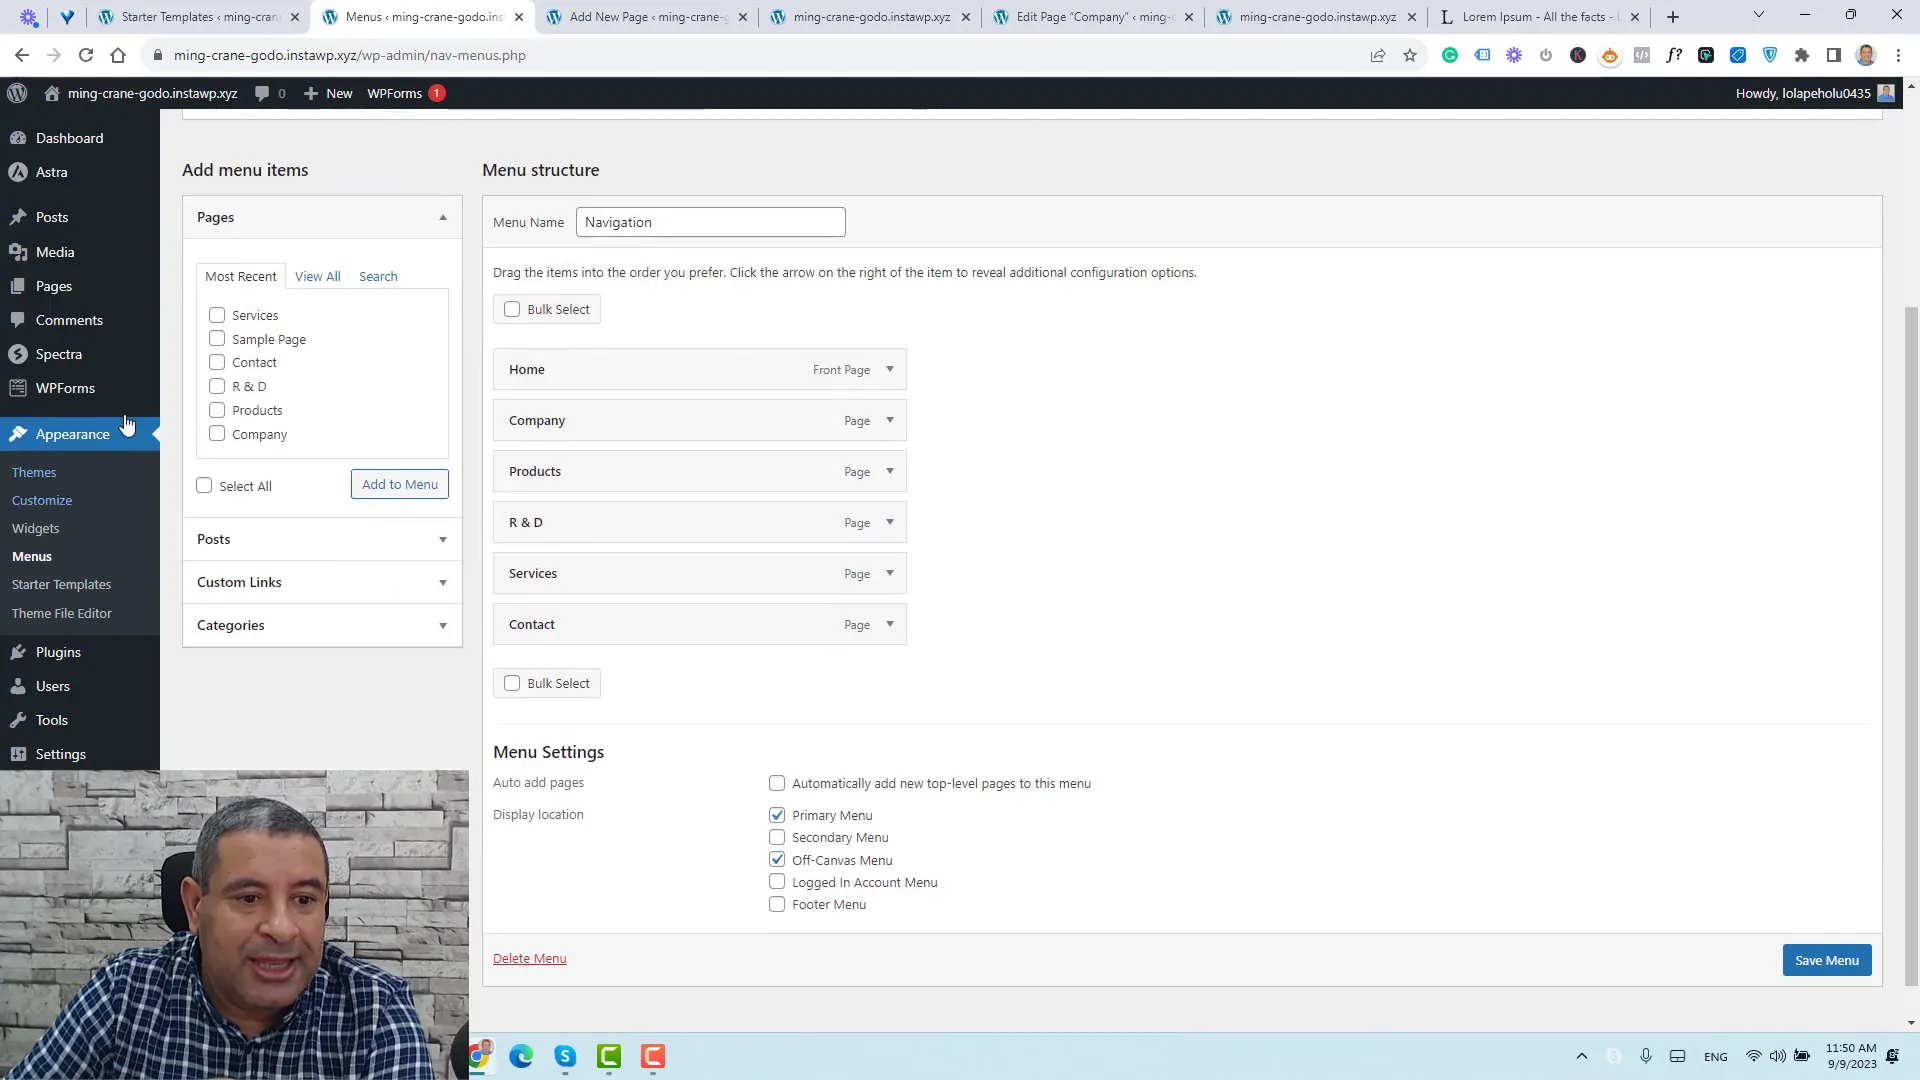
To make your blog easily accessible, add the blog archive page to your menu. Go to Appearance > Menus, select the blog page, and click Add to Menu. Arrange the menu items as desired and click Save Menu to update your site navigation.
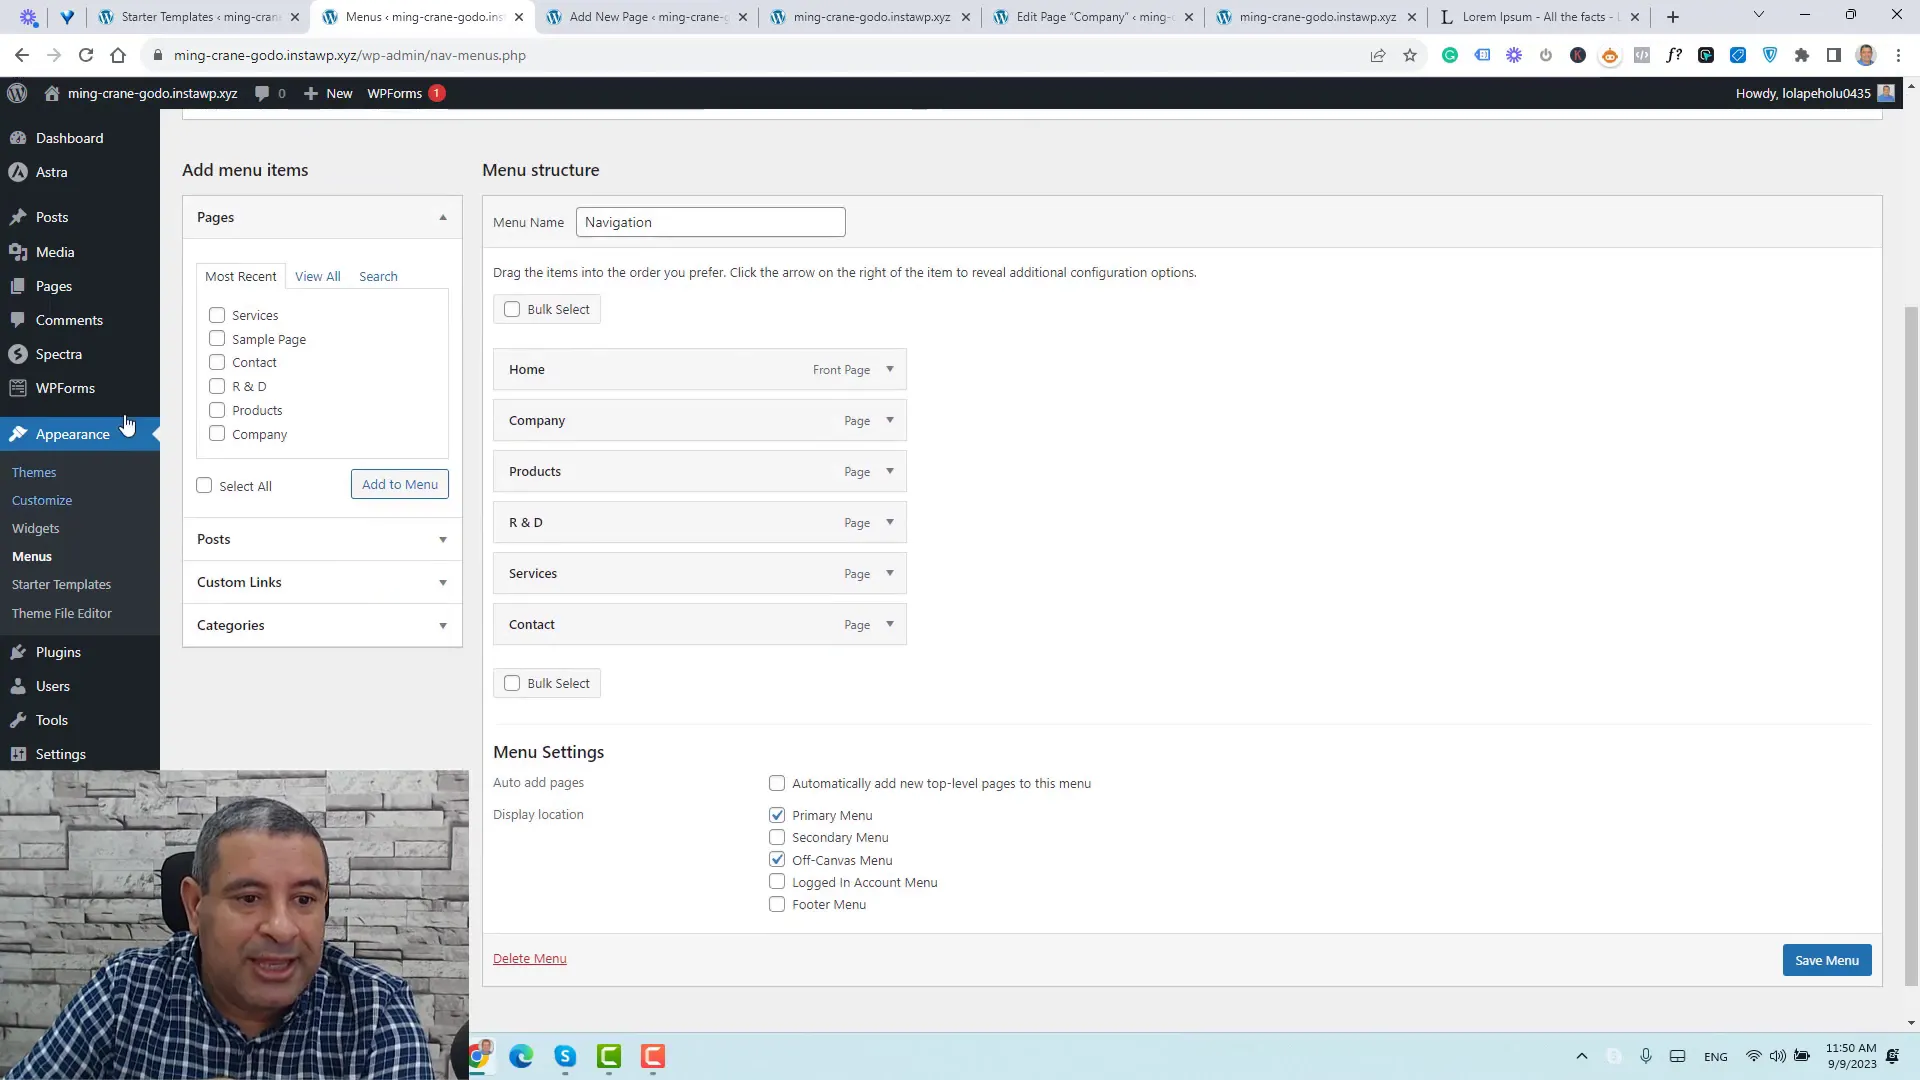
Adding New Pages and Blog Posts
To expand your website, adding new pages and blog posts is crucial. This process is user-friendly in the Astra theme, allowing for easy navigation and content management.
Creating New Pages
From your WordPress dashboard, navigate to Pages and click Add New. Enter a title for your page and start adding content.
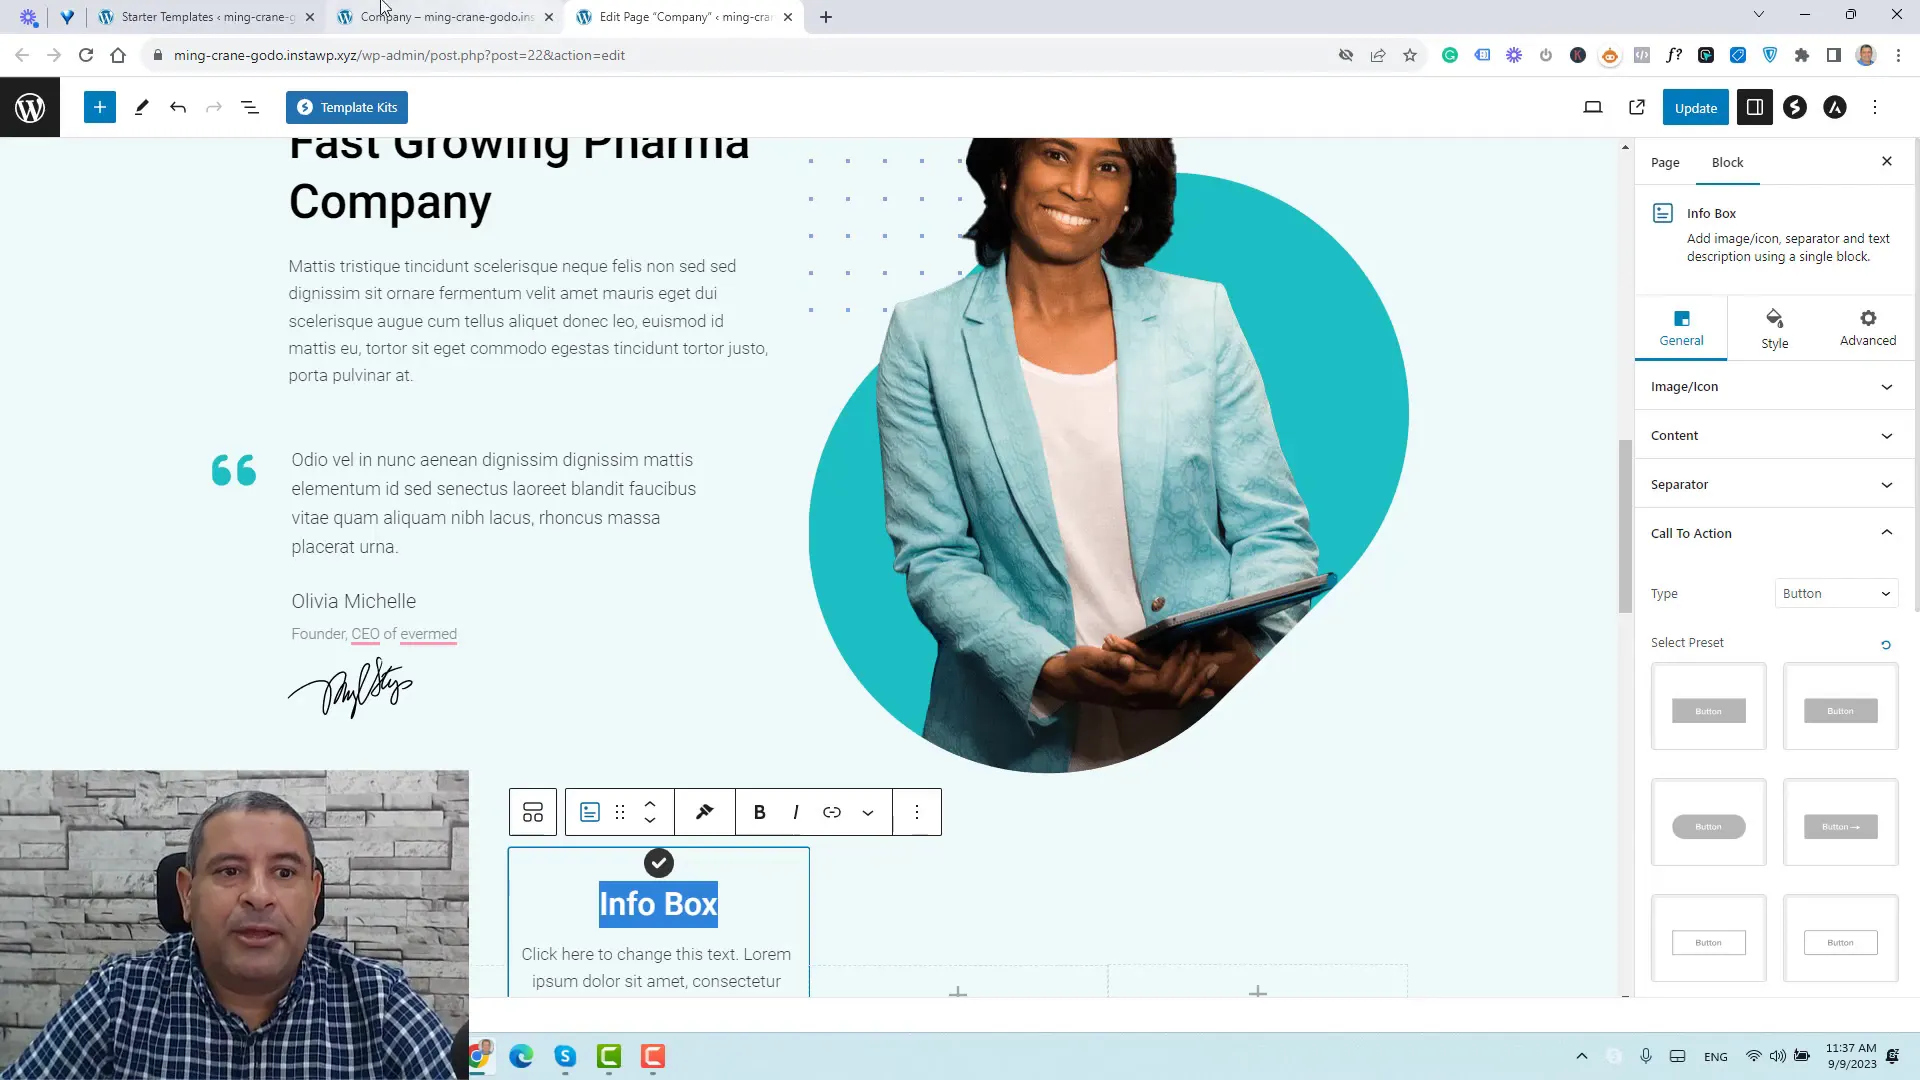
The Astra theme also includes template kits that simplify page creation. You can quickly install pre-designed layouts that suit your needs.
Creating Blog Posts
To add a blog post, go to Posts and click Add New. Here, you can enter the title, content, and any media you wish to include. Don’t forget to set a featured image for better visibility.
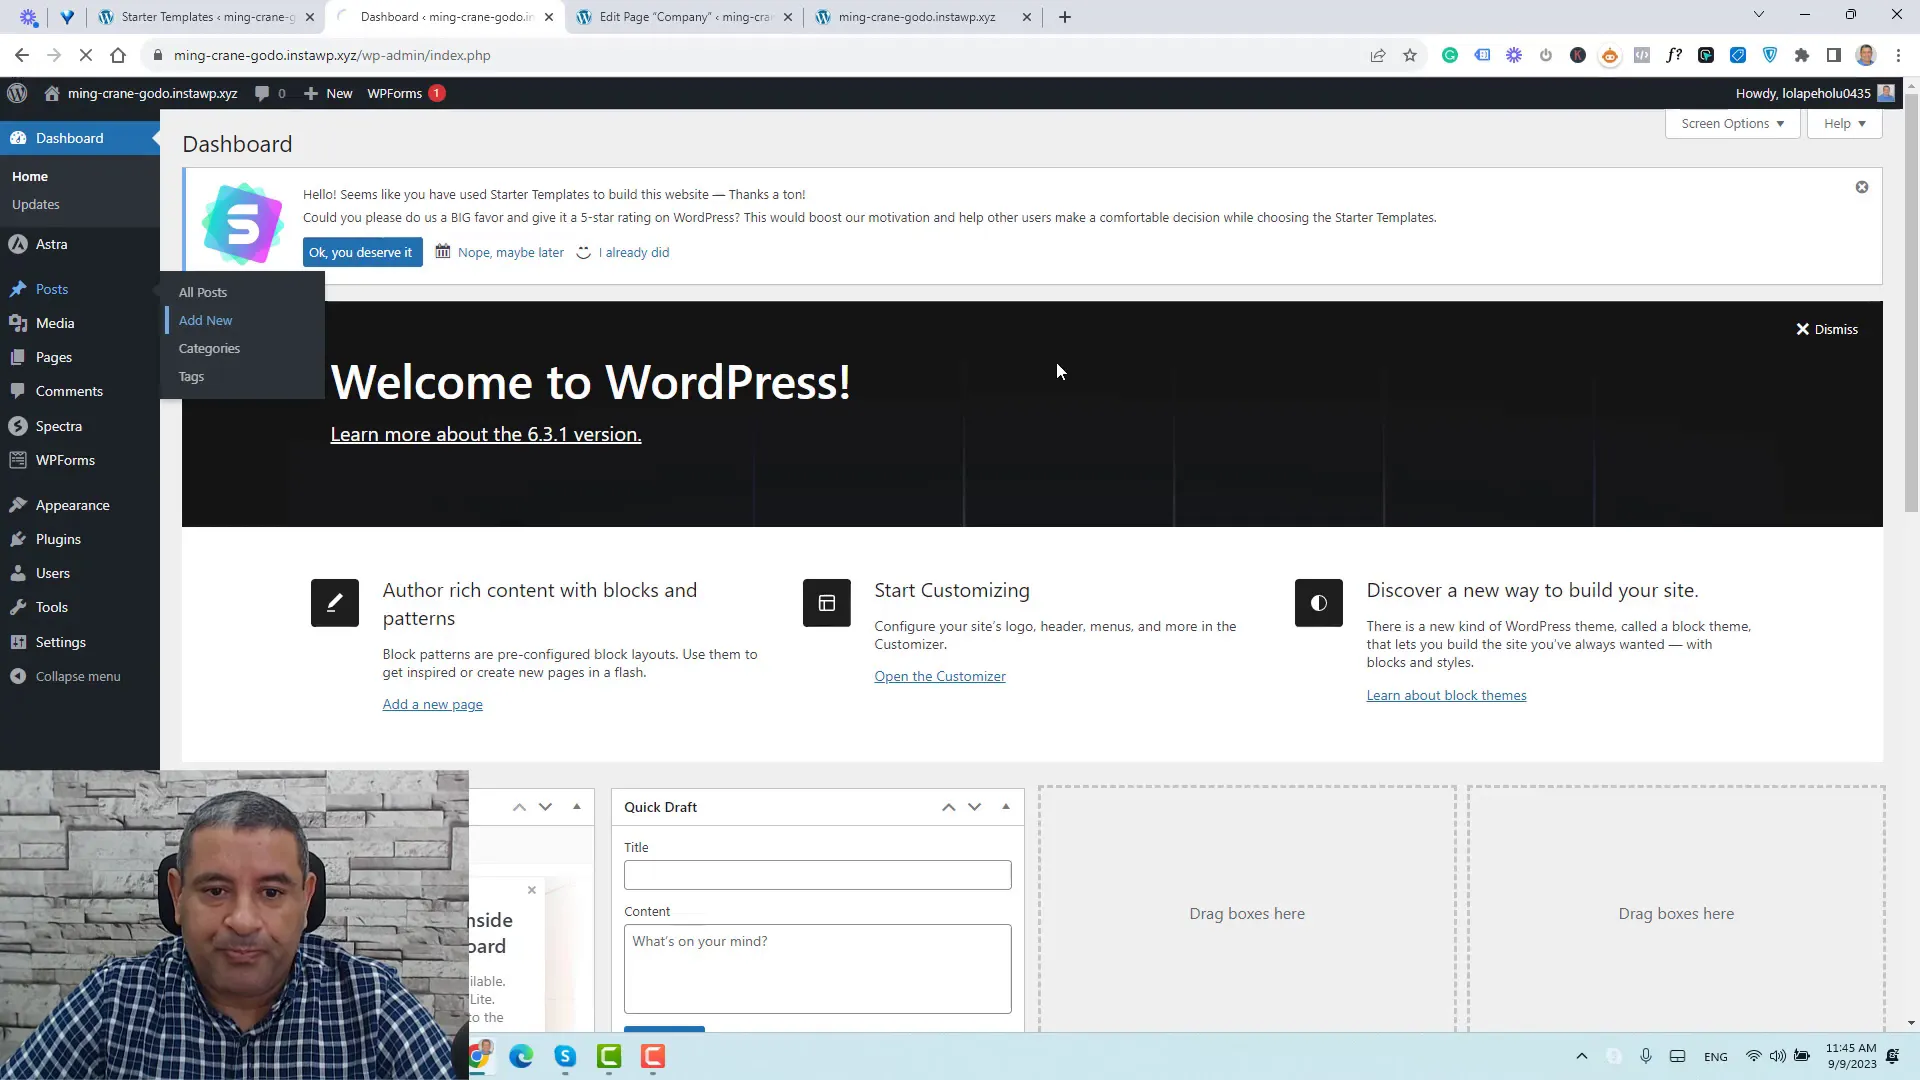
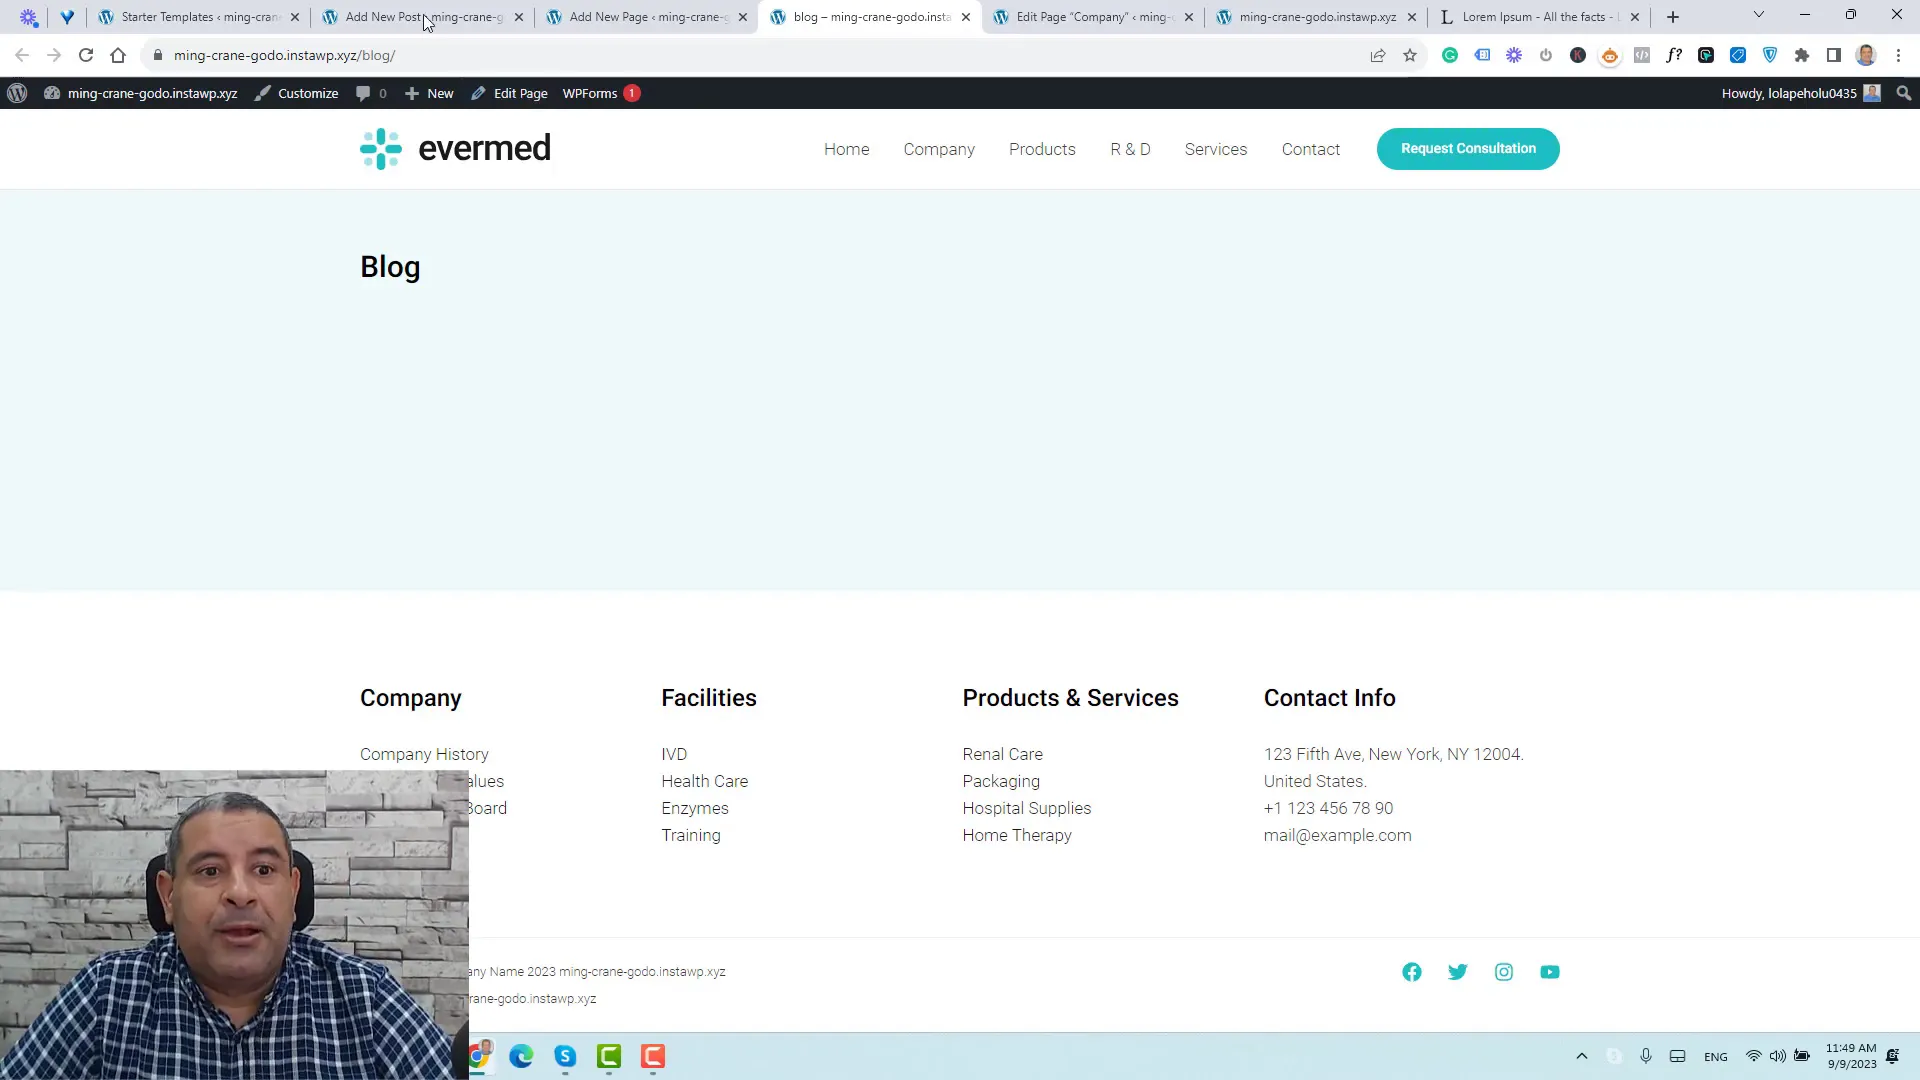
Setting Up a Blog Archive Page
To display all your posts, create a new page titled Blog and publish it. Next, adjust your settings to designate this page as your posts page under Settings > Reading.
Modifying the Header and Footer
Customizing the header and footer of your website ensures that your branding is consistent across all pages. Astra makes this process seamless through its built-in customization options.
Customizing the Header
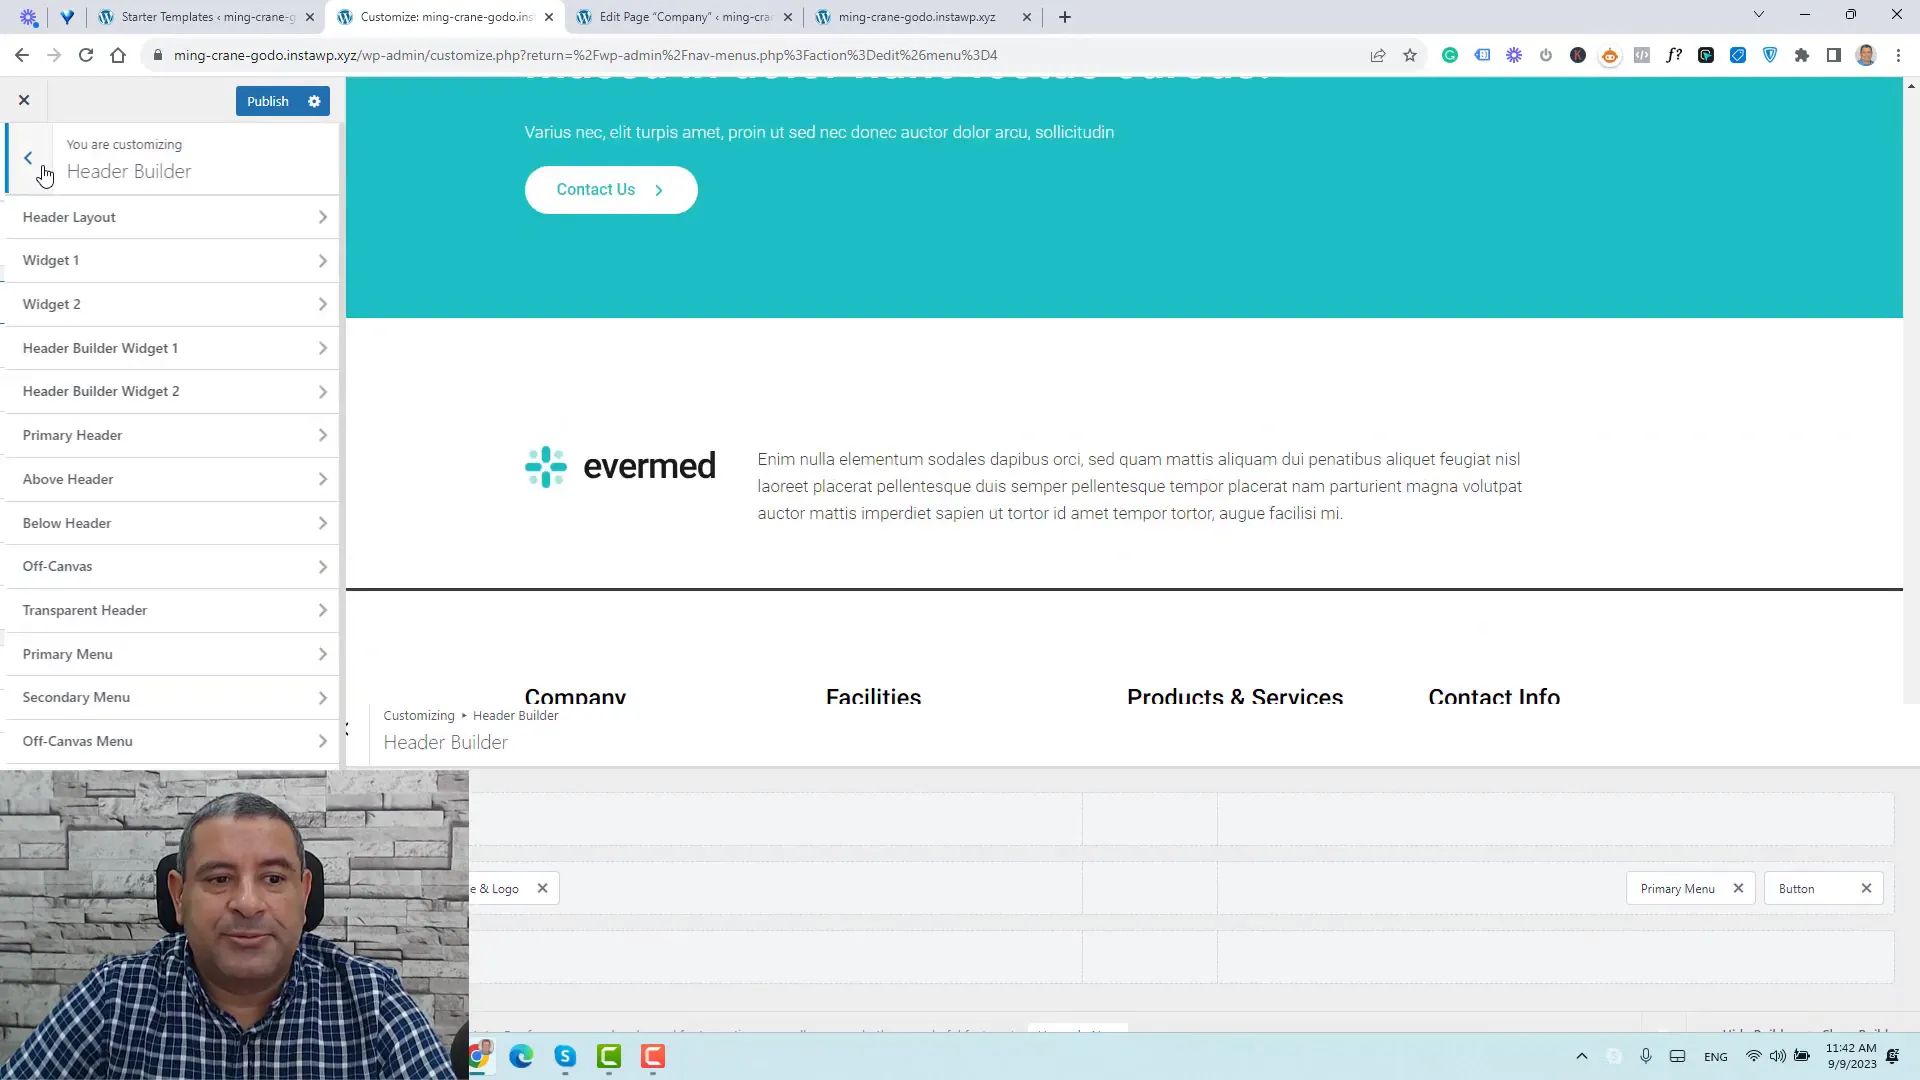
To modify your header, go to Appearance and click on Customize. Here, you can adjust elements such as the logo, navigation menus, and buttons.
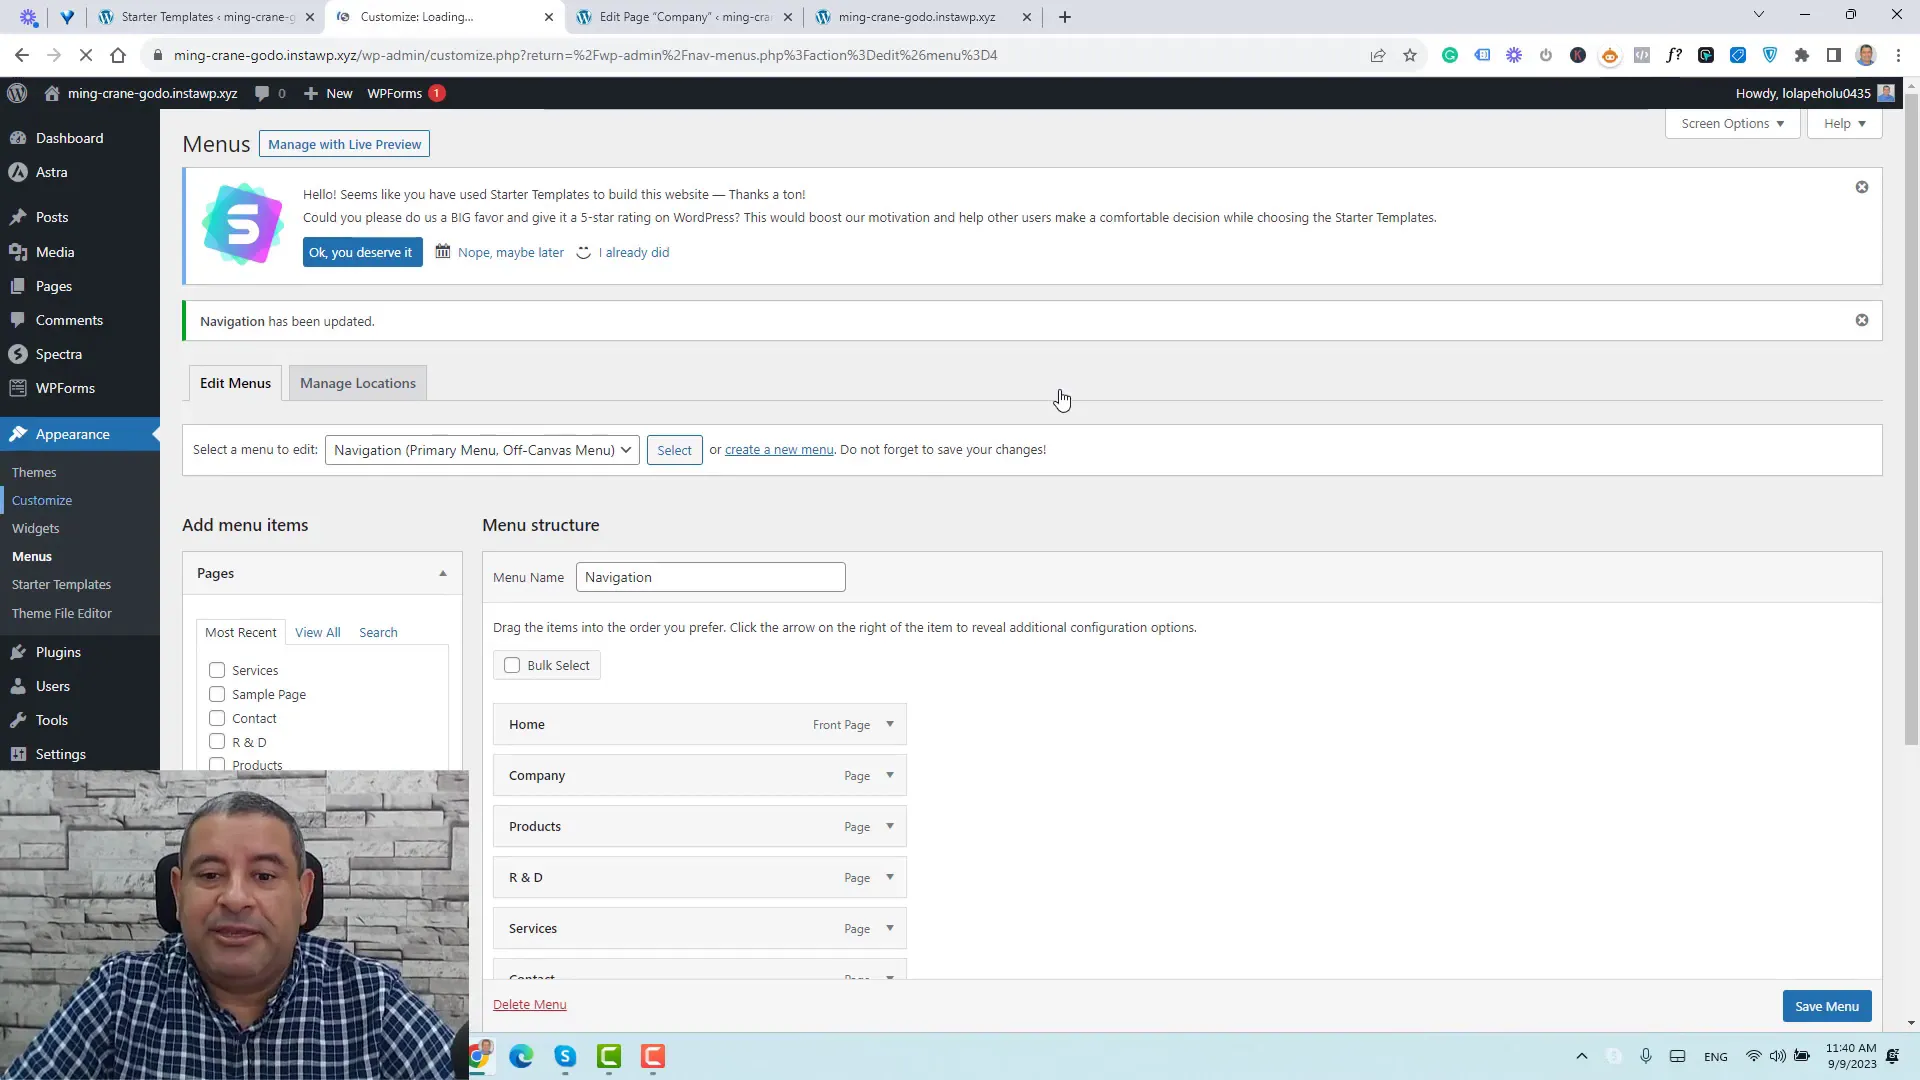
You can also change the layout of your header by adding or removing sections as per your requirements. This flexibility allows you to create a unique look that resonates with your audience.
Customizing the Footer
Similarly, the footer can be customized from the same Customize section. You can change contact information, add social media links, and modify widget areas.
Setting Up Global Settings for Typography and Colors
Establishing a consistent design across your website is essential. The Astra theme allows you to set global typography and color settings easily.
Global Typography Settings
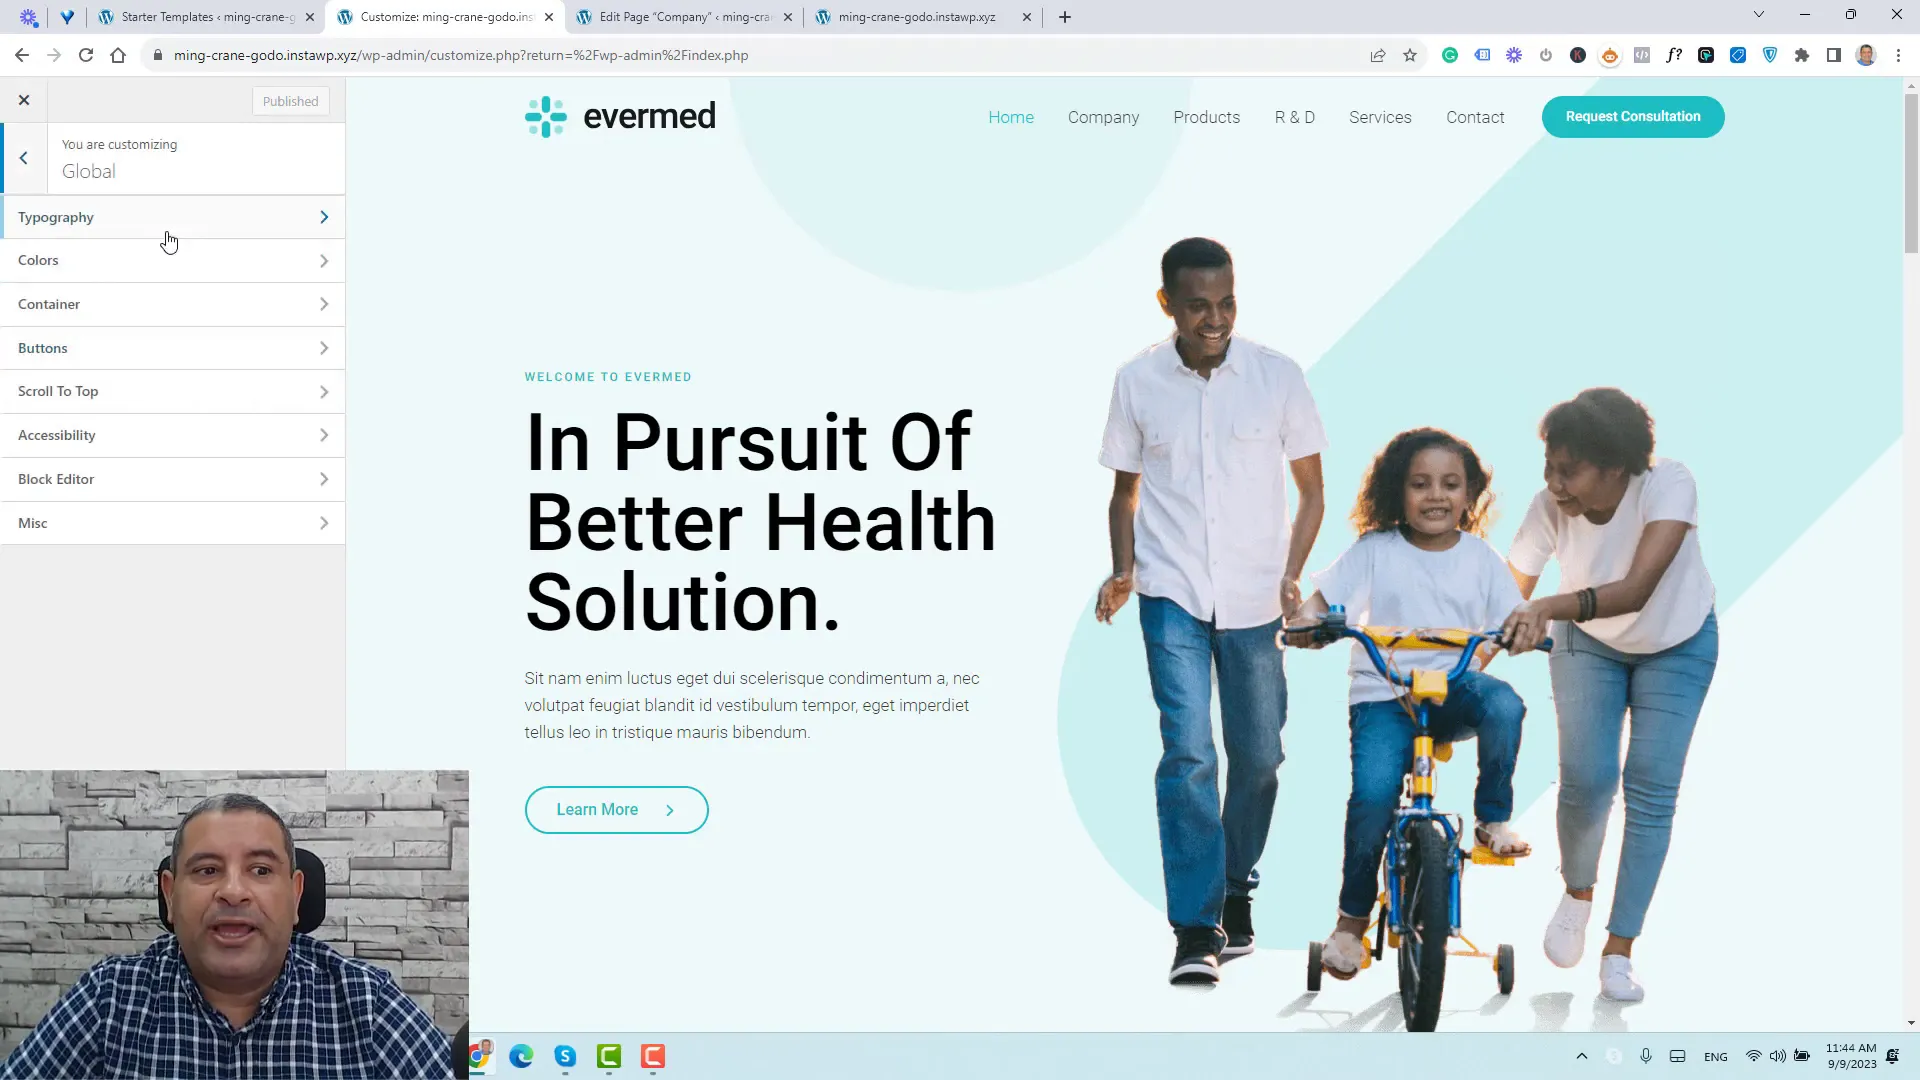
Navigate to the Global Settings in the customizer to adjust font styles, sizes, and weights. This ensures that your text elements maintain a cohesive look throughout your site.
Global Color Settings
In the same section, you can set a color palette that reflects your brand. Choose your primary, secondary, and accent colors to enhance the aesthetics of your website.
Creating and Managing Blog Posts
Managing your blog posts effectively is key to engaging your audience. The Astra theme simplifies this process, allowing you to create, edit, and organize your content seamlessly.
Editing Blog Posts
To edit an existing post, go to Posts, select the post you want to modify, and click Edit. You can change the content, images, and even the layout of your posts using the block editor.
Organizing Blog Content
Utilize categories and tags to organize your blog posts effectively. This helps visitors navigate your content and find related articles easily.
Finalizing Your Menu and Publishing Your Site
Once your pages and posts are set up, it’s time to finalize your navigation menu. This is crucial for improving user experience on your website.
Creating Your Menu
Go to Appearance > Menus to create or edit your site’s menu. Add the pages you’ve created, including the blog archive page, to ensure easy access for visitors.
Publishing Your Site
After configuring your menu and ensuring all content is in order, it’s time to publish your site. Review all settings and content to ensure everything is functioning as intended.

