In this blog post, we will explore how to create an effective Affiliate Marketing Funnel with WordPress using Kadence Blocks and MailerLite. This guide provides a step-by-step approach to setting up your funnel, optimizing landing pages, and automating email marketing strategies to maximize conversions.
Introduction to Affiliate Marketing Funnels
An Affiliate Marketing Funnel with WordPress is an essential tool for anyone looking to monetize their website. It allows you to guide potential customers from initial contact to conversion. By using a well-designed funnel, you can effectively capture leads, nurture them, and ultimately drive sales for your affiliate products.
In this section, we will explore the fundamentals of an affiliate marketing funnel, its components, and how it can benefit your online business. The funnel typically consists of several stages, including awareness, interest, decision, and action. Understanding these stages is crucial for optimizing your marketing efforts.
Understanding the Funnel Process
The funnel process starts with attracting visitors to your landing page. This can be achieved through various marketing strategies such as SEO, social media marketing, or paid advertising. Once visitors land on your page, the goal is to convert them into leads by encouraging them to provide their contact information.
After capturing leads, the next step involves nurturing these contacts through email marketing. Sending automated emails with valuable content helps build trust and keeps your audience engaged. Finally, the funnel culminates in a conversion where the lead makes a purchase or takes a desired action.
Installing Kadence Blocks Plugin
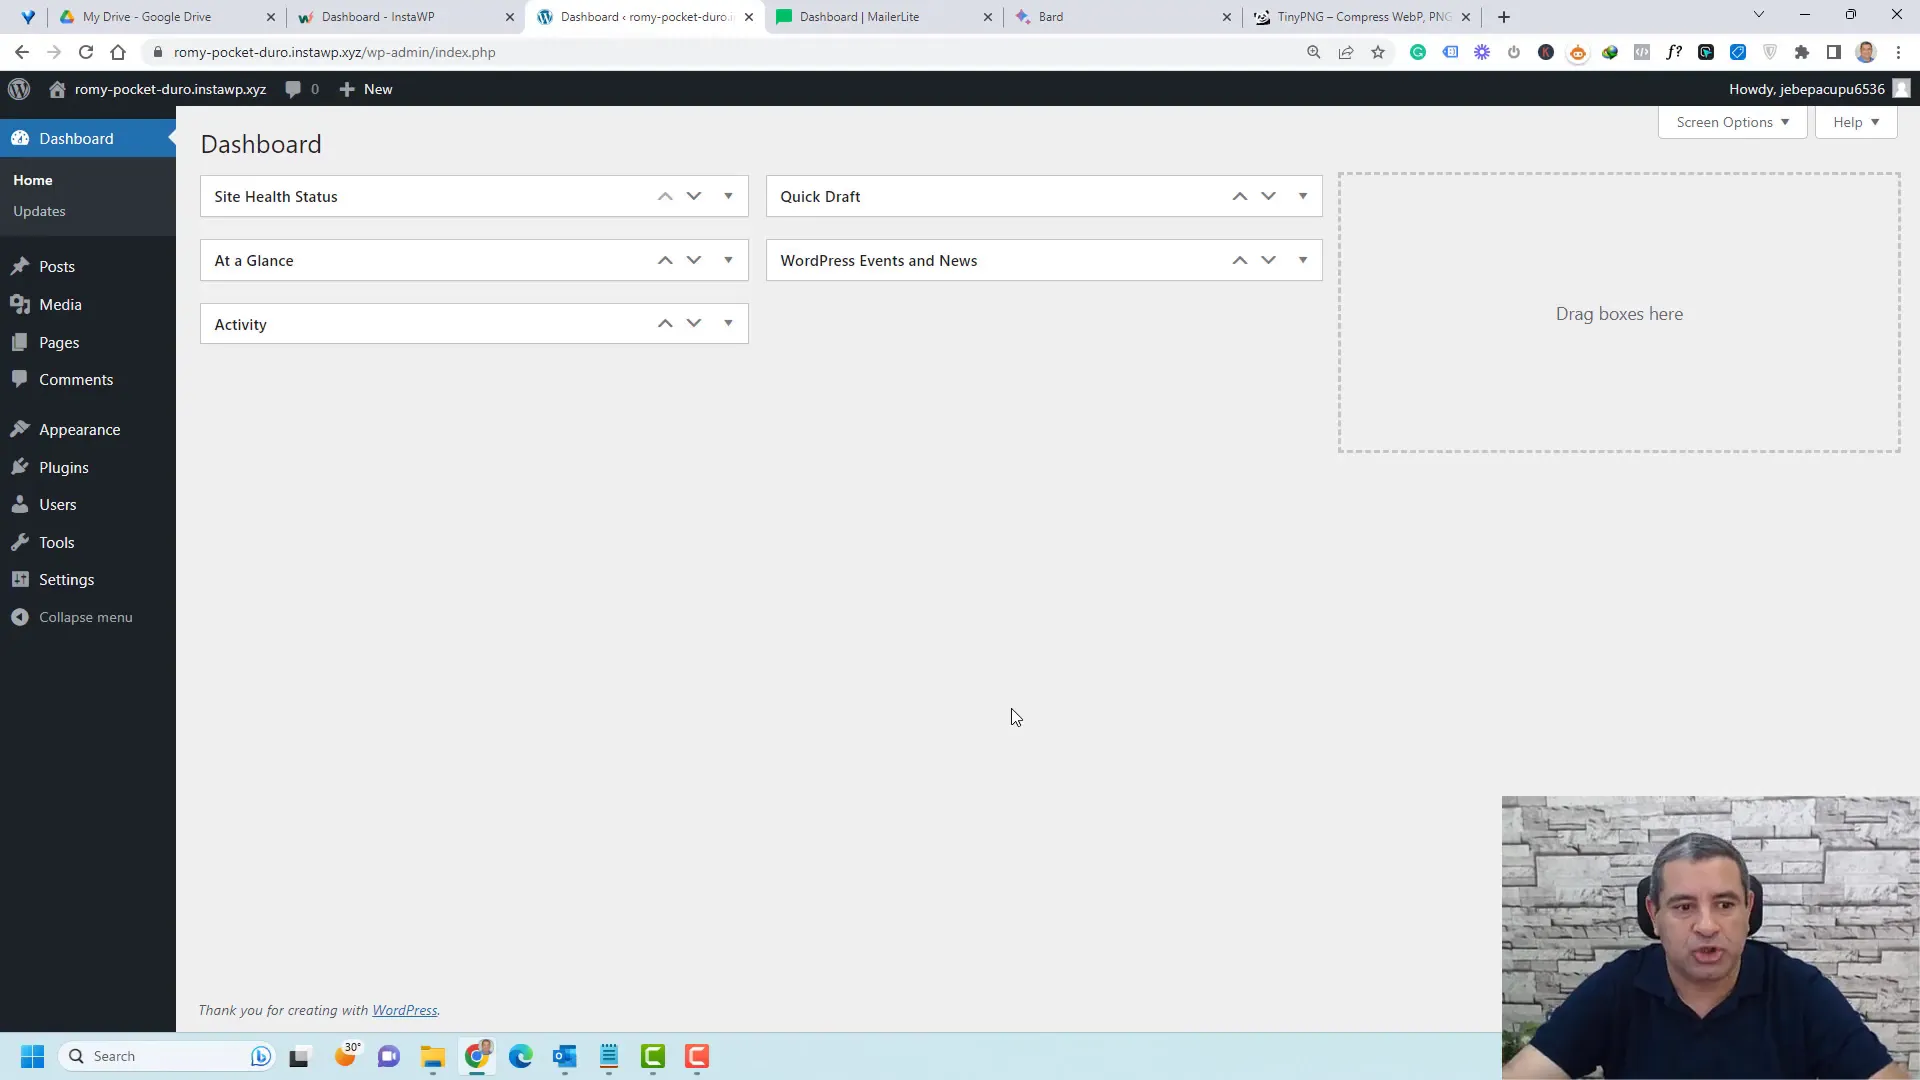
To create an efficient Affiliate Marketing Funnel with WordPress, you’ll need to start by installing the Kadence Blocks plugin. This powerful tool allows you to design visually appealing landing pages without any coding knowledge.
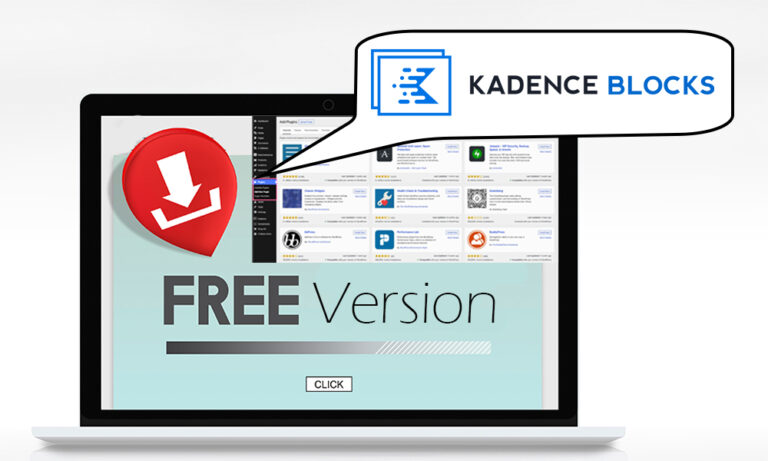
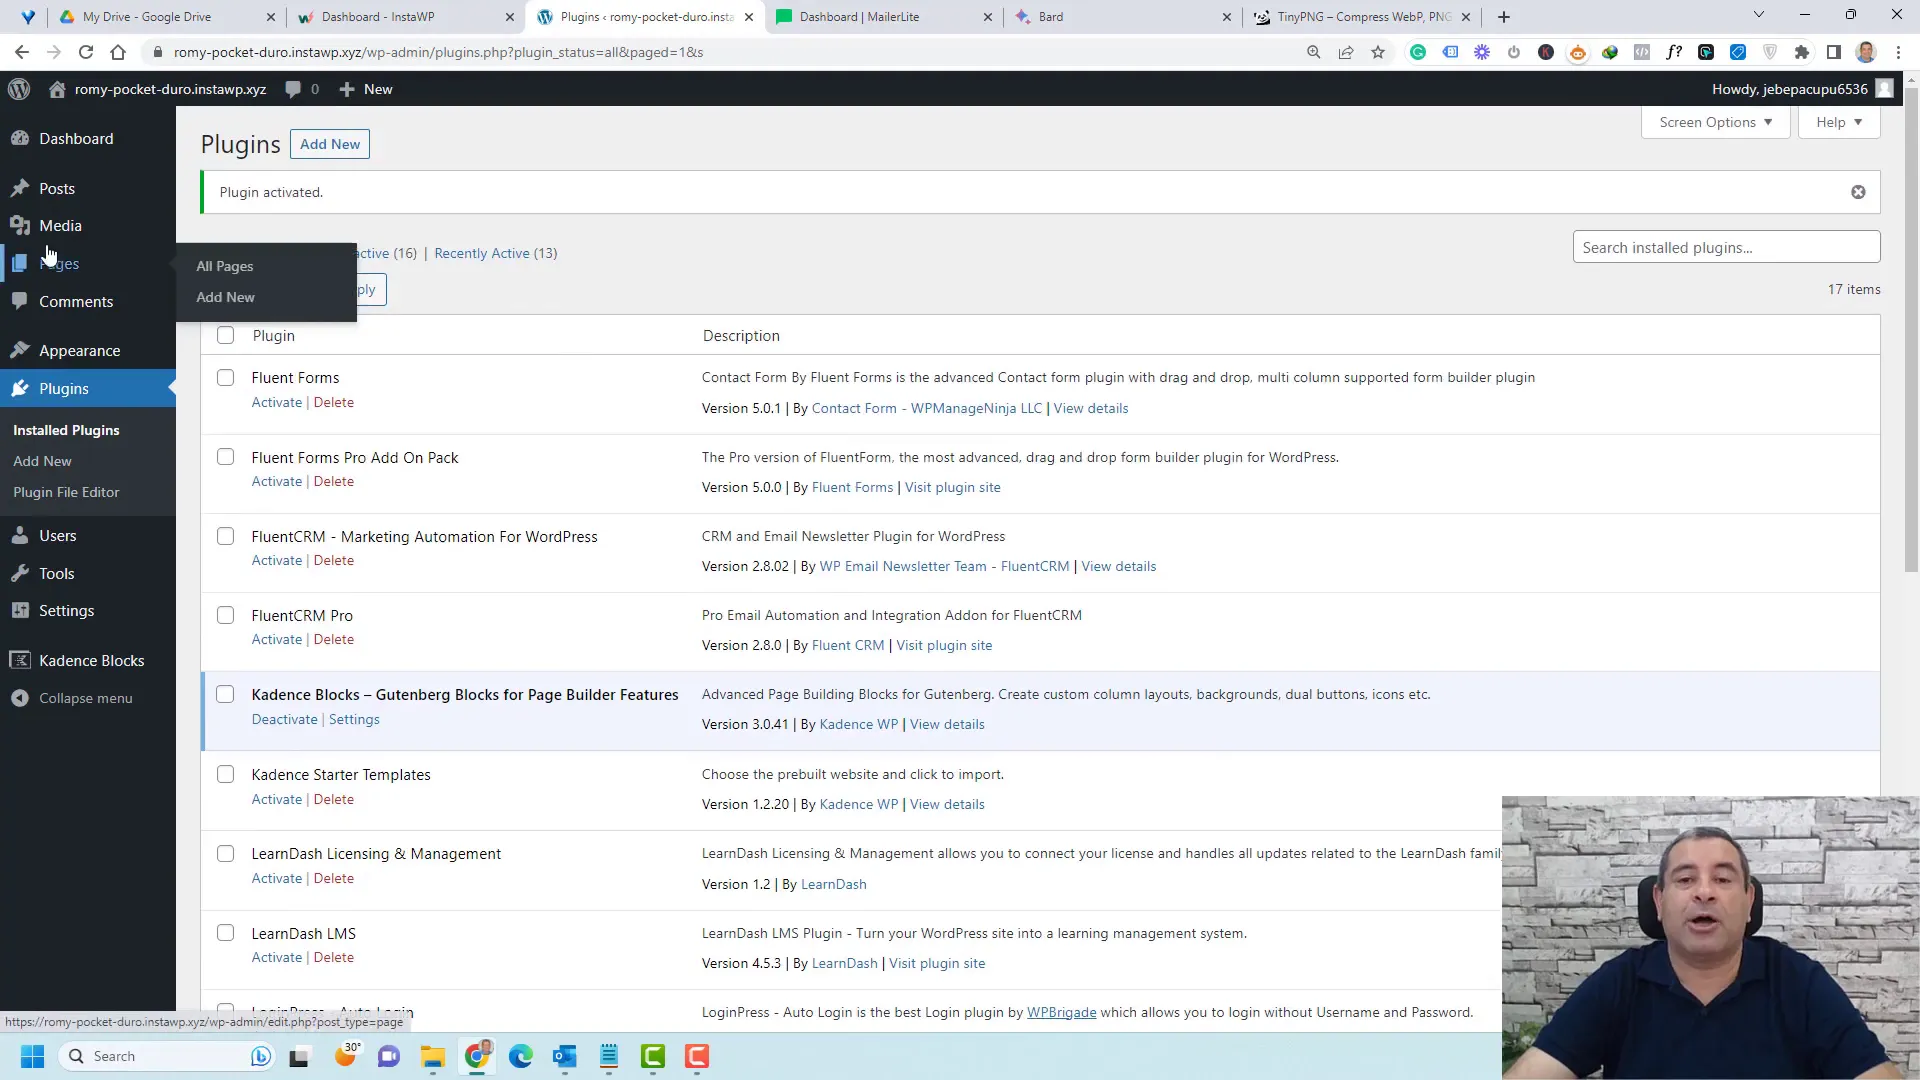
To install Kadence Blocks, navigate to the Plugins section in your WordPress dashboard. Click on “Add New” and search for “Kadence Blocks.” Once you find it, click “Install Now” and then “Activate.” This will enable the plugin and unlock its features for your landing page creation.
Creating Your Landing Page
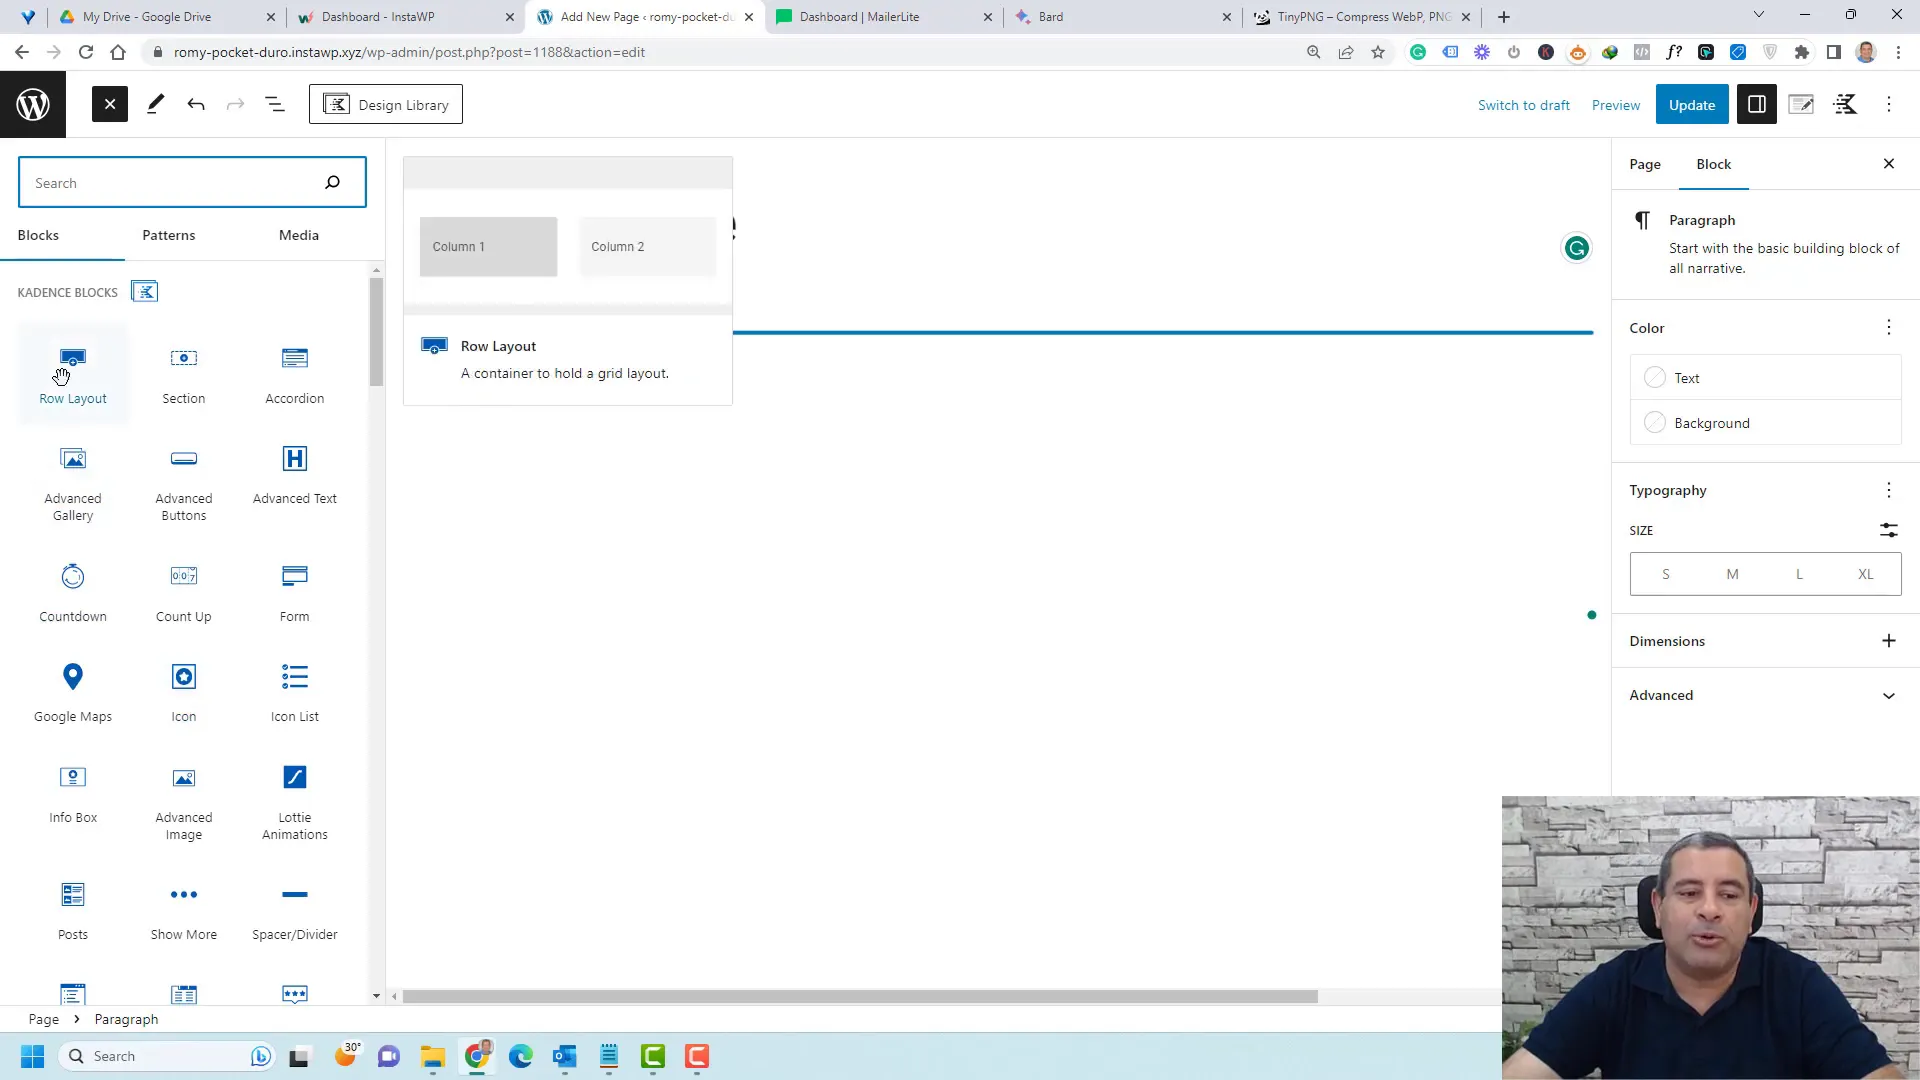
After activating the Kadence Blocks plugin, the next step is to create your landing page. Navigate to the Pages section and click on “Add New.” Title your page appropriately, such as “Lead Magnet Offer,” and publish it.
Once your page is live, you can begin adding content using the Kadence Blocks. Simply click on the plus button to view the available blocks and start structuring your landing page. Choose elements that enhance user experience, such as text blocks, images, and buttons.
Styling Your Landing Page
Styling is crucial for making your landing page visually appealing. You can customize backgrounds, fonts, and colors to align with your brand identity. Start by selecting a one-column layout for a clean and focused design.
To add a background image, go to the “Style” tab and choose an image that resonates with your message. Make sure it stretches across the page for maximum impact. Adjust the minimum height to ensure your content is well-displayed across all devices.
Adding Content and Opt-in Form
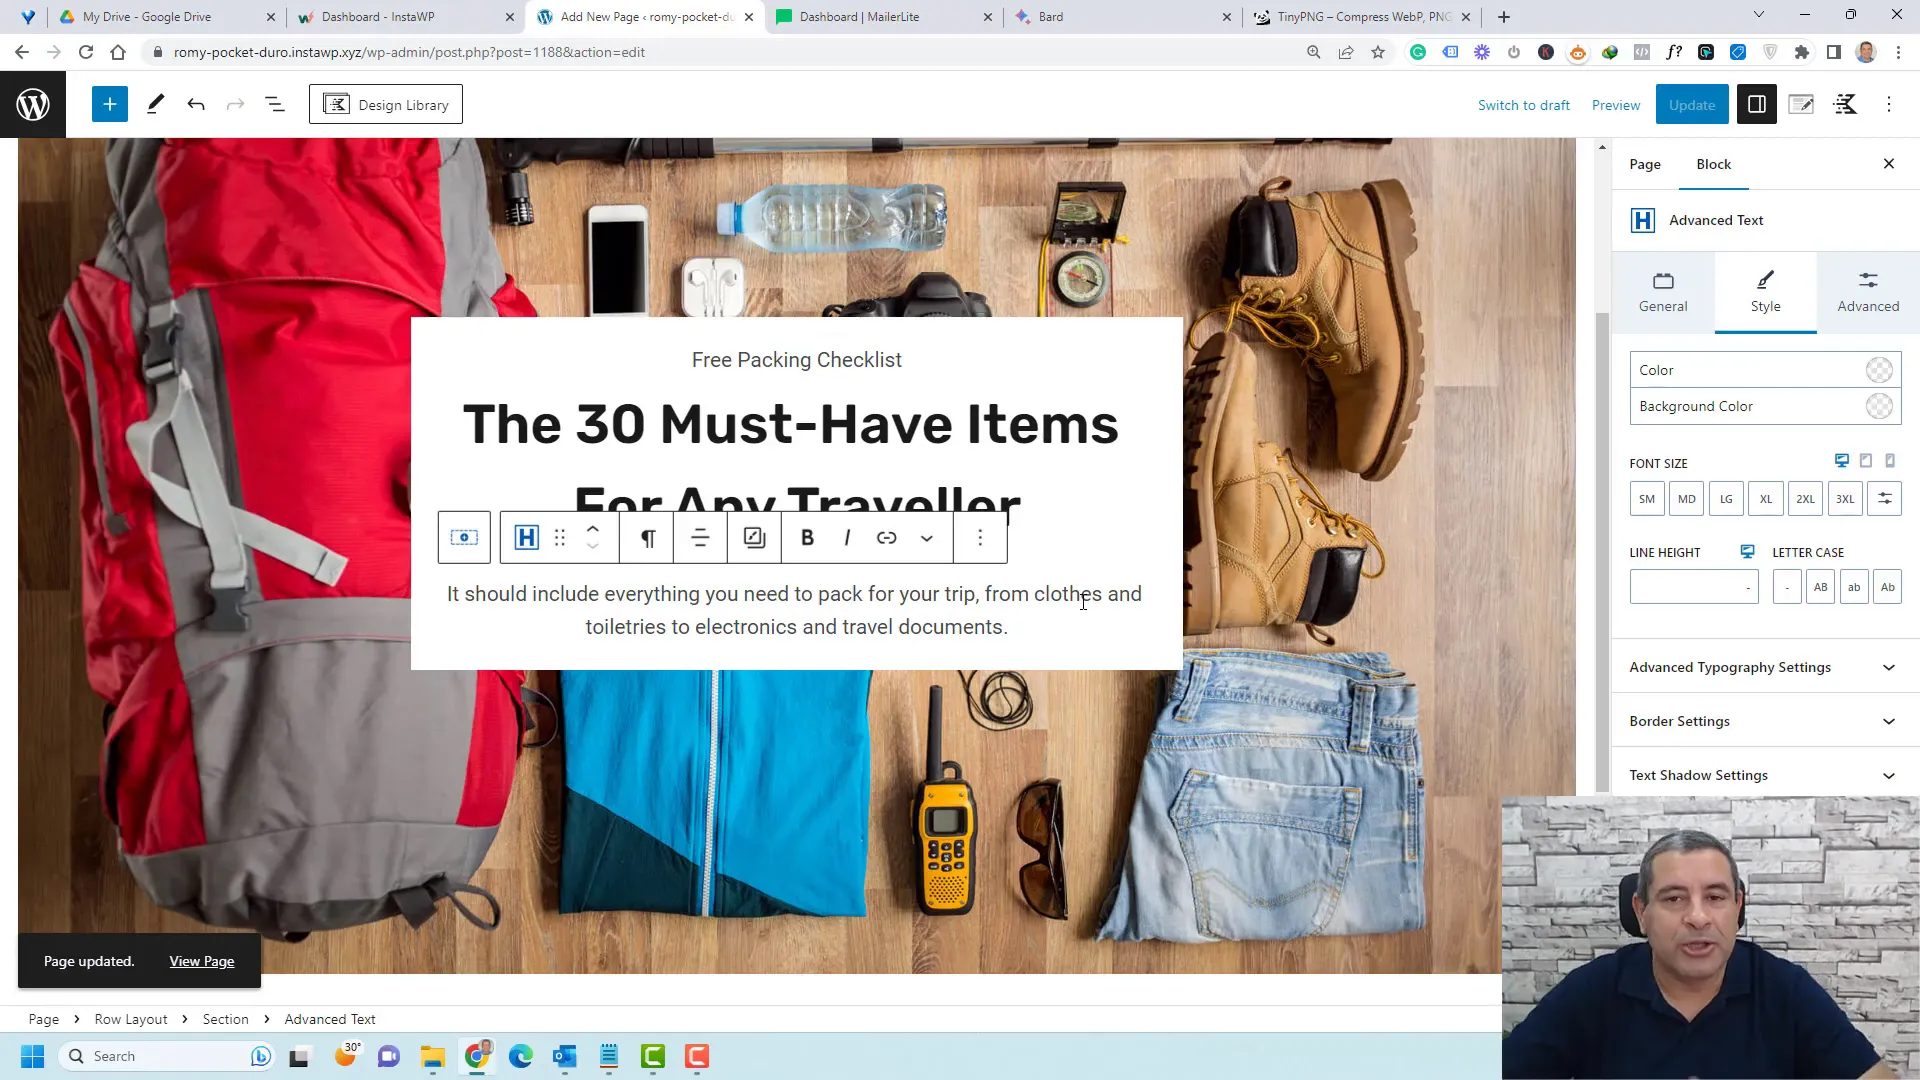
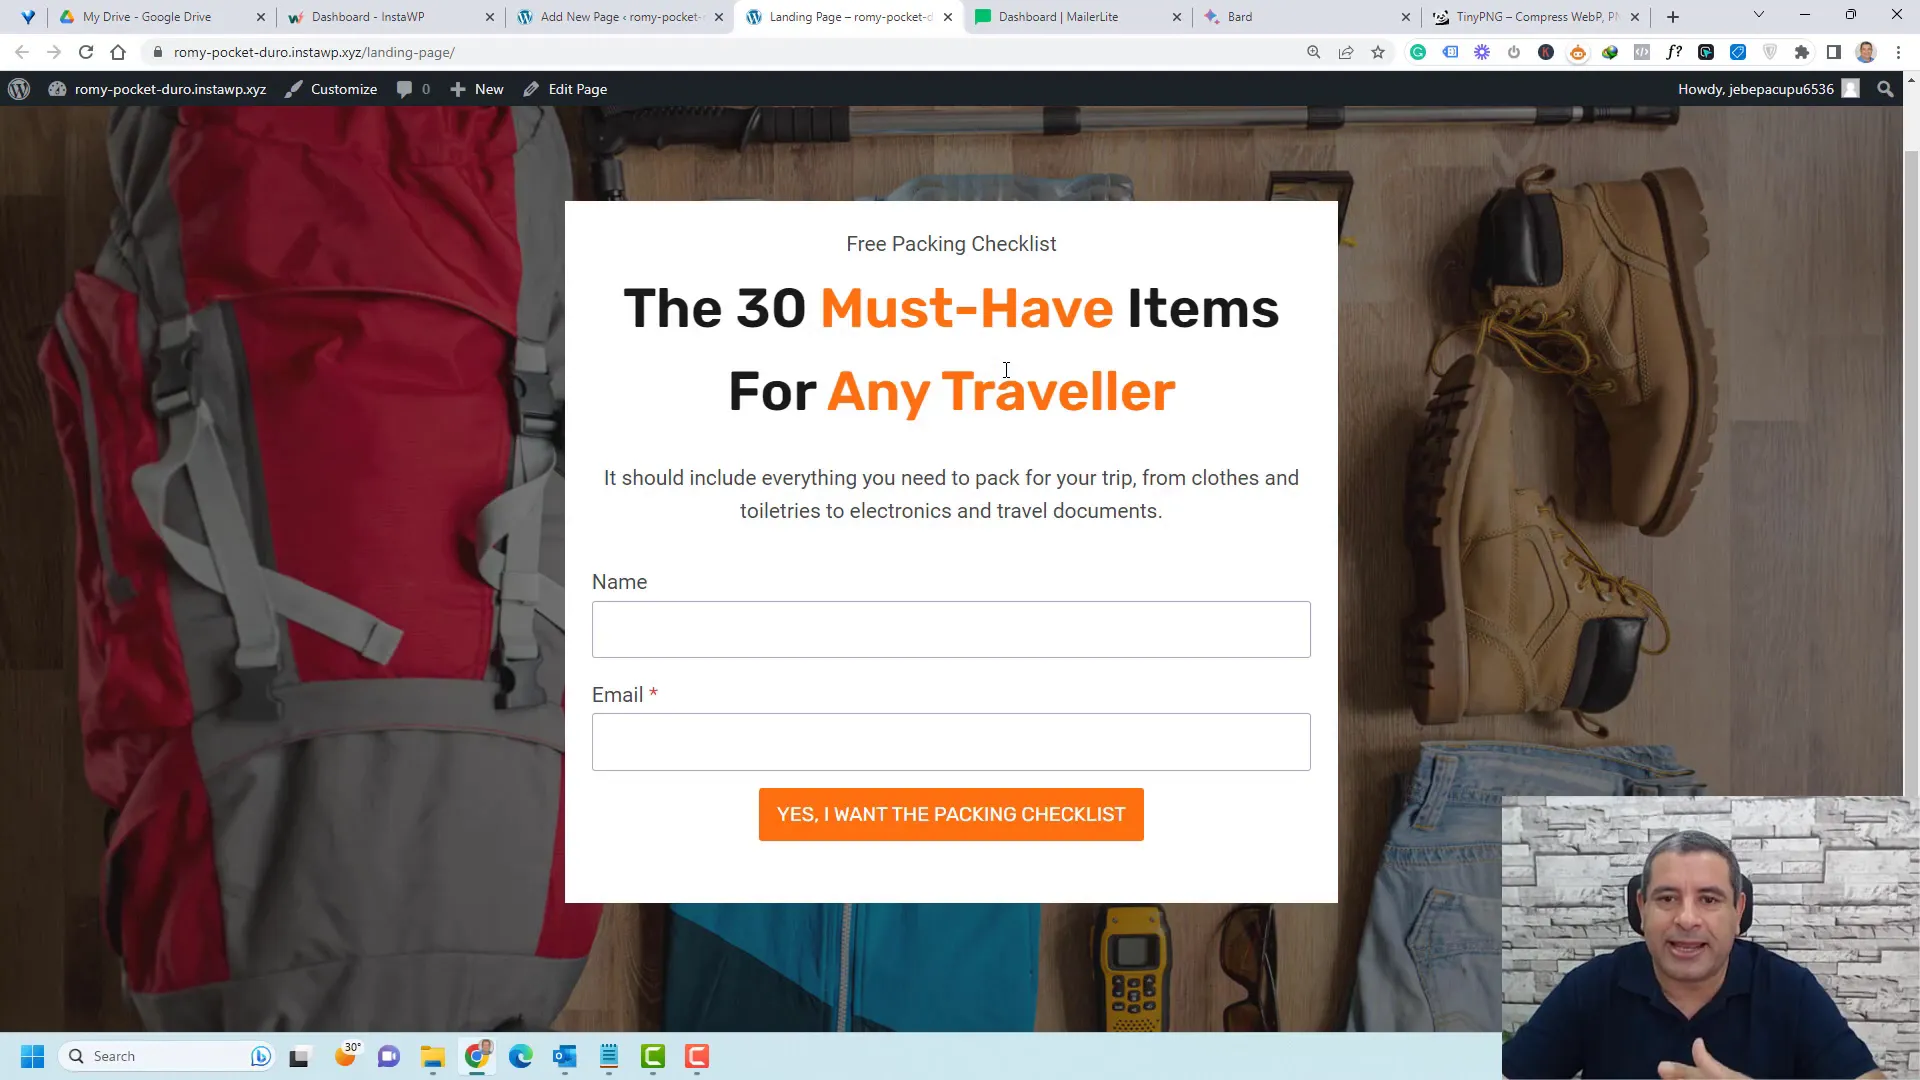
Now that your landing page is styled, it’s time to add compelling content that encourages visitors to sign up. Start with a catchy headline that captures your attention. Follow it with persuasive text that explains the benefits of your lead magnet.
To create an opt-in form, use the built-in form block. This enables you to collect names and email addresses easily. Customize the form fields according to the information you want to gather. Ensure the submit button is prominent, encouraging users to take action.
Removing Header and Footer
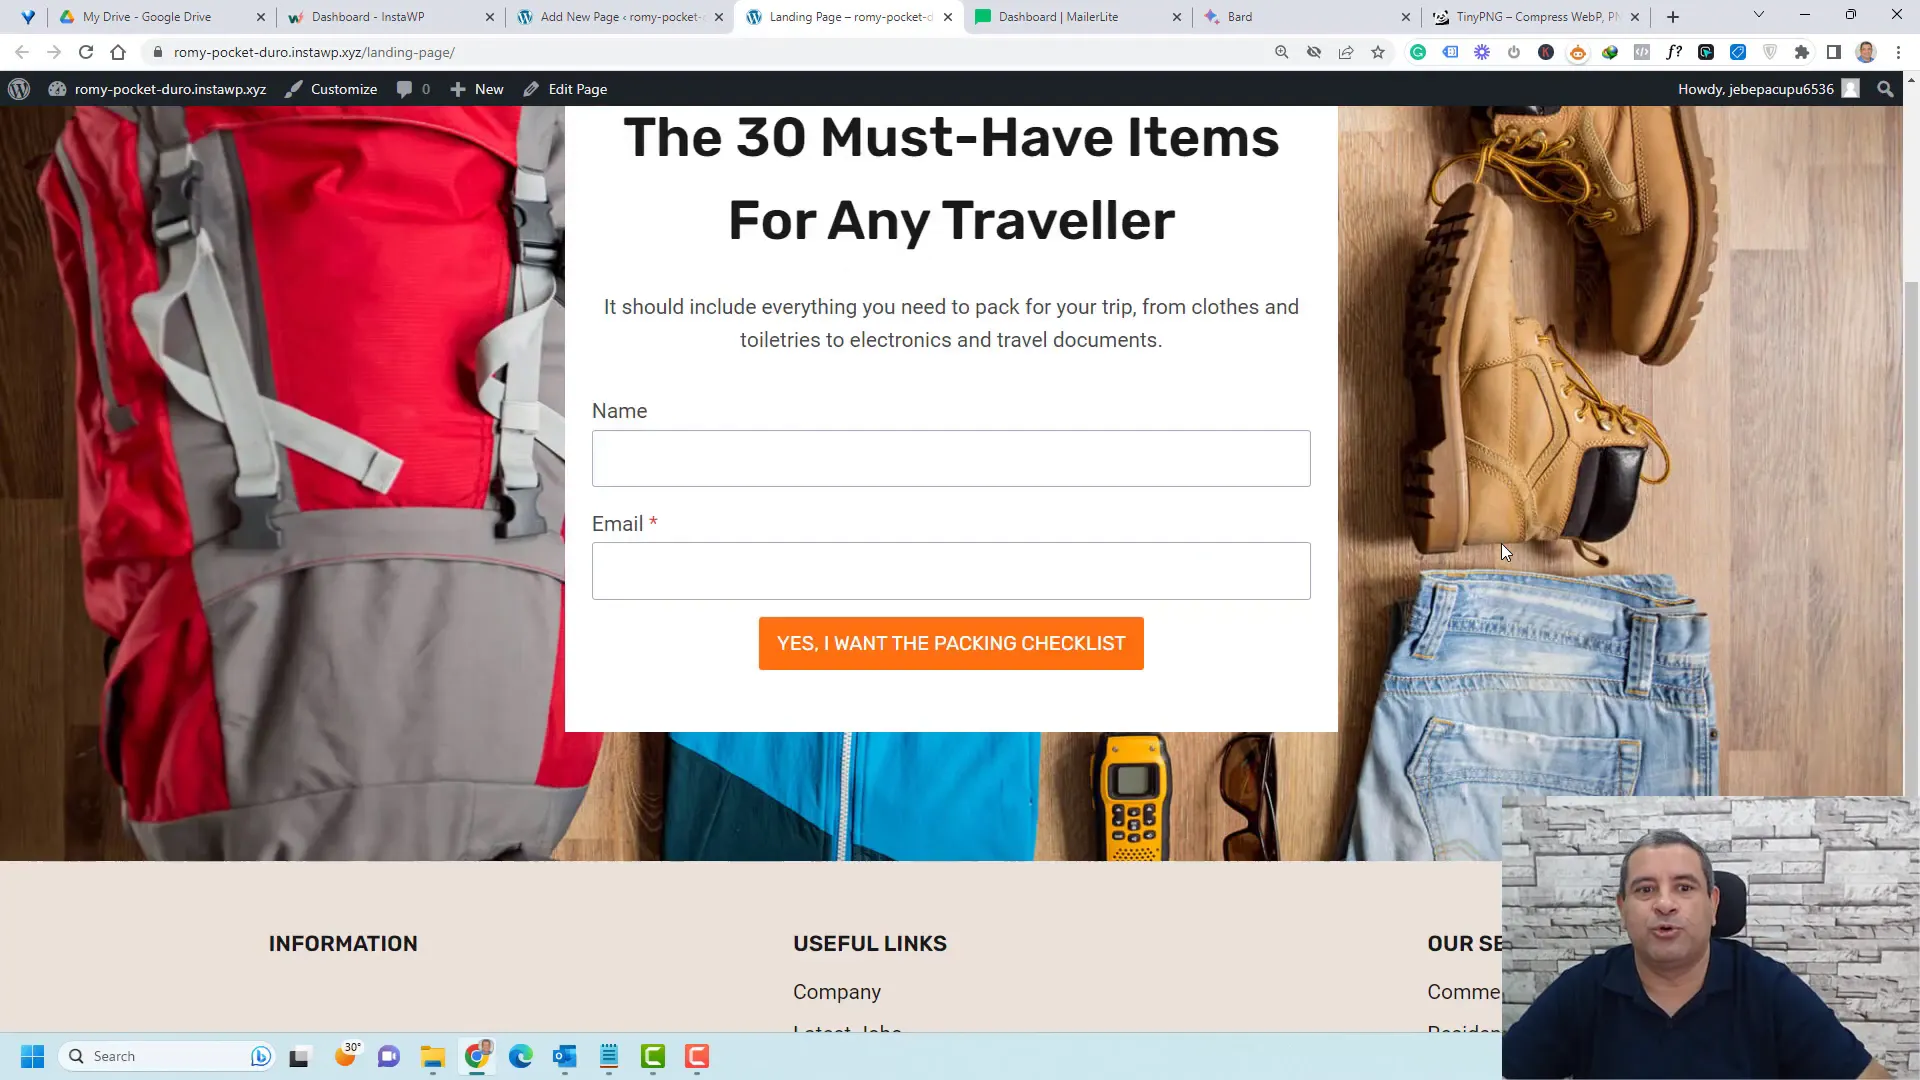
A clean landing page often performs better, so consider removing the header and footer to minimize distractions. This can be done through the page settings in your WordPress dashboard. Look for options to disable the header and footer, ensuring your visitors focus solely on the content.
After making these adjustments, preview your page to ensure everything looks perfect. A streamlined design can significantly enhance user experience and increase conversion rates.
Connecting to MailerLite
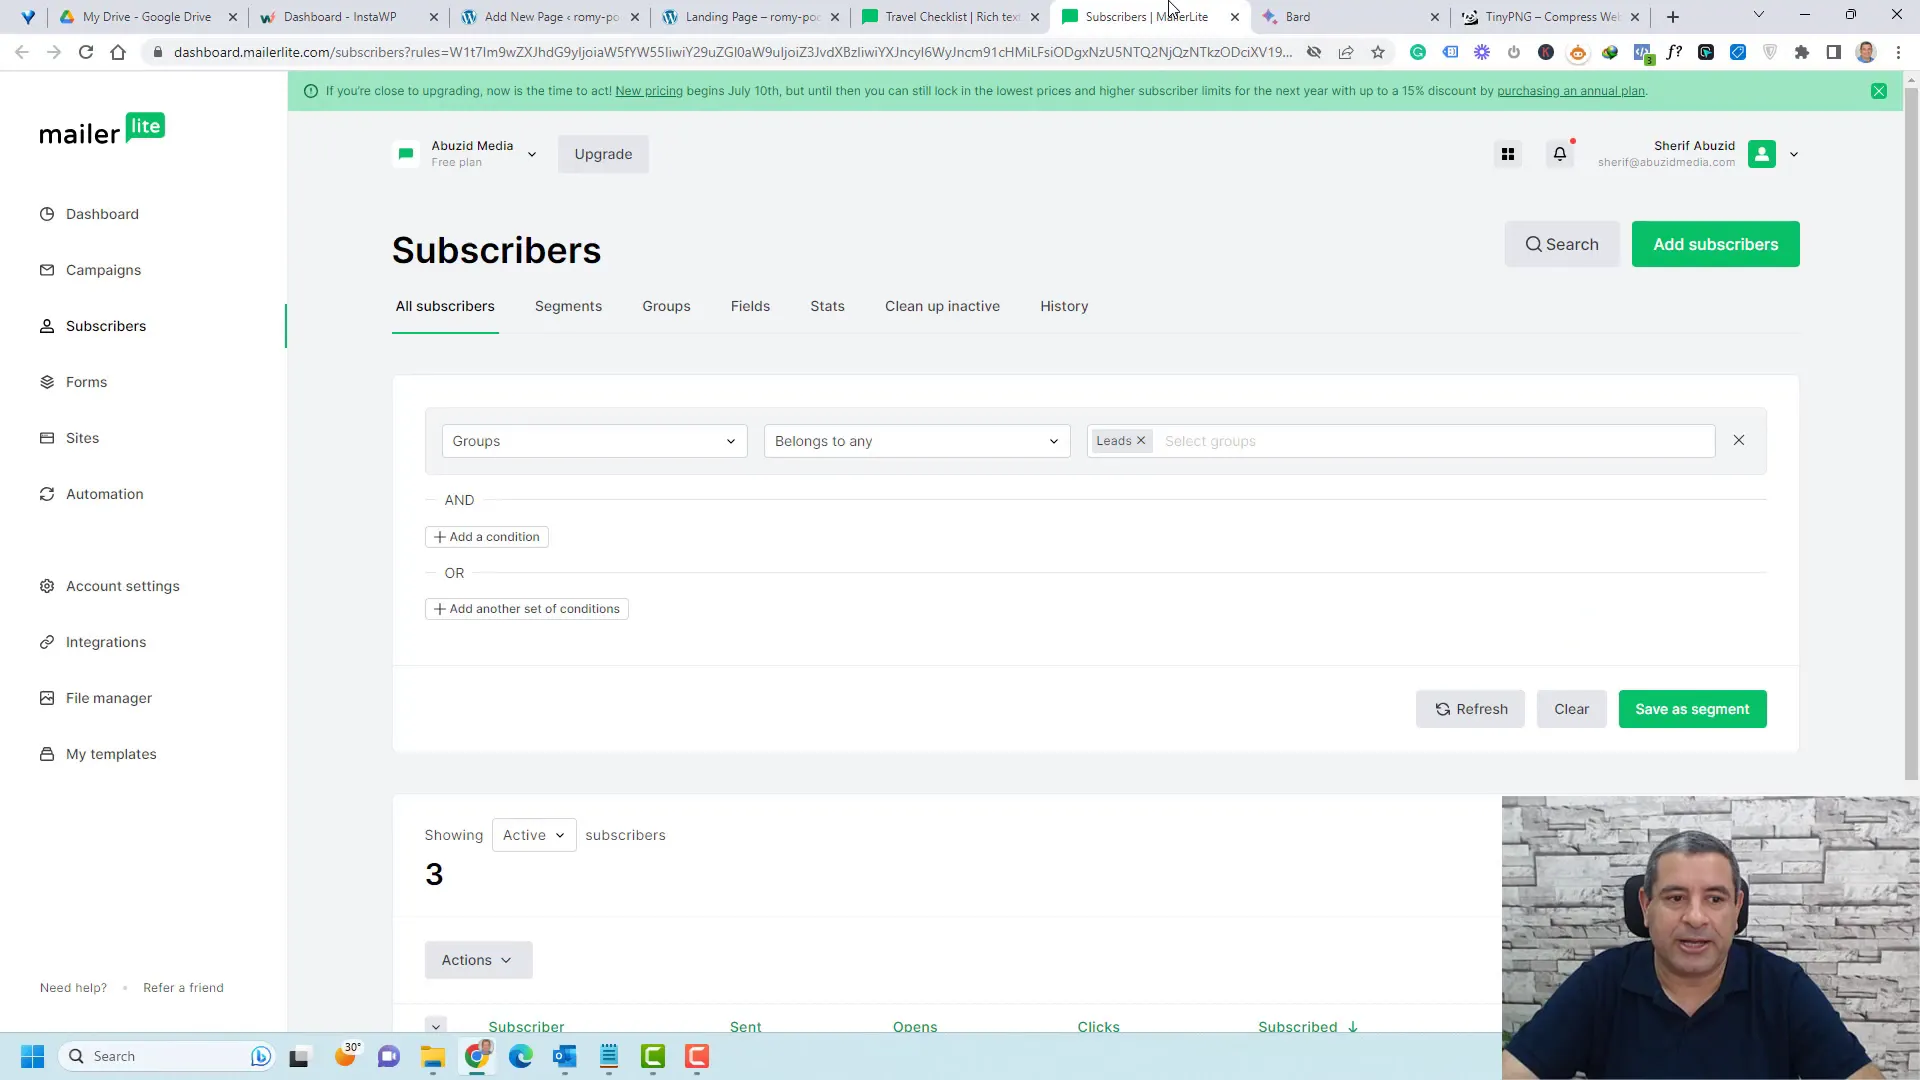
To automate your email marketing efforts, connect your landing page to MailerLite. This platform allows you to manage subscribers effectively and send automated follow-up emails. Start by creating an account on MailerLite and setting up your subscriber groups.
Once your account is ready, go back to your landing page and integrate MailerLite by entering your API key. This will ensure that when users submit their information, they are automatically added to your email list, allowing you to nurture them with targeted email campaigns.
Creating Your Thank You Page
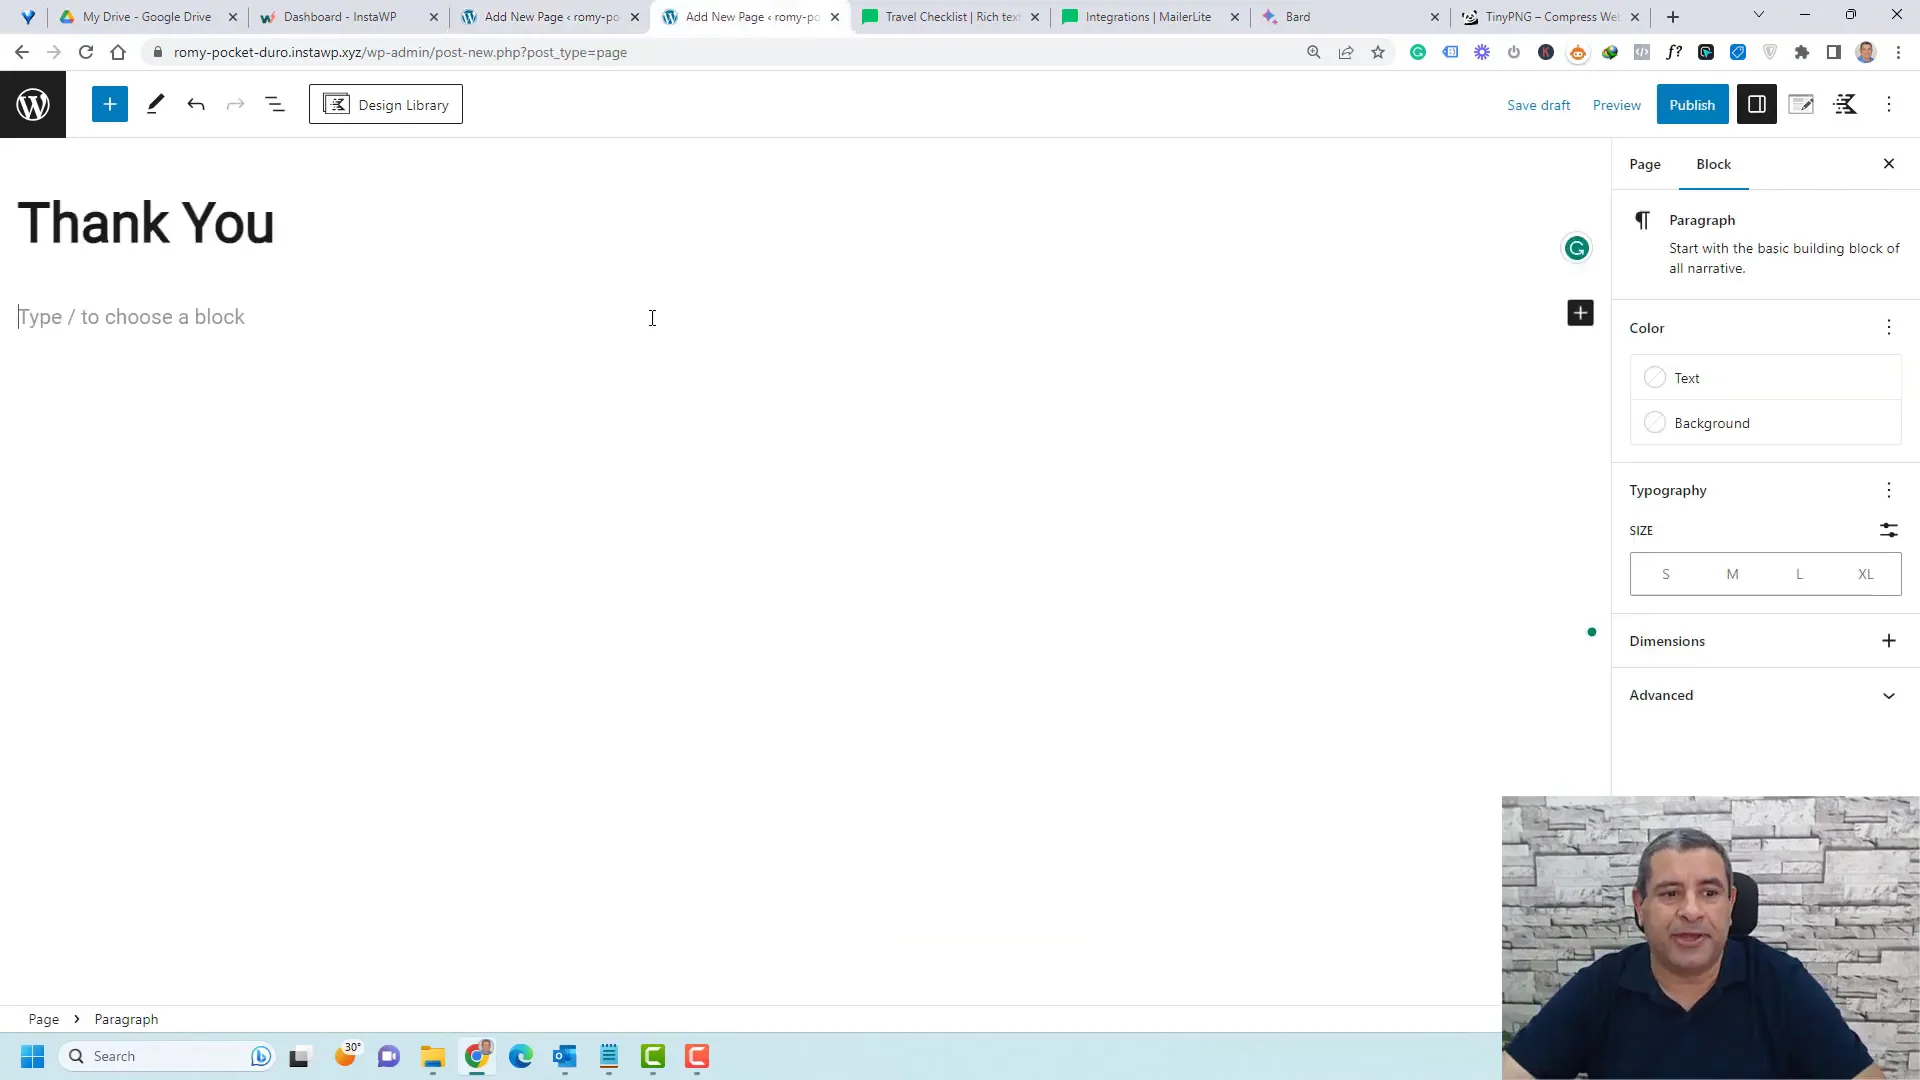
After setting up the landing page, it’s essential to create a Thank You page. This is where users are redirected after they sign up. Your Thank You page should express gratitude and provide additional value, such as a video or link to your affiliate offer.
To create this page, you can duplicate the layout of your landing page and adjust the content accordingly. Ensure you include a clear call-to-action that directs users to your affiliate products, enhancing your chances of conversion.
Final Touches and Testing
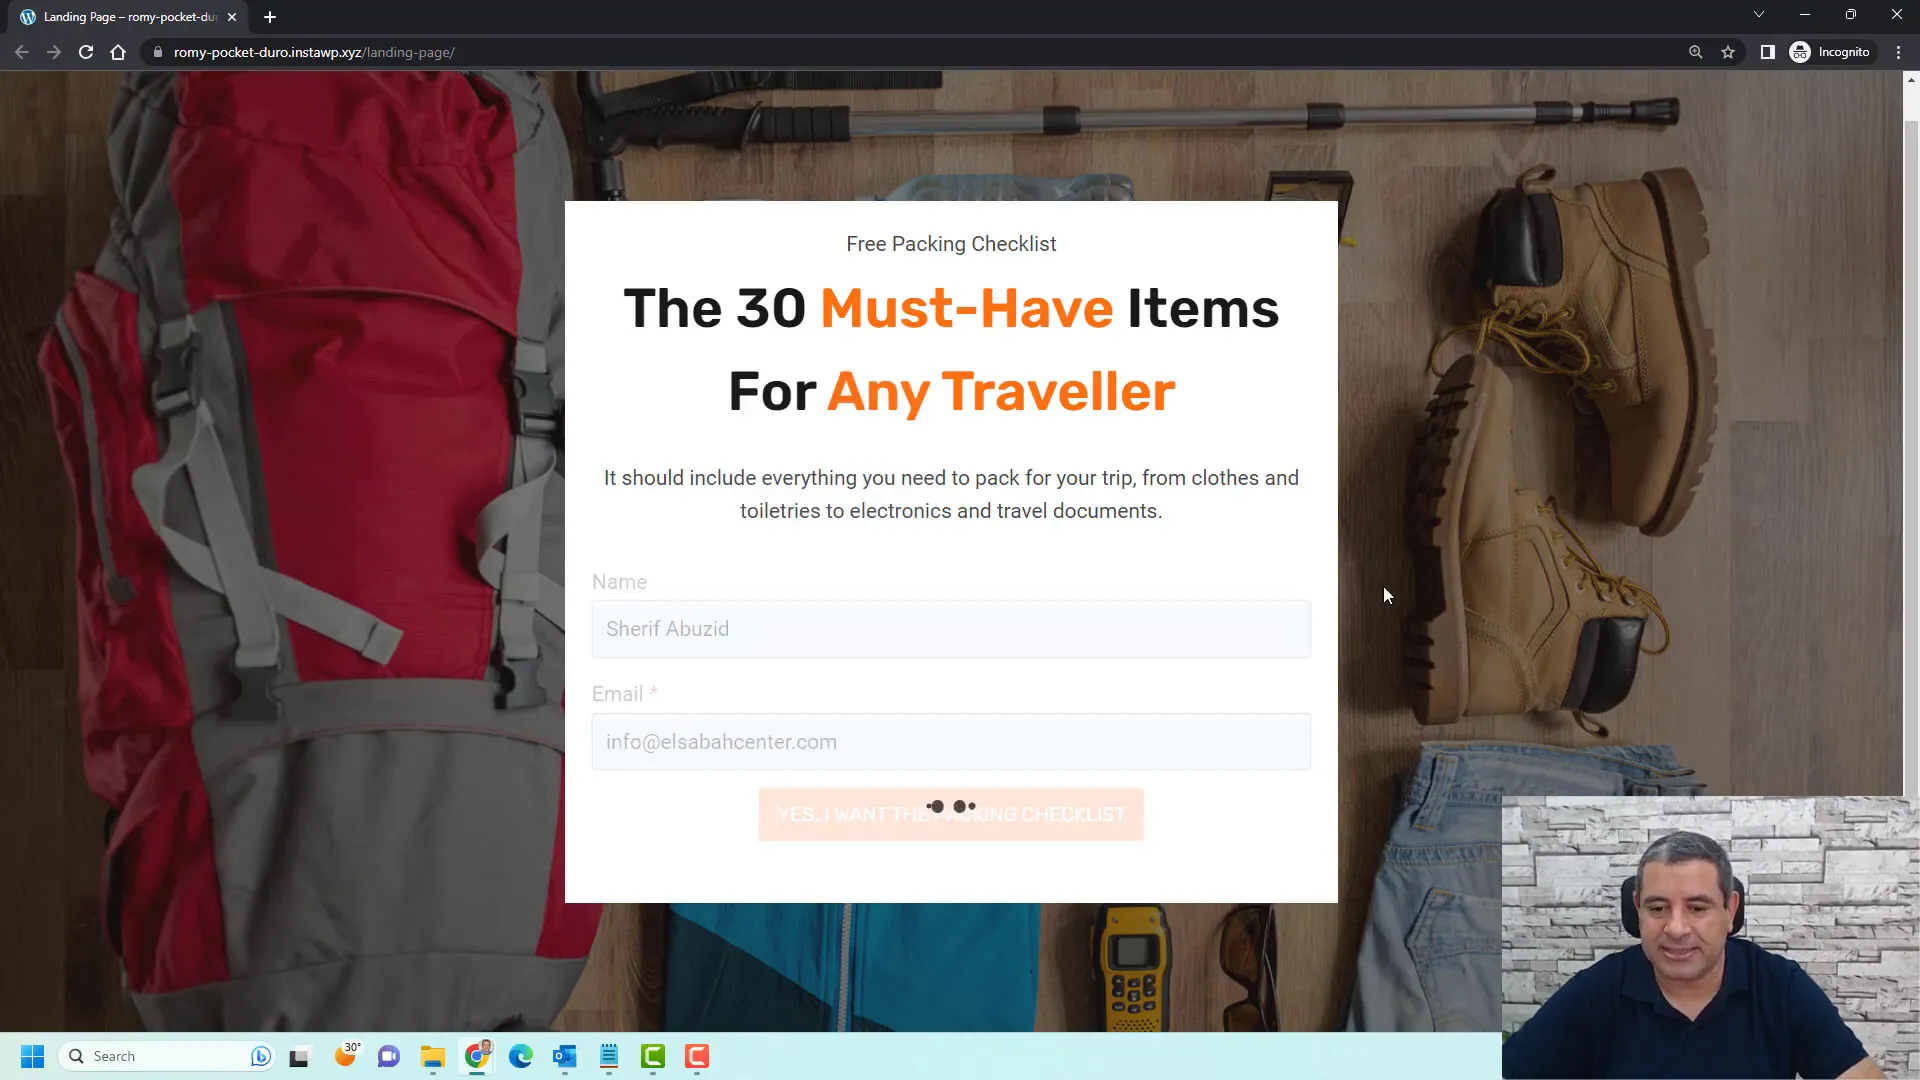
Before launching your Affiliate Marketing Funnel with WordPress, perform thorough testing. Ensure that all links work correctly, and the opt-in form captures information as intended. This is crucial for a seamless user experience.
Consider running a test by signing up yourself. This will help you identify any issues and allow you to see the process from a user’s perspective. Once everything is functioning smoothly, you can start driving traffic to your landing page and watch your affiliate marketing efforts thrive.
Setting Up Email Automation
Once your landing page is live and connected to MailerLite, the next step is to set up your email automation. This process is crucial for nurturing your leads and ensuring they receive timely communication.
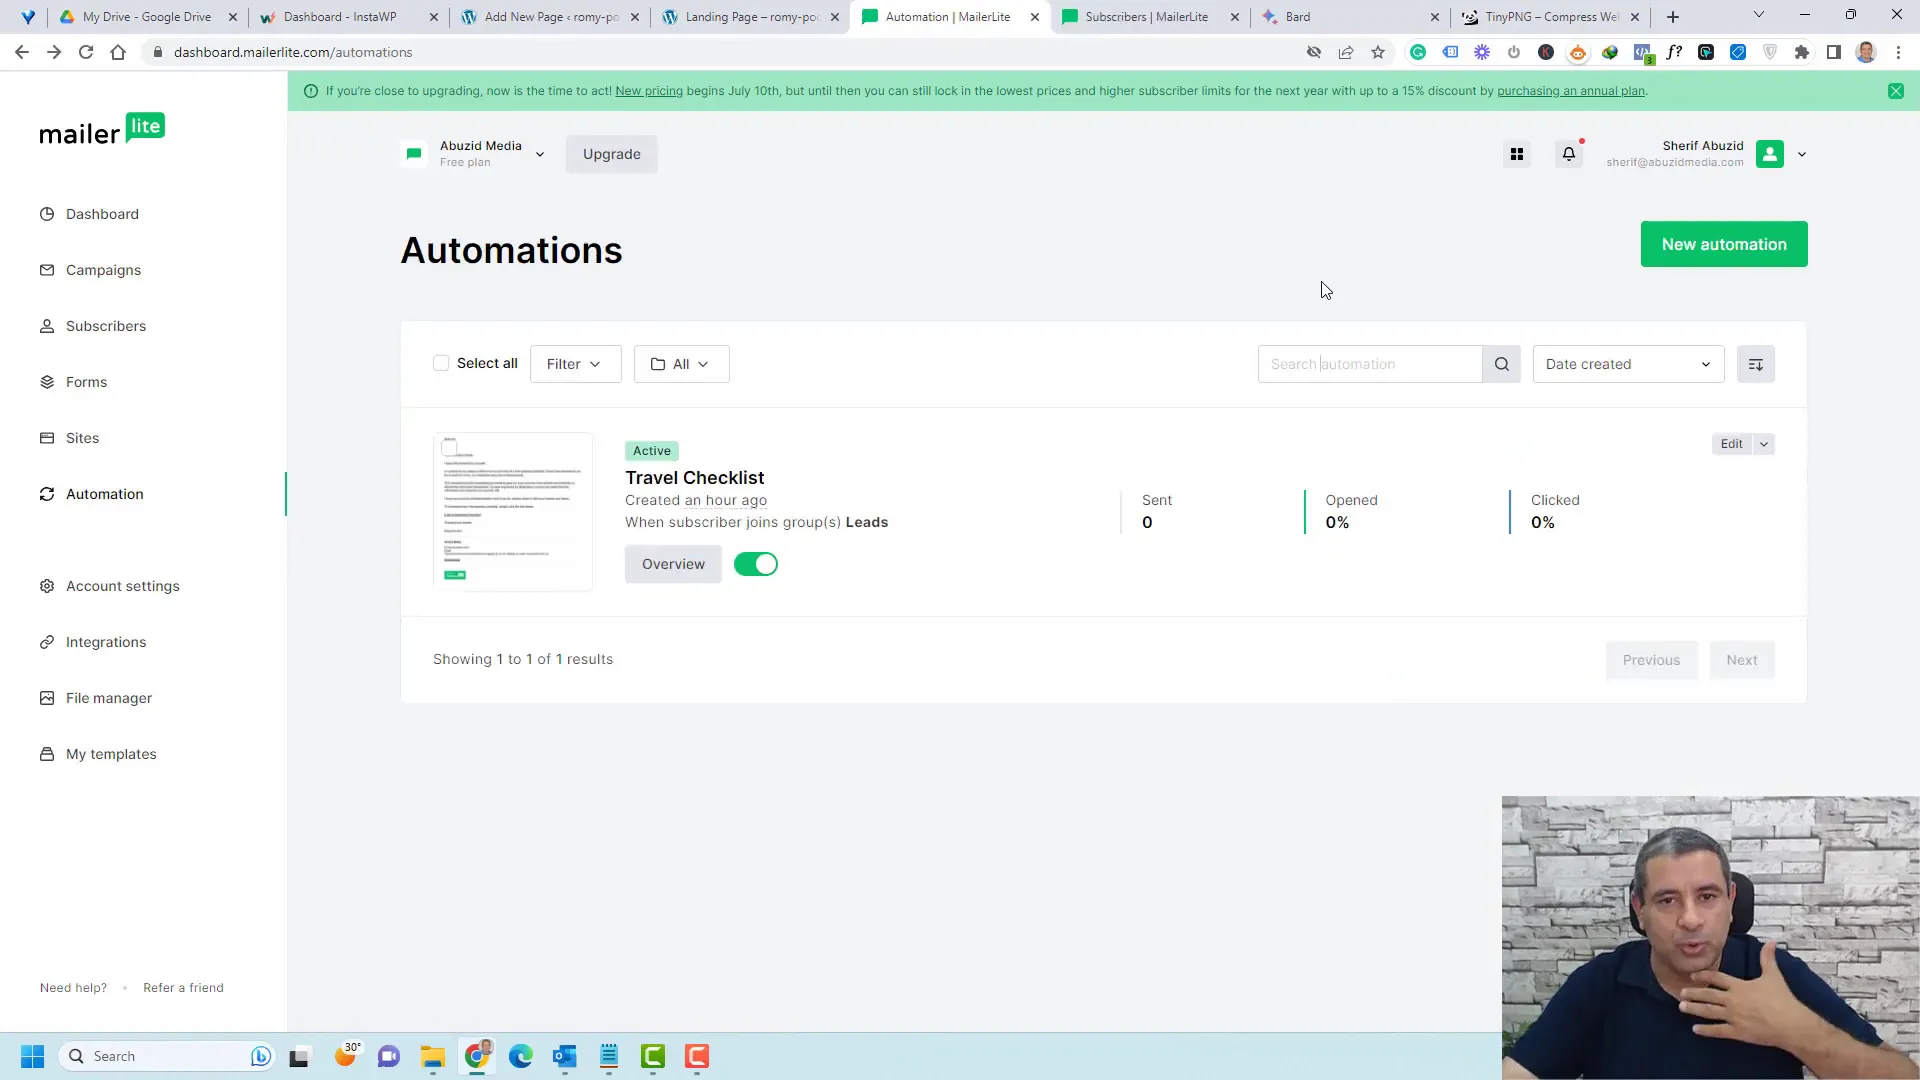
Start by navigating to the Automation section in your MailerLite dashboard. Here, you can create a new automation workflow tailored to your audience. For instance, you might want to send a welcome email immediately after someone subscribes to your list.
Creating a New Automation
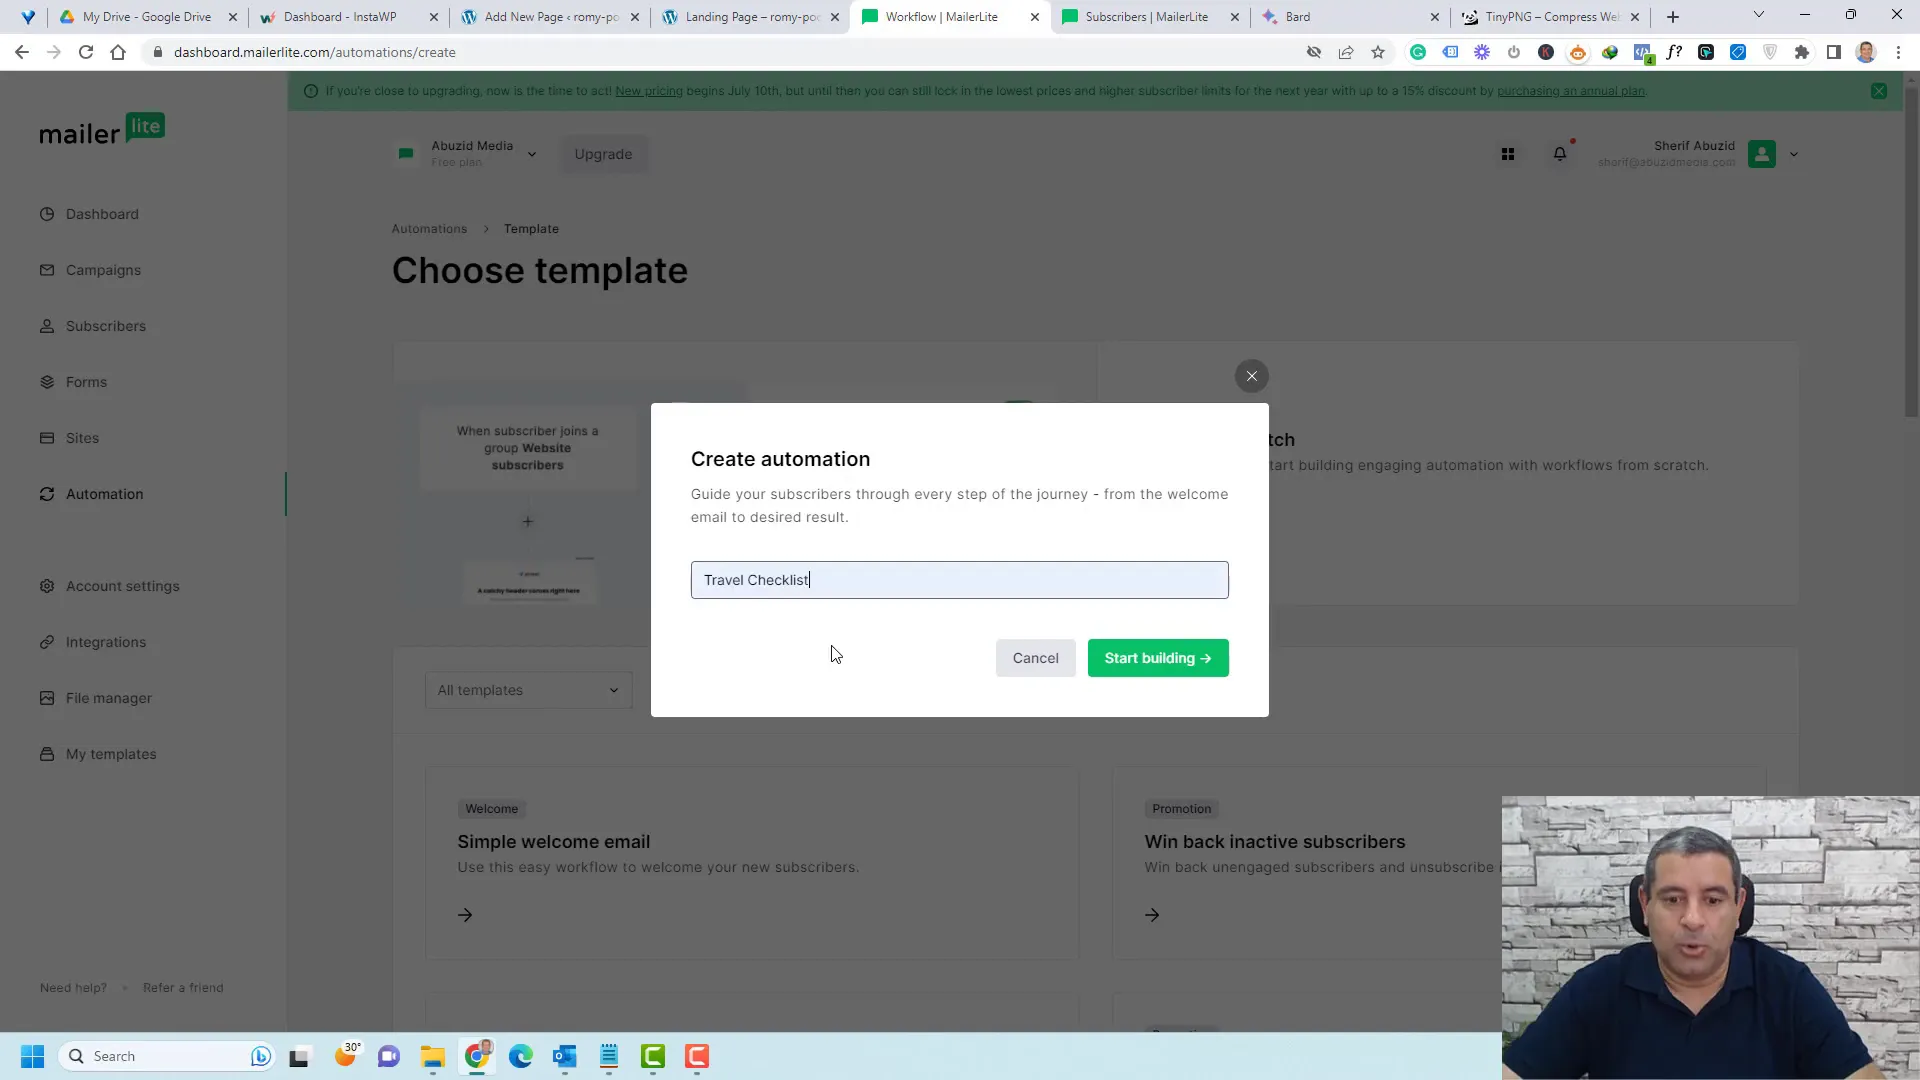
Click on the “Create New Automation” button. You will have the option to start from scratch or choose a pre-made template. Selecting “From Scratch” allows you to customize every aspect.
Give your automation a name that reflects its purpose, such as “Welcome Series” or “Follow-Up for Travel Checklist.” This will help you keep your automations organized.
Choosing a Trigger
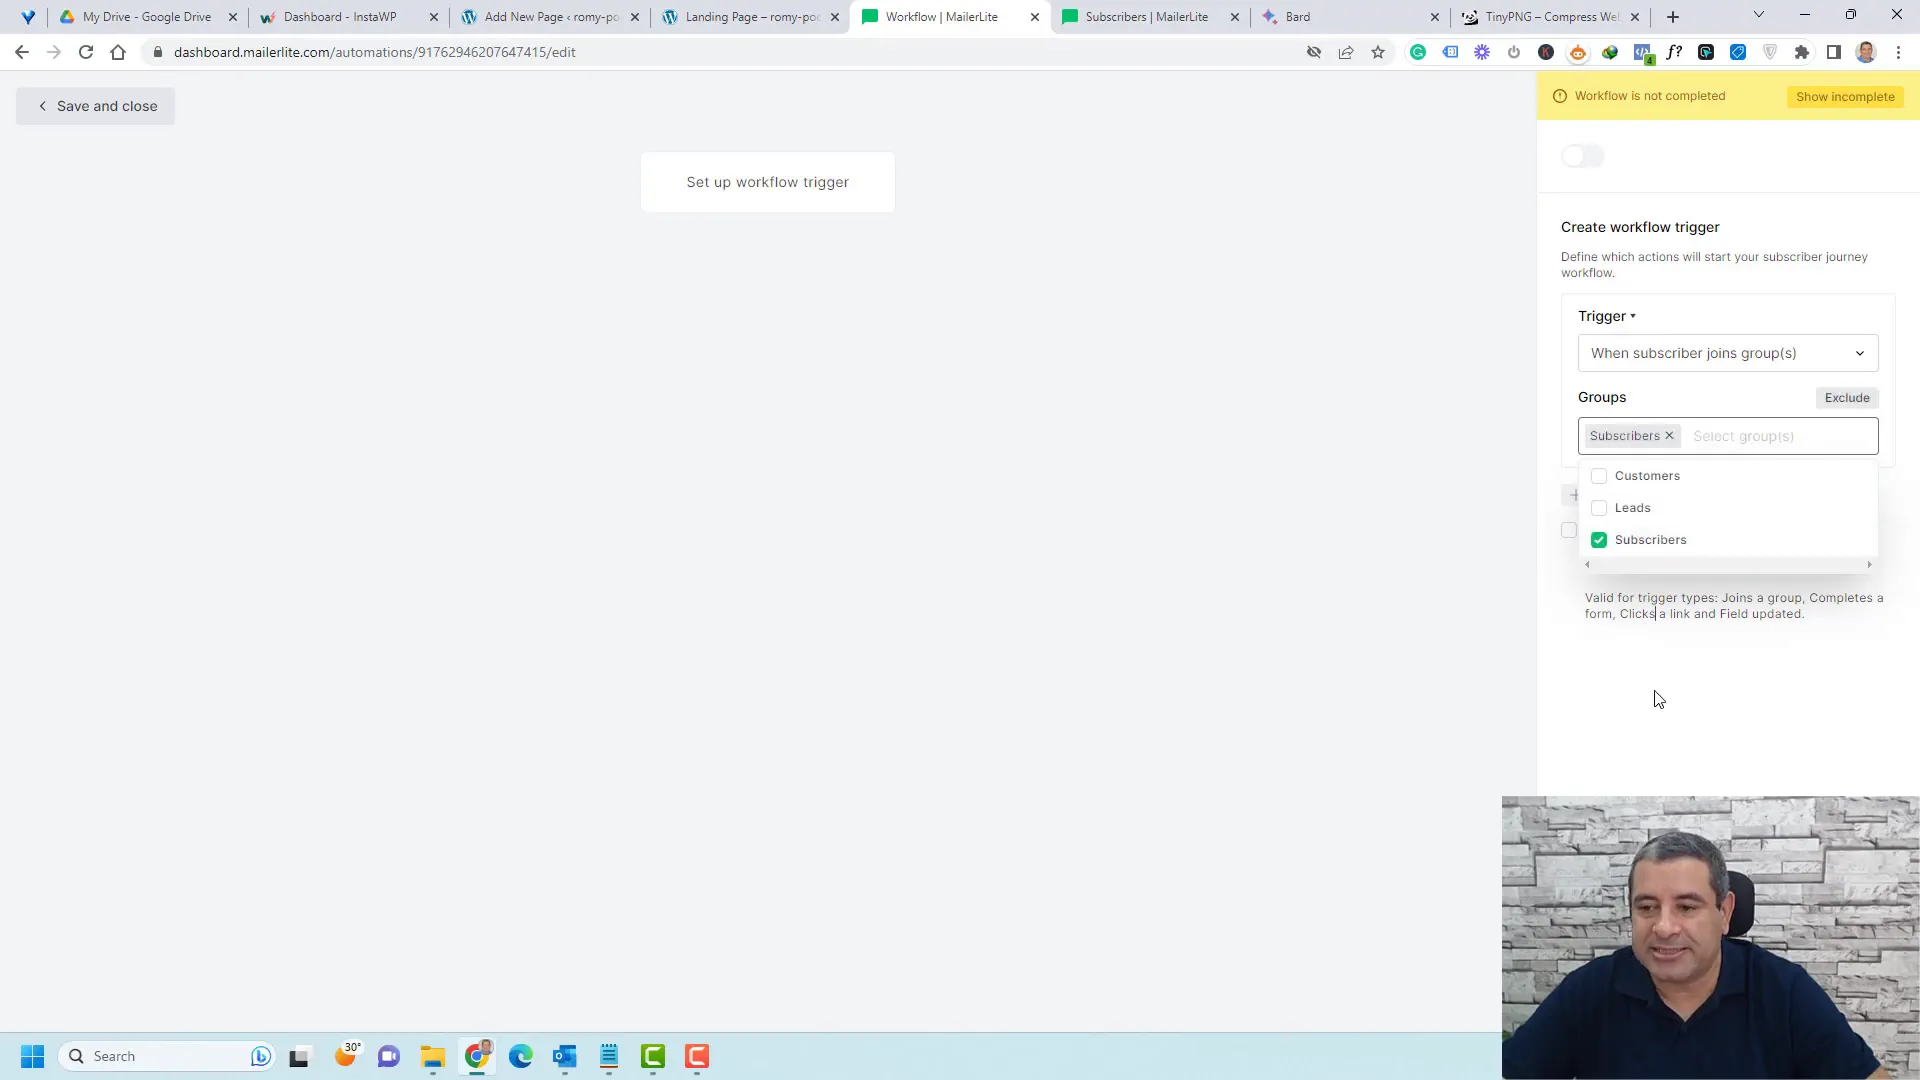
The next step is to set a trigger for your automation. A trigger is an event that starts the automation, such as when a subscriber joins a group. Select the appropriate trigger based on your funnel goals.
For example, you can choose “When a subscriber joins a group” and select the group you created earlier. This ensures that anyone who signs up through your landing page will enter the automation you designed.
Designing Your Email
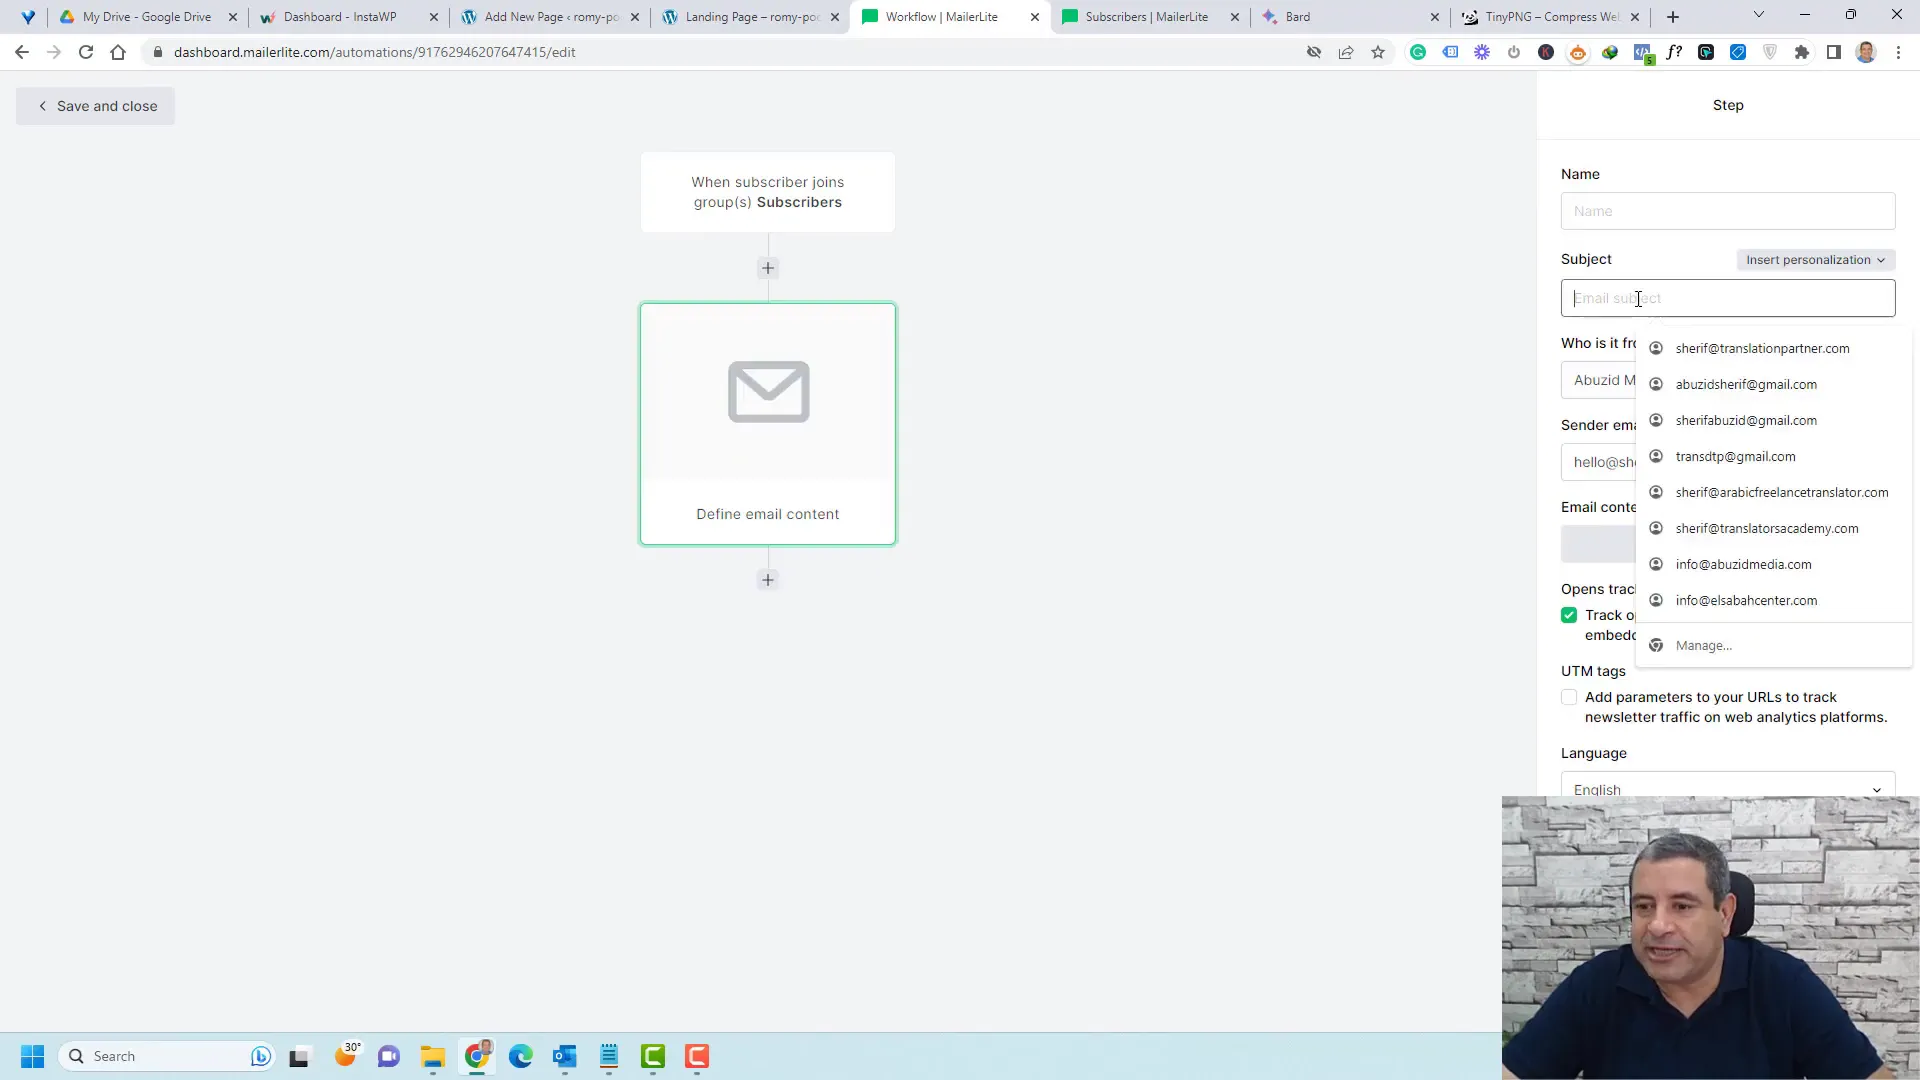
After setting the trigger, it’s time to design the email that will be sent out. Click on the “Add Email” option and choose your preferred email editor. The Rich Text Editor is user-friendly and allows for customization.
Craft a compelling message that thanks subscribers for signing up and provides them with a link to their promised lead magnet. You can also include additional resources or links to your affiliate products to encourage further engagement.
Testing Your Automation
Before finalizing your automation, it’s essential to test it. MailerLite allows you to send test emails to ensure everything looks perfect and functions correctly. This step is crucial to avoid any miscommunication with your audience.
After testing, make any necessary adjustments and activate your automation. Your subscribers will now receive automated emails as soon as they join your list, keeping them engaged and informed.
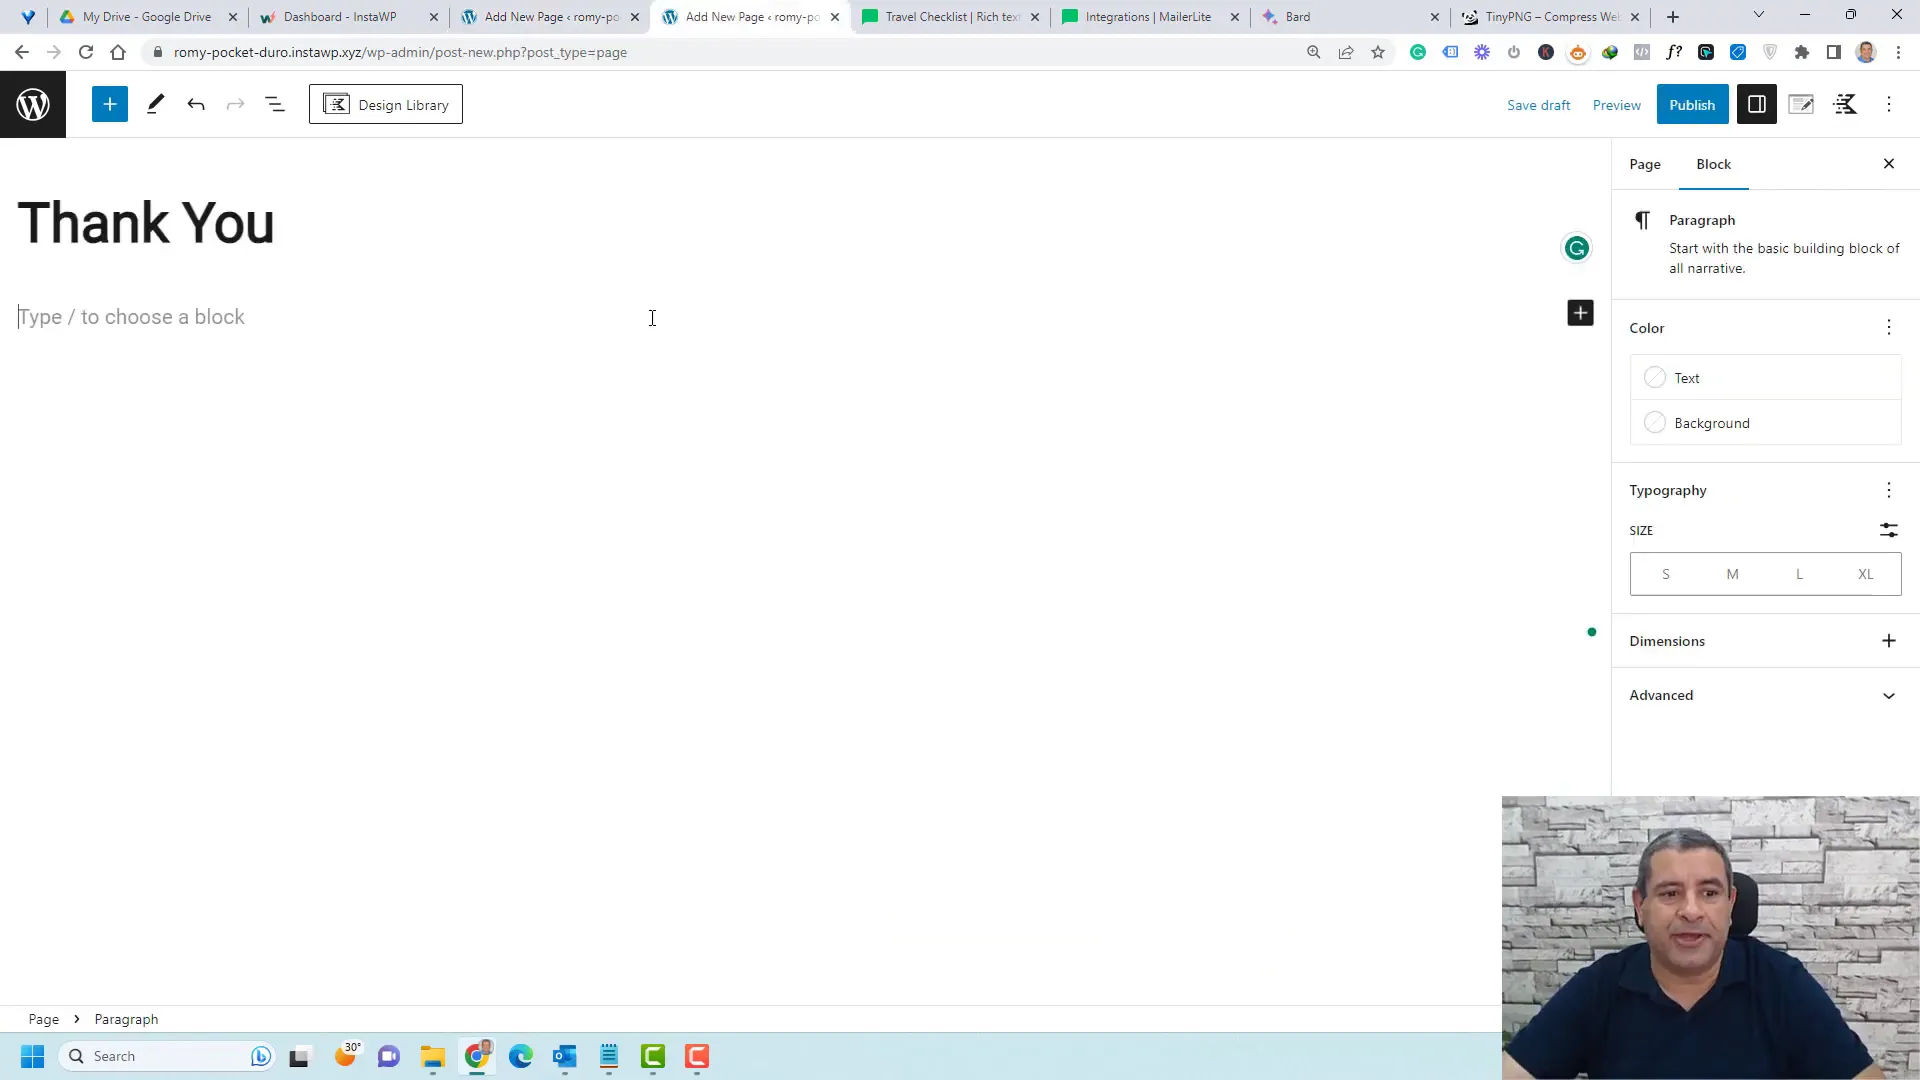
Designing the Thank You Page
The Thank You page is a pivotal part of your Affiliate Marketing Funnel with WordPress. It serves as the final step in your lead capture process and provides an opportunity to reinforce your message.
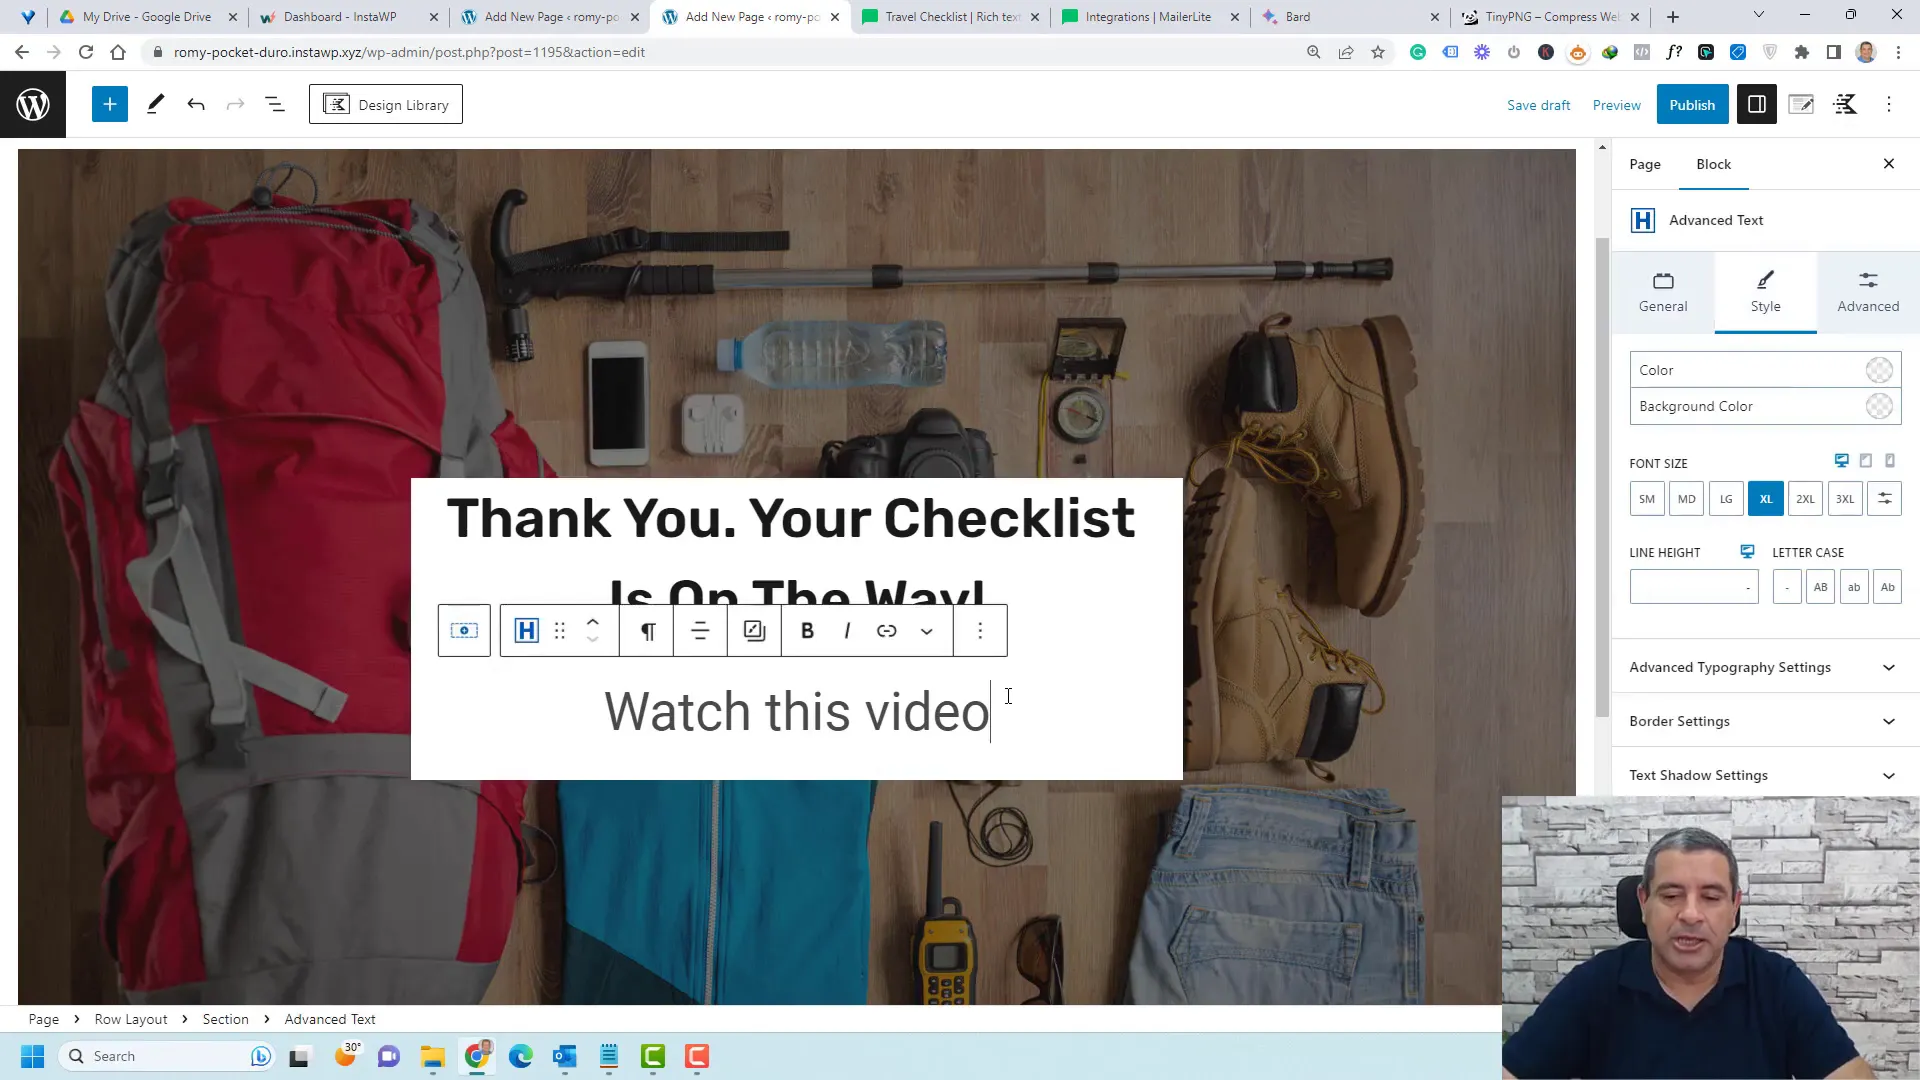
To create a Thank You page, start by duplicating your landing page layout. This will save you time and maintain consistency in design. Adjust the content to reflect gratitude and let users know their checklist is on the way.
Adding Value to the Thank You Page
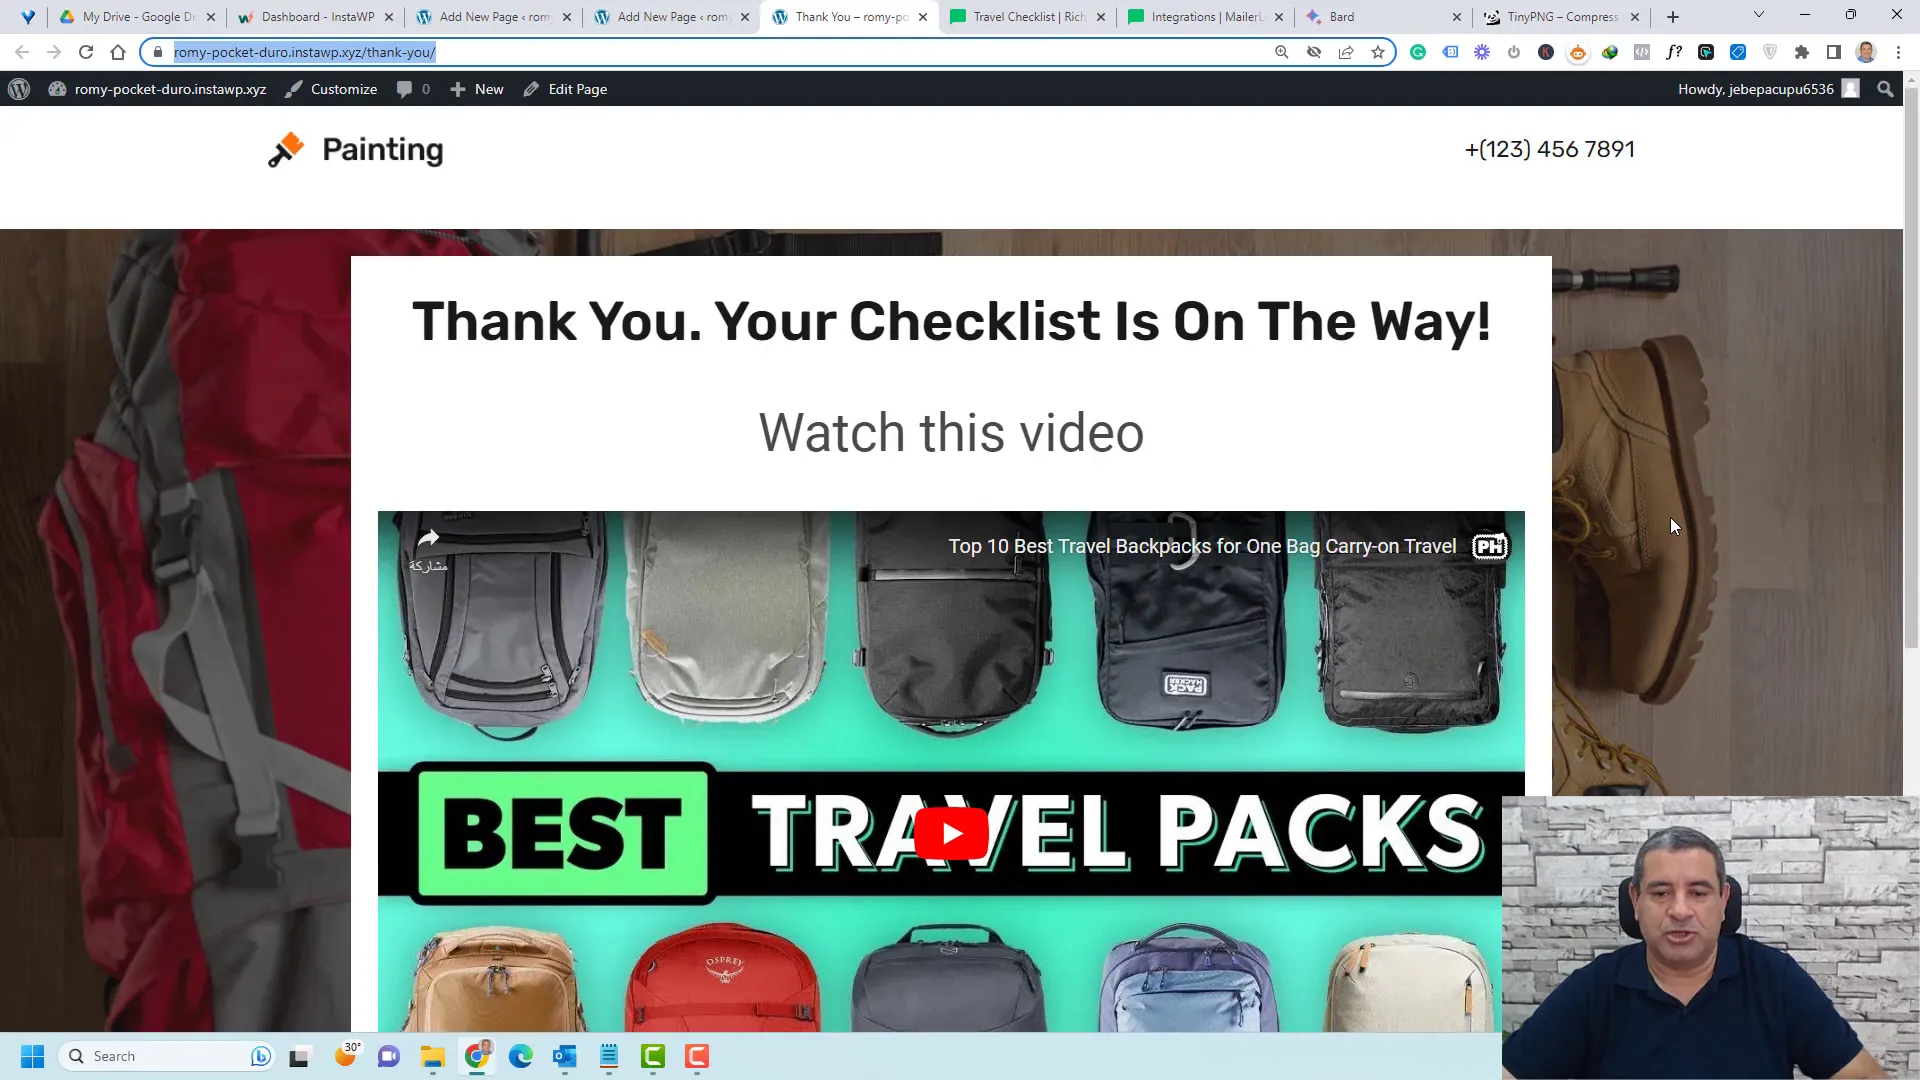
On your Thank You page, consider embedding a video that introduces yourself or explains the next steps. This personal touch can build trust and keep your audience engaged.
Additionally, include a clear call-to-action that directs users to your affiliate products. A well-placed button with compelling text can significantly increase the likelihood of conversions.
Finalizing the Thank You Page
Once you’ve added all necessary elements, review your Thank You page. Ensure that the design is clean and that all links work correctly. This page should be visually appealing and easy to navigate to enhance user experience.
After final checks, publish the Thank You page and link it to your landing page’s form submission action. This ensures that users are redirected appropriately after they subscribe.
Finalizing the Funnel Setup
With your landing page, email automation, and Thank You page in place, it’s time to finalize your Affiliate Marketing Funnel with WordPress. Ensure all parts of the funnel are interconnected seamlessly.
Double-check the following elements:
- Form Submission: Ensure the opt-in form correctly redirects to the Thank You page.
- Email Automation: Verify that the email automation triggers correctly and sends out the intended emails.
- Affiliate Links: Check that all affiliate links on the Thank You page work and lead to the correct products.

Monitoring Your Funnel Performance
Once your funnel is live, monitoring its performance is crucial. Use analytics tools to track conversion rates and engagement levels. This data will help you identify areas for improvement.
Make adjustments based on user behavior and feedback. Continuous optimization is key to maximizing your funnel’s effectiveness and achieving your affiliate marketing goals.

Conclusion and Recommendations
Creating an Affiliate Marketing Funnel with WordPress is straightforward when utilizing the right tools. By effectively combining landing pages, email automation, and Thank You pages, you can build a robust funnel that drives conversions.
Remember to keep your content engaging and valuable. Regularly update your offers and email sequences to keep your audience interested. With dedication and strategic planning, your affiliate marketing efforts can yield significant results.
For ongoing success, consider joining affiliate marketing communities to share insights and learn from others. Collaboration and shared knowledge can enhance your strategies and open new opportunities.

FAQs about Affiliate Marketing Funnels


